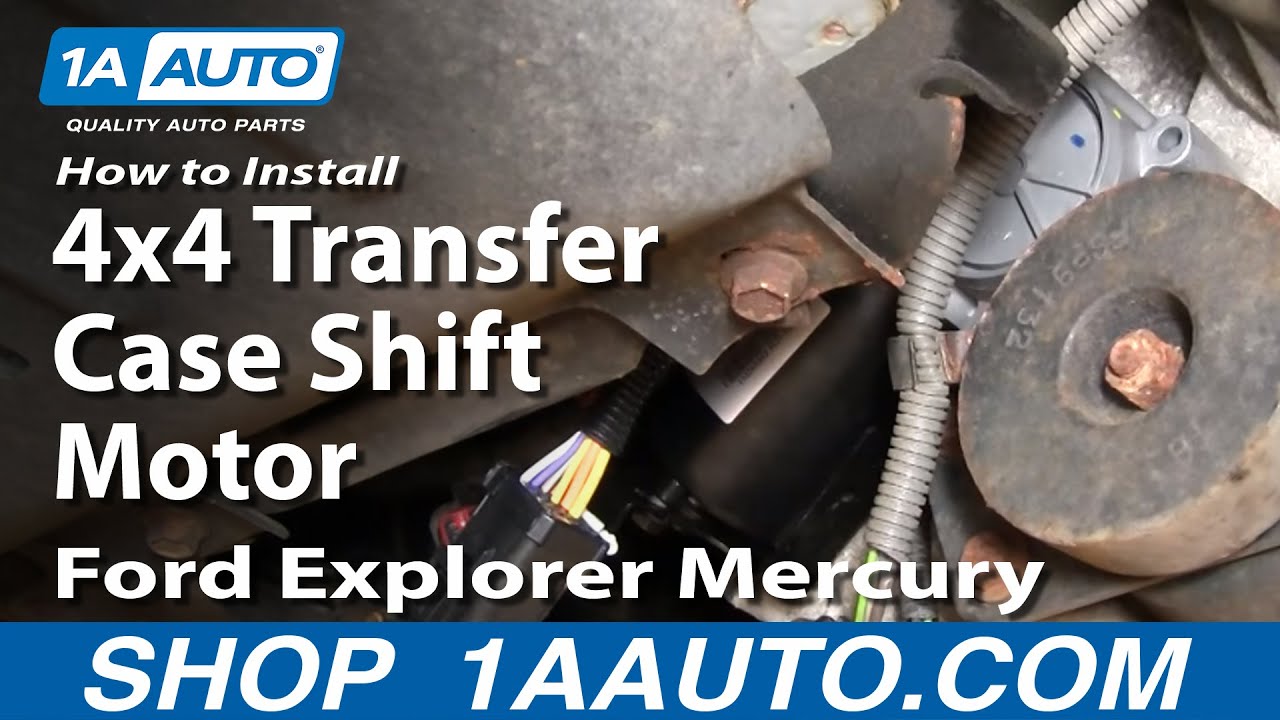
How to Replace 4x4 Transfer Case Shift Motor 1995-2001 Ford Explorer
Created on: 2010-10-26
Watch this video to learn how to fix your four wheel drive if it's stuck or you can't shift into or out of 4wd. The experts at 1A Auto show you how to replace the 4WD transfer case shift motor on your 95-01 Ford Explorer or Mercury Mountaineer.
-
step 1 :Remove the transfer shift case motor
- Unplug the harness connection
- Use a flat blade screwdriver to pry and gut the connector off
-
step 2 :Remove the motor
- Remove the 10mm mounting bolts
-
step 3 :Install the new mounting bolts
- Mount the new motor
- Remove the plastic piece locking the wire pins in place in the connector
- Transfer the contact pins into the new connector
- Make sure the contact pins go in the same place they were in the old contact.
- Secure the harness above the motor
- Bolt in the new motor
Tools needed
-
Test Light
Flat Blade Screwdriver
10mm Socket
Ratchet
Brought to you by 1AAuto.com- your source for quality replacement parts and the best service on the internet.
Hi, I'm Mike Green. I'm one of the owners of 1A Auto. I want to help you save time and money repairing or maintaining your vehicle. I'm going to use my 20-plus years experience restoring and repairing cars and trucks like this to show you the correct way to install parts from 1AAuto.com. The right parts, installed correctly that's going to save you time and money. Thank you and enjoy the video.
In this video, we're going to show you how to replace the 4-wheel drive shift motor on this '98 Explorer, same as any '95 to '01 Explorer, and also 2000 and 2001 Mountaineer. Tools you'll need are straight forward: a flat blade screwdriver, a 10 mm socket and ratchet or a wrench, and a small pointed tool like an electrical tester or a very small screwdriver.
Here we're looking at a transfer shift case motor. We're basically underneath the driver's side door and looking up. The first thing you want to do is unplug the harness connection. Here's my new one. You can see on here, there's basically kind of a bracket here, and then you push down on this tab in order to release it. That's actually up in there like that, so you want to reach up, feel for that, press down, and then pull and remove that connector.
The next thing you want to do is use a screwdriver. You want to pry right between here, which allows you to slide the connector off of this bracket. Just put your screwdriver right up there, and then just pry it a little bit, and work the connector right off. Now you're going to remove these mounting bolts here. You might be able to see one there. There's one here, and then one right up on top here. These are 10 mm bolts.
Here's our old motor, and here's our new one. The new motor from 1A Auto is going to go in there. It's going to work all the same, all the same connections. What you can see here is there are extra wires that come from the transfer case that you'll need to transfer into your new plug. What you can do is first; mount your motor up in. I'm just going to secure it with one bolt on top here. You'll notice that there's a lot more wires into this, which means there's a lot more contacts in there. There's also this red thing. This red thing actually locks all these pins in, so you want to pull that out. Put it aside. I'm putting it in my pocket. Then one by one you want to take the wires from here and transfer them over here.
I've got it lined up, same position, and I'm going to start with this bottom left one. I'm using just an electrical tester. You need a really small screwdriver or some type of small, pointed instrument. You just pry up on that little tab, which then allows me to pull the wire some. Pull the wire out, and then transfer it to the same position on the new connector. Then just keep doing that for all of them. I'm going to do the bottom row first.
Once they've all been transferred, put the red block back in. Press it in. What we did is, when we switched over like that, we have this harness is down under the motor, and we want it to be actually up on top of the motor, so we are going to remove it here so we can swap that around. It's just easier this way because otherwise you have to work and it's kind of up in top in the cramped spaces and it's not that easy.
Take the motor off, loop this harness up and over, so the whole harness goes up and over. Now, put the motor back on. The top one, there's a bracket in the harness. You need to put your bolt through first, and then put it into the motor. Get the bolts on. When you tighten these, they don't have to be all that tight, probably about 20-25 foot pounds. Just a firm okay. Then I'll tighten up this bracket. Same thing doesn't have to be extremely tight, just firm. You bring your connector down, pop it into the bracket, and then connect your harness, and you're all set.
We hope this helps you out. Brought to you by www.1AAuto.com- your source for quality replacement parts and the best service on the internet. Please feel free to call us toll-free, 888-844-3393. We're the company that's here for you on the internet and in person.

How to Replace Transfer Case Shift Motor 1998-2012 Ford Ranger
This video shows you how to replace the transfer case shift motor on your 98-12 Ford Ranger with 4 wheel drive.

