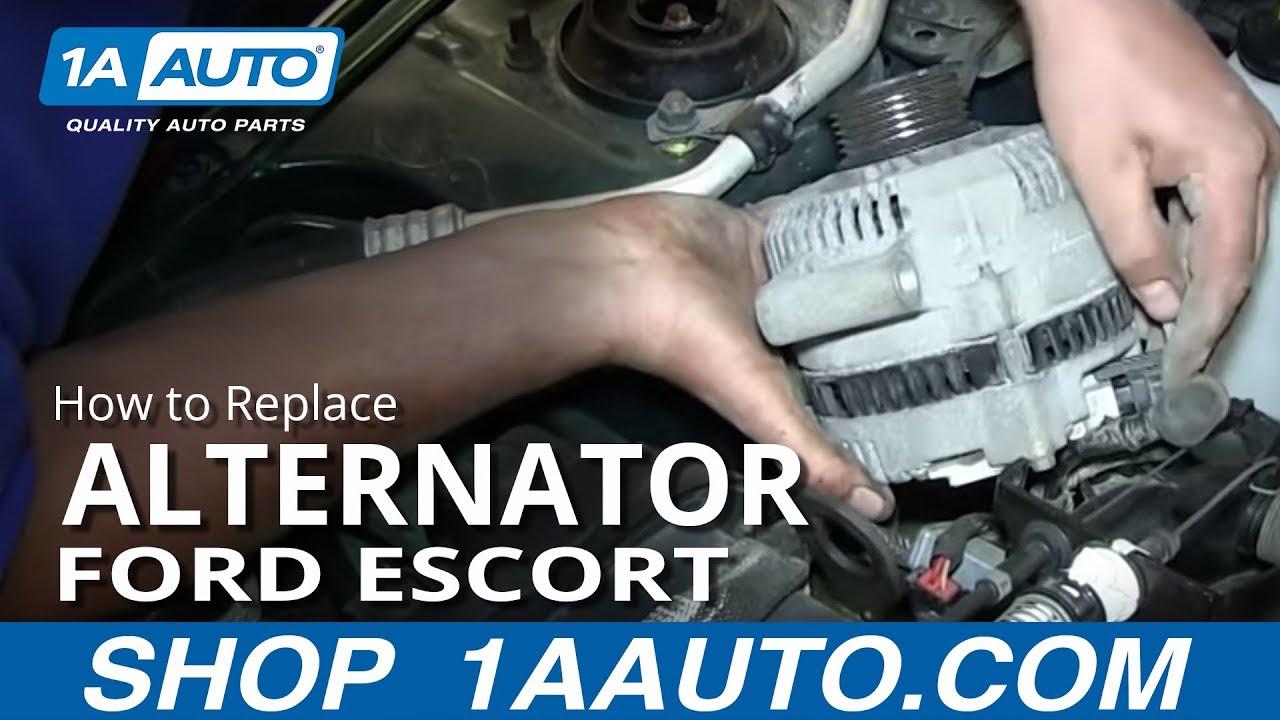
How to Replace Alternator 1998-2003 Ford Escort
Created on: 2013-06-24
Learn how to replace the alternator on your 98-03 Ford Escort with detailed step-by-step instructions in this 1A video!
-
step 1 :Disconnecting the Battery
- Disconnect the negative battery cable with a 10mm wrench
-
step 2 :Removing the Coolant Bottle
- Apply penetrating oil to the coolant bottle bolts
- Remove the 10mm bolt from the coolant bottle
- Remove the 10mm nut from the coolant bottle
- Pull the coolant bottle aside
-
step 3 :Removing the Alternator
- Remove the 13mm bolt from the top of the alternator
- Remove the first of two 13mm bolts from the bottom of the alternator
- Have a drain pan ready
- Remove the oil filter using the oil filter wrench
- Remove the second 13mm bolt from the bottom of the alternator
- Pull the alternator up and out
- Disconnect the two wiring harnesses from the alternator
- Remove the 10mm nut from the alternator lead
- Pull off the alternator lead
-
step 4 :Installing the New Alternator
- Connect the alternator wiring harnesses
- Put the lead onto the alternator
- Fasten the 10mm nut onto the alternator lead
- Fit the alternator down into place, making sure not to pinch any wires
- Start the three 13mm bolts into the alternator by hand
- Tighten the top 13mm bolt
- Tighten the first of the lower 13mm bolts
- Tighten the final 13mm bolt from underneath
- Twist the oil filter into place
- Refill the oil to the proper level
-
step 5 :Reinstalling the Coolant Bottle
- Slide the coolant bottle into place
- Insert the 10mm bolt into the coolant bottle
- Fasten the 10mm nut onto the coolant bottle
-
step 6 :Reconnecting the Battery
- Reconnect the negative battery cable with a 10mm wrench
Tools needed
-
13mm Socket
Socket Extensions
Flat Blade Screwdriver
Oil Filter Wrench
Rust Penetrant
Jack Stands
10mm Wrench
Drain Pan
10mm Socket
Ratchet
Floor Jack
Brought to you by 1AAuto.com, your source for quality replacement parts and the best service on the Internet.
Hi, I'm Don from 1A Auto. I hope this how-to video helps you out, and next time you need parts for your vehicle, think of 1AAuto.com. Thanks.
In this video, we're going to show you an alternator replacement on this 2001 Ford Escort Zx2. This procedure is pretty much the same for any 2 liter, dual overhead cam Escort. What you'll need for this repair is a new alternator from 1AAuto.com, jack and jack stands . jacking up the car and getting one of the bolts from underneath we found was the easiest way ., 10mm and 13mm sockets with a ratchet . a 10mm wrench would work as well . , and a flat blade screwdriver. You'll need an oil filter wrench and a drain pan and you may want to plan to do a oil change with this repair.
Start out by disconnecting your negative battery cable using a 10mm wrench or socket and ratchet.
You're going to remove the coolant bottle overflow tank and there's two 10mm bolts that hold it in: one right here and one down underneath this A/C hose. I'm coating the back side of this screw that holds the coolant bottle in on the strut tower, on the back side with a little of penetrating oil because it's rusty and I don't want it to snap off. I'm going to go ahead and fast forward the video here. What I'm doing is working the bolt out, back and forth and using penetrating oil because it's quite rusty and I don't want it to snap off. For the bottom one, I'm using the same socket and long extension, a six inch long extension. Here, I'm going to fast forward again while I take the 10mm nut off.
There are three bolts that hold it in: one up here and then two down below on either side. I'm using a 13mm socket. We're going to fast forward. We're going to remove the top bolt and actually one of the bottom bolts is fairly easy to get to just with your 13mm socket and ratchet so we'll fast forward as we remove those two bolts. Here you can see we've removed the oil filter, I'll show you that in second. You remove the oil filter and you can easily access that third bolt from underneath. There's your third bolt, it's right underneath the connection to the battery and you get it from underneath. Got the oil filter wrench adjusted. Put your oil drain pan underneath when you pull off your filter. You can combine an oil change with this repair or if your oil is still within the mileage just put the old filter back on. We'll fast forward here as we remove that bolt. As you can see, we have the vehicle up on a lift. You don't have to do it; it's a little more difficult on your back, but you do obviously need a jack and jack stands. As long as you know this is what you're getting into, it actually makes it a bit easier.
There are three connections on the back of the alternator: one power and then two electrical connectors that I'm going to take off now. Remove the boot. Pull it up and see all three. For the big one, I'm going to use a flat head screwdriver, pry up on the connector, and, at the same time, pull it out. It's similar with the little one. It'll be a 10mm nut.
The old alternator on the car was working fine; we're just doing this video to kind of show you. New alternators from 1A Auto are going to be the exact same as the original. They're going to install just the same. We're fast forwarding here a little bit as we just put the alternator down into place enough so that we can reconnect the two wiring harnesses and reconnect the battery harness which takes the 10mm nut to hold it on and tighten that up.
As you saw there, I'm going to start speeding up here a little bit but it just takes a little bit of positioning to get the alternator down into place. Start the top bolt in. Be careful to look down, use a flashlight, look down, make sure you don't pinch any wires or any other components in between the alternator and the engine or the bolts. You can actually start all three bolts by hand from the top, tighten up the top bolts that are fairly easy to get to, and then, you can transition down to the bottom and just tighten up the bottom bolt.
Now, you can see the filter that we took out was white. This one's black. We did do an oil change with this repair but you would either finish your oil change off or just put your original oil filter back on. Tighten it until it's seeded and then another three quarters turn to tighten it. Then, be sure to refill your oil to the correct level.
To put the coolant reservoir back in, you want to slide it on the post that it came off of, down below. Now that you've got your screw and nut started, go ahead and tighten them both up and you should be all set.
Now, reconnect and tighten your negative battery cable.
We hope this video helps you out. Brought to you by www.1AAuto.com, your source for quality replacement parts and the best service on the Internet. Please feel free to call us toll-free, 888-844-3393. We're the company that's here for you on the Internet and in person.

How to Replace Alternator 1996-99 Buick LeSabre
Check out this helpful video from 1A Auto on how to replace the alternator on your 96-99 Buick LeSabre.

