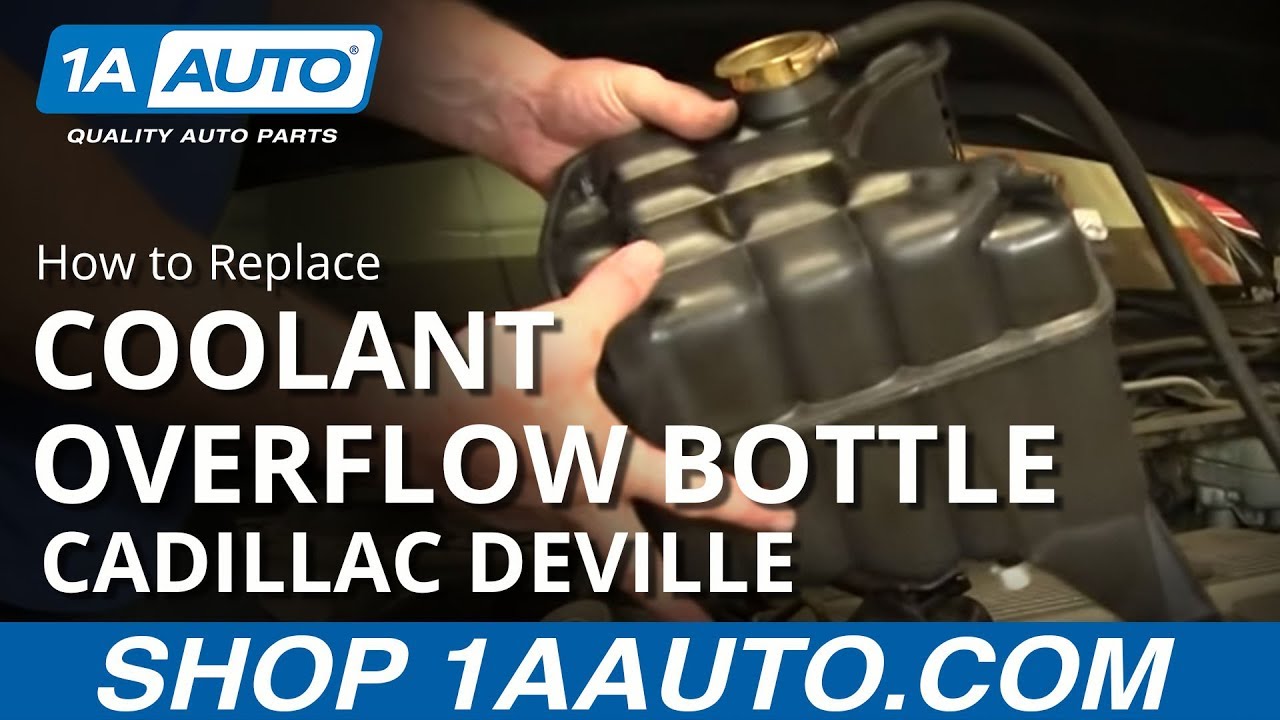
How to Replace Radiator Coolant Overflow Bottle 1996-99 Cadillac Deville
Created on: 2011-08-02
Replace the leaky or broken radiator overflow tank in your 96-99 Cadillac Deville with the help of 1A Auto expert mechanics in this video
-
step 1 :Remove the battery
- Flip up the plastic cover
- Remove the five 13 mm bolts securing the panel covering the battery.
- Disconnect the NEGATIVE battery cable first.
- Then disconnect the positive terminal.
- Use a socket and extension to remove the 13 mm mounting bolt.
- Pull the batter up and out of the engine bay.
-
step 2 :Remove the radiator coolant tank
- Use a flat blade screwdriver to disconnect the hose.
- Remove the two 8 mm bolts and the 10 mm bolt.
- Remove the bracket secured by the 10 mm bolt and set aside.
- Disconnect the lead and the larger hose.
- Place a catch pan under the vehicle, because when you remove the lower hose it will drain.
- Remove the radiator fluid bottle.
-
step 3 :Install the new radiator fluid bottle.
- Hook up the lower hose and secure the clamp with a flat blade screwdriver.
- Bolt the bottle down with your 8 and 10 mm socket.
- Plug in the lead.
- Connect the upper hose, tightening the clamp with your screwdriver.
- Fill the radiator fluid reservoir up to the fill line with radiator coolant.
-
step 4 :Reinstall the battery
- Position the battery into place and bolt down the 13 mm mounting bolt.
- Connect the positive battery terminal.
- Then connect the negative battery terminal with your 8 mm wrench.
- Bolt down the panel with the five 13 mm bolts.
Tools needed
-
13mm Socket
Socket Extensions
Flat Blade Screwdriver
8mm Socket
10mm Socket
Ratchet
Brought to you by 1AAuto.com, your source for quality replacement parts and the best service on the internet. Hi, I'm Mike Green. I'm one of the owners of 1A Auto. I want to help you save time and money repairing and maintaining your vehicle. I'm going to use my 20 plus years experience restoring and repairing cars and trucks like this to show you the correct way to install parts from 1AAuto.com. The right parts installed correctly, that's going to save you time and money. Thank you and enjoy the video.
In this video we're going to show you how to replace the radiator bottle on this 97 Cadillac Deville. The same as any 96 to 99 Deville with the Northstar V8 engine. These bottles can get cracked just from use and expansion and contraction, and also small accidents. The only basic tools that are needed 8, 10, and 13 mm sockets with ratchet extension, and then short and regular flat blade screwdrivers. The first step you're going to remove your battery. To do that you lift up on this access panel and then there's five 13 mm bolts to remove. I guess my car is missing one here. Then, you want to disconnect your battery. Normally these are 8 mm bolts but mine has been changed. I'm going to start with the negative cable here. We'll just hit a little fast forward here, disconnect the negative cable and then disconnect the positive cable. Now use a ratchet, a long extension, and a 13 mm socket, there's a mounting bolt down in the center of the battery. There's the bolt, and the rubber mount there as well. Next, flat blade screwdriver, loosen this clamp. Twist and pull this hose off. Put that up like that so it doesn't drip. Now there are three bolts to remove, 8 mm, an 8 mm right down here, and then a 10 mm here. Fast forward as I remove that 1st 8 mm bolt and then the 10 mm bolt. Once you get the 10 mm bolt out then there's a bracket that goes round the A/C evaporator there, like a little half moon bracket, pull it out towards the engine and then out away from the bottle. You can see it in the second when I pull it out. Fast forward again here as I pull out that lower 8 mm bolt.
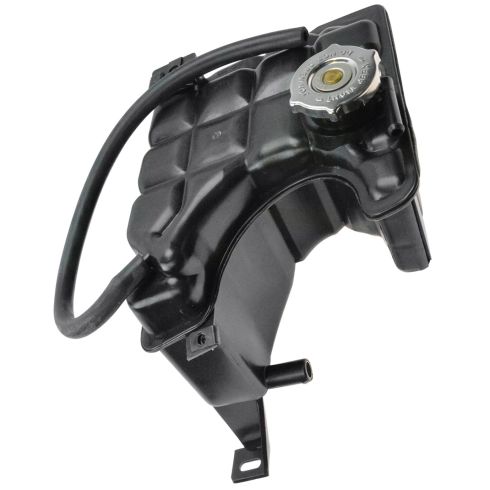
Now your bottle is pretty much dismounted. You still have a lid down here and then also up in here. You can see that clamp up right there. We're going to remove that hose clamp. Before you do that make sure you put a catch basin under your vehicle. I'm using an 8mm socket ratchet to loosen up this hose clamp. Now, I go in there with a short flat blade screwdriver. Loosen that up now. Pull this hose off, and then on pulling it I can feel some fluid come out. Once it comes off, it's quite a bit to come off. Catching most of it. Then we kind of just move the bottle out. I can disconnect the lid and there's the bottle out. Here's the new bottle from 1A Auto. Now, on this vehicle my original bottle is actually fine, no cracks or anything like that. I'm going to reinstall it. I'm not one to waste a part on a car that doesn't need it. But I want to show you everything about the one from 1A Auto is the same. It's got brass inserts into these so they're reinforced and everything is going to go together just the same, it has the center and everything. All right. We will obviously switch over to your radiator cap and notice and everything if you like. We're going to install the bottle back in again. Twist it back right in like that. First thing you do is reach under and force our hose back onto the bottle. Looking down in you can see our hose is back on. We'll tighten up our clamp. We'll screw drive it over back in with the 8 mm socket and ratchet. Make sure it's really tight, and reconnect this hose. Then clamp up, plug in the sensor lid. This bracket will go in here, round, into so you're just going to push on the ears and then make their way in there. Now I can start our other two bolts. One way down here and then screw it. I'm going to fast forward here. We're going to tighten up that 10 mm bolt and then the two 8 mm mounting bolts. You want tighten it up firm. You don't want to over tighten them though. We'll keep you going quick here. I just narrowed it a little bit, lift up that access panel, just carefully lower your battery down in, make sure your wires are out of the way, they don't get underneath or anything.
Now, take your mounting cushion, put the bolt through it and start it in, and then tighten it up with your 13 mm socket ratchet extension. Now, reconnect your battery and you want to connect the positive battery cable first and then make sure it's nice and tight with the wrench. Then connect the negative. When you're connecting the negative you will probably get some sparks as the cable touches the battery. Nothing to worry about. They won't hurt you. They're just kind of a little bit alarming sometimes, but tighten up that negative cable as well. Now put the brace back in and insert the five bolts and then tighten them up nice and snug and put the access panel down. I'm going to use a nice clean funnel that's got a screen in there to filter out tiny particles. I made sure I clean my pan before I put it under the car. That funnel will filter out any dirt or anything, and I can reuse my fluid because it all still looked nice and healthy. Then, last but not least, make sure you put the radiator cap back on nice and tight, and then take that overflow tube and just make sure it's routed down the same way it was before, it just kinds of routs down right to the ground.
We hope this helps you out. Brought to you by www.1AAuto.com, your source for quality replacement parts and the best service on the internet. Please feel free to call us toll free 888-844-3393. We're the company that serves you on the internet and in person.
Shop Products

How to Replace Radiator Overflow Bottle 1996-2007 Ford Taurus
Follow along with this video to find out how to replace the coolant overflow bottle.

