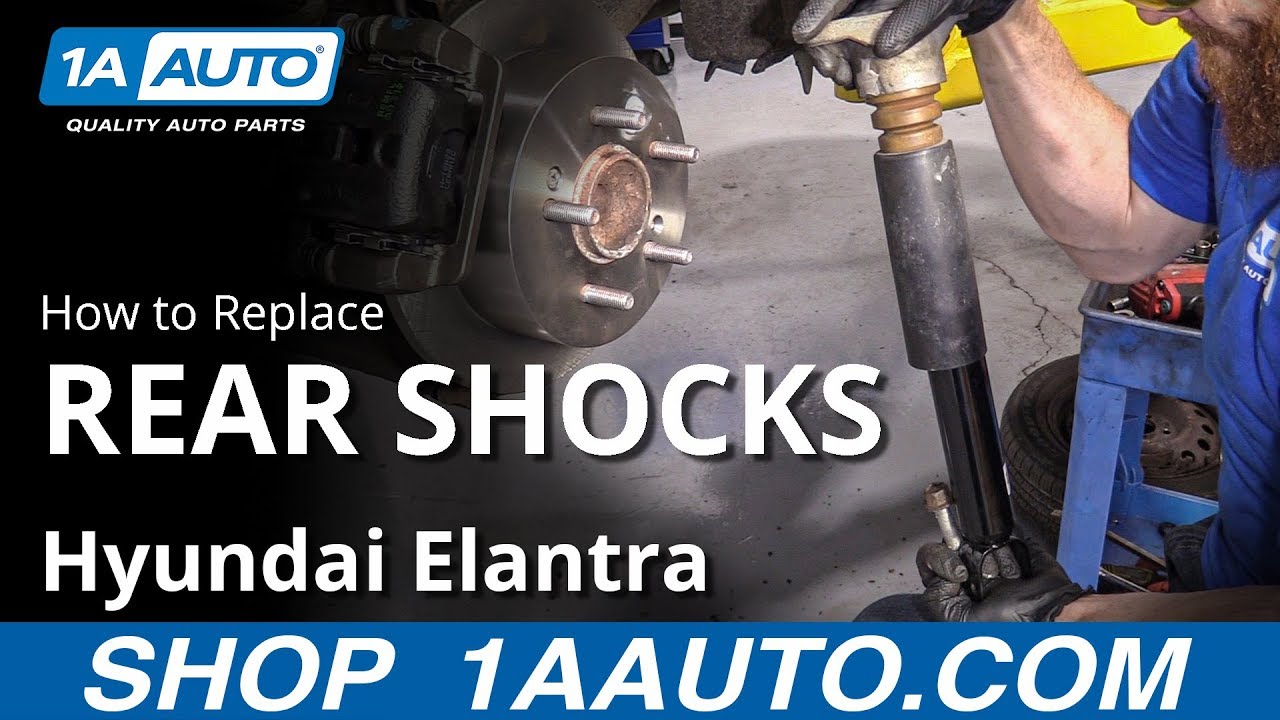
How to Replace Rear Shocks 2007-10 Hyundai Elantra
Created on: 2019-06-24
Check out this video to learn how to replace the rear shock absorbers on your 07-10 Hyundai Elantra. 1A Auto shows you how to do it yourself!
-
step 1 :Removing the Wheel
- Raise the vehicle with minimal weight on the tire
- Loosen the five 21 mm lug nuts
- Raise and support the vehicle
- Remove the five lug nuts
- Remove the hubcap
- Remove the wheel
-
step 2 :Removing the Rear Shock Absorber
- Remove the 19mm nut from the 19 mm lower shock absorber bolt
- Remove the 19 mm bolt
- Remove the two 14 mm top shock absorber bolts
- Remove the shock absorber
- Remove the 17 mm nut from the top of the shock absorber shaft, using locking pliers to prevent the shaft from spinning
- Remove the shock mount and the boot with bump stop from the shock absorber
-
step 3 :Installing the Rear Shock Absorber
- Compress the shock absorber shaft 3-5 times
- Place the boot with bump stop onto the shock shaft
- Place the shock mount onto the shock shaft
- Place the washer and 17 mm nut onto the shock shaft and tighten it
- Install the shock absorber into the lower mount position
- Insert the 19 mm bolt through the lower shock mount
- Fasten the 19 mm nut on the 19 mm bolt
- Install the two 14 mm bolts into the shock top mount
- Torque the lower 19 mm bolt to 116 ft-lb
Tools needed
-
21mm Socket
Socket Extensions
Torque Wrench
Locking Pliers
14mm Socket
17mm Socket
Jack Stands
19mm Wrench
19mm Socket
Ratchet
Floor Jack
1/2 Inch Breaker Bar
Hey, friends. It's Lenn here at 1A Auto. Today I'm working on a 2007 Hyundai Elantra, I'm going to be showing you something fairly simple, rear shocks. I want to be the guy that shows you how to do this. If you need this, or any other part, you can always check us out at 1aauto.com.
Now it's time to loosen these up, okay? 21-millimeter, we've got out long ratchet here. I've got the majority of the weight of the vehicle off the ground, it's just barely touching, so I can remove the lug nuts, or at least break them free without spinning the wheel. Okay? I'm just going to give it a quick crank, not going to loosen it up all the way. Last lug nut, I'm holding the wheel, take off our hub cap. Now we're going to carefully take the wheel down and lower it to the ground, and we'll put it safely out of the way.
So, here we go. We're going to take out the lower area of this shock first, this side right here is a 19. I'm going to use a wrench, I'm just going to get it on there. The other side, also a 19. You can use a ratchet, you can use whatever you want. We're just going to get it off. I'm going to use an air gun. Just a little shake. Feels like it's pretty much ready to come out. There's my bolt, 14, 14. Whatever you got to do to take them out, you do you, Boo-Boo. There we go, just grab both of these. That's what they look like. They're both the same. Grab my shock, I'm going to condense it, pull it up and out.
So, we're going to be doing the rear shocks, right? It's important to remember that there's a big difference between rear shocks and front struts. Struts, generally speaking, have a big coil going around them, okay? A big spring. It looks something like this. If you're working on something that has a big spring around it that looks like this, you would not want to touch this right here. This is the nut in the center, okay? Where this does not have a big spring, that means that isn't compressed and there's no force that's going to want to drive it up when I take that nut off.
If you took off this nut on the top of that one ... unless you have that spring compressed. Okay? Big difference. Let's get it off. So now it's time to work on this, right? We got it out, the difference is our new shock doesn't come with this cap, okay? So to get that cap off, just a little rubber boot here, you just put this aside, it doesn't come out fully, just so you know, it's still attached there.
Right under here, there's a 17-millimeter nut, okay? So, you're going to want to remove that. An easy way to do that would be, well, an air gun, first of all, but if you don't have access to that just slide this down. We're going to grab on to the shaft with some locking pliers, so we can hold it, and then we'll just use our 17-millimeter, and our ratchet to take it right off. I'm going to try to grab onto this with some locking pliers, try to grab it as tight as I can. I think I can go a little tighter than that.
Okay. Behind here is our 17-millimeter nut. Here we are. I'm going to fully remove that. There's our nut. Set that aside, pull this off, there's our mount, get our locking pliers off of here. Pull that off of here, make sure it's in good condition, we'll set this stuff aside, and here we go. There's our old shock.
Over here we have our original rear shock from our 2007 Hyundai Elantra, we just removed it. Over here, we have our brand-new quality 1A Auto part. It's got the same mounting hole at the bottom there, okay? Same width. Looks pretty good. The cylinder itself is the same height, and this is a little shorter, but that's only because this is still compressed. In one second, I'll show you how to go ahead, and get this ready to go. With that being said, I don't see any reason why this wouldn't be a great part to install, so I'm going to go ahead and do it.
If you need this, or any other part, you can always check us out at 1aauto.com. Thanks.
So, now it's time to get this puppy charged up. What I like to do, push down, it's not going to come up super fast. We get this out of the way. I'm going to leave this plastic on here, let it come all the way up. Once it's hanging out there, I'm going to go ahead and bring it back down. I like to do this several times, at least three times. Three to five times would be best, never less than once. You need to get everything mixed up and charged in there. Every time you push it down, it gets a little stiffer, and that means you're doing the right thing here. Okay. So like I said, do that three to five times, and then you're clear to start getting all those parts put onto your new quality 1A Auto part.
We've got this all gassed up, right? We did our three to five. Easy-peasy. We're going to take this, slide right over, put the shaft through the hole, goes right down. This just kind of protects this right in here from as much debris and crud, whatever gets kicked up. It's going to help keep it out of there, okay? Pretty basic. We've got our mount. This goes right on top here. Flip this up, underneath there, there was a little lifter washer, nice and thick. That goes right there. We've got our brand-new nut. It's a little locking nut. You can see it's got little wedges on there. I'm just going to put it right up in here. Okay. Start's on. Here we are, it's pretty much bottomed out there. I still got to bring it all the way down, but that's as far as the lug's going to let me go, so I'll bring it back down here.
There's several ways you could do this. You can go ahead, and grab on to the top here, if you wanted to. Some locking pliers. I'm going to use a wrench, wrench this on, or you can use your locking pliers, grab all the way up, as close to the top as you can. You don't want to grab anywhere down close to where the piston rides up and down because if you create a burrow with this you don't want it hitting that seal, okay? The best way to do it would be to grab up there, but if you don't want to do the wrenching and sit there for an hour, just grab up as high as you can, because I know this shock isn't going to make its way all the way up to here, that'd be pretty much impossible. Clip that puppy down, take my ratchet, I'm going to get the right socket, and we're going to tighten it up.
We've got our locking pliers on here. I'm going to grab my 15-millimeter socket now, that's what size our new locking nut is. I was just thinking about something. I'm going to use my locking pliers, I'm going to come down a little lower with it, actually, just because I want to make sure that this can come down as far as it needs to, and if my locking pliers are holding it from coming down, then it might cause an issue. Here we go. I got that squeezed as far as it's going to go. I still got plenty of room. Perfect. Let's tighten this puppy up, 15-millimeter, air gun would be nice. Here we go. Go ahead and tighten it. Bonk, bonk. Here we are.
You want to make sure that this is closed. When you get it up on the body of the car, it will sit down there, you know what I mean? It's going to be hitting up against the body, so it'll be pinched nice and shut for you. Okay? So this spins, just so you know. When we go to get it into the vehicle, it's going to be like this. You might have to just compress it to get it between the knuckle and the body of the car. This is the lower bolt for the rear shock. I'm going to put a little bit of Never-Seez here. Okay. I'm not going to put it on the threads. If you wanted to put something on the threads, you can go ahead and put a little bit of threadlocker, that might be a good idea. Up here, I'm going to use a little bit of Never-Seez, not too much, just enough so someday, if I ever have to take these shocks back out again, they won't break up in the body here because getting those out once they break, super fun. And by super fun, I mean not fun.
We've got our brand-new quality 1A Auto shock here. What I'm going to do at this point, I'm just going to compress it. Okay. I'm going to put it up in here. There we are. Perfect. So, we got it hanging out, it's doing its thing, it's having a good time with its buddies. I'm going to line up the bottom bolt hole. I'm just going to wiggle the shock around so this bolt can go all the way through. There we are. Start the nut on. Like I said, threadlocker if you want, it's up to you, it's your prerogative.
We have our two upper bolts. Now that we have the lower bolt through, now's a great time to do the upper. Go ahead and do this, and we can just flex it a little bit, and get this over where it needs to go. I'm just going to start the one that does reach. There we are. Cool. You can take a jack or whatever you've got, try to jack this up. I'm just going to use something as basic as a pry bar. All I need it to do is come up enough to get my bolt started. Okay? Once I get it started, once I go ahead and tighten them down, it'll pull it right in. No worries. Easy-peasy.
We're going to tighten these up, 14-millimeter. Removing this one, and then I'll tighten that one up fully. Both of them look pretty good, so we'll go ahead and tighten it. Feels good. Let's get this one again, real quick. Very nice. Tight, tight. As you can see, the rubber seal up along the top that I was talking about is pressed right up against the body of the vehicle, we won't get any moisture in there, so now we can move ahead. We're going to go down to our lower bolt. That's going to be torqued to 116 foot pounds. Let's grab our tools. To get these started, or bottom them out, we're going to 19, 19. Okay. And then we'll go ahead and torque them down once it's fully bottomed out. There we are, 116 foot pounds with my 19-millimeter.
All right. It's time to get the wheel up on here. We've got our lug nuts closed, we've got our hub cap. I'm just going to take it, roll it up my leg here, get it on there, take my hub cap. We've got a little slot right there, where our valve stem goes through. I'm going to get one lug nut on while I'm still holding it, make sure it's on there good. There we go, the wheel can't fall off, now I'm going to grab the others. 21-millimeter. I'm just going to bottom these out. You can even air gun, if you have access to it.
All right. I want to make sure that we do this in a star pattern, so the wheel won't get kinked on like this if I tighten this one up and then this one, the wheel might be sitting like this, I might think I have these tightened down, and really, they're not. Right? I mean, pretty obvious. So, we'll get it close, we'll come down here. Air gun would make short work of this.
Time to torque this down, 21-millimeter, star pattern. I'm going to go 80 foot pounds. Let's go ahead and go around in a circle here now.
Thanks for watching. Visit 1aauto.com for quality auto parts shipped to your door, the place for DIY auto repair, and if you enjoyed this video, please click the subscribe button.
Shop Products


2007-10 Hyundai Elantra Rear 4 Piece Suspension Kit TRQ PSA38869
- (2) Rear Upper Shock Mount Kits
- 4 Piece
- (2) Rear Shock Absorbers

How to Replace Front Struts 2007-14 Toyota FJ Cruiser
In this video, 1A Auto shows you step by step how to replace the front struts in your 07-14 Toyota FJ Cruiser!

