Brought to you by 1AAuto.com, your source for quality replacement parts and the best service on the internet.
Hi, I'm Mike Green. I'm one of the owners of 1A Auto. I want to help you save time and money repairing and maintaining your vehicle. I'm going to use my 20+ years experience restoring and repairing cars and trucks like this to show you the correct way to install parts from 1AAuto.com. The right parts installed correctly, that's going to save you time and money. Thank you and enjoy the video.
In this video, I'm going to show you how to service a headlight on this 2008 Equinox, same as any '05 to '09 Equinox. The tools you'll need are a flat-blade screwdriver and then you'll need an 8-millimeter and 10-millimeter socket. You'll need a ratchet and extensions, as well. We're going to show you both replacing the whole light if you have a broken one or a clouded and faded one as well as just servicing the bulbs.
First, you're going to want to remove this center bar, and it's not too difficult. Use a flat-blade screwdriver. On the edge, carefully go in here and pry out some. Okay, and pry out towards the middle a little more. Okay, and what I do is usually just give this here a good tap and I've got to get it unlocked from the headlight here Okay, then repeat that for the other side Okay, and then eventually this whole bar comes off. Okay. On the back side, it has little plastic clips. You can see one broke off there. Okay. They're all good in the middle. Two have broken off on this side. Usually, if you've got a broken one, it's okay to kind of grab one from the middle here, okay, and then put it on the outside. It's always important that you have them on at least the outsides and then some in the middle.
Now, there's three bolts to remove, two 8mm, one here, one here, and then there's a 10mm way down right in there. Okay, the 10mm is usually the hardest. I've got a couple of extensions on my ratchet right down. Okay, we'll just speed up here as we take those three bolts out. The one that's way down low, the 10mm, is going to be the most difficult. It's on there with some Loctite, so you'll have to put a little effort into it the bolts off. This tab here, you pull up and then it comes out. There's a little tab that locks down. And then you want to grab the headlight down at the bottom on the edge, and you want to give it a good Oh, it's in there There's a pivot ball at the bottom. See if I can give it like a good tug, okay, and then kind of come out, up and out with it.
Okay. Now, in behind here, okay, press on the tab here and disconnect your headlight bulb. Okay, and then these bulbs, you can either press the tab and disconnect them or you also could twist, and that one comes out. This one up here also twists. And this one here twists and comes out. Okay. If you're just looking to replace your light bulb, okay, this ring twists and comes off. Remove your bulb. Reinstall it. Put the ring back on. All of these bulbs, the smaller ones, pull out and push back in. This larger one twists counterclockwise; it comes out. In, twist clockwise; you push down when you're twisting. And you can also disconnect any of these sockets. Press the tab there. Okay, this one, just press down there. This one, press the tab here, as well. Disconnect.
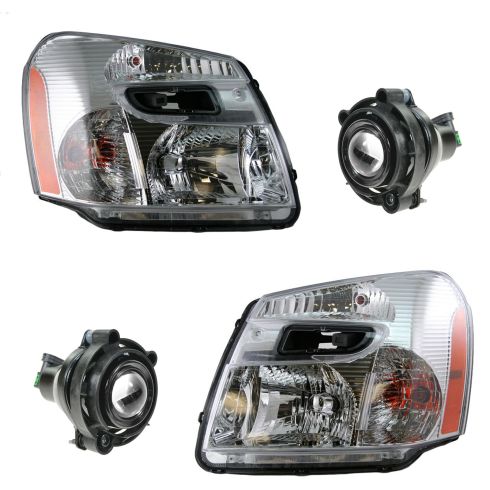
Okay. The new light from 1A Auto, you can see it's just like the original. It's got all the original mounting points and everything. Okay, if yours has been broken or if it's cloudy and faded and you just want better visibility and it's going to reinstall, what I usually do is just kind of peel some of this plastic away from the edges I'm going to put it back in place. Connect our headlight. Okay, this goes here, and this goes here and put this one on here. Now the harness is all connected. Okay, pull the plastic off the bottom and the sides, and I kind of tilt the light down and in. Actually put your light down and in, and make sure your wires go down below the metal support here. Pull on that right there a little bit, and then move your light into place. Okay, push this upper one back and on. Okay, make sure the lower one gets lined up, and it goes back and in. And then you put your mounting screws back on.
Okay. Now, I'm going to speed up here as I put the two upper ones in by hand first, then tighten them up. Then feed the lower one down in. I just put them in by hand first, then tighten them up. And all these bolts, you want them firm, but don't over-tighten them. Okay, take the plastic off. Put your center bar back on and you're all set.
We hope this helps you out. Brought to you by www.1AAuto.com, your source for quality replacement parts and the best service on the internet. Please feel free to call us toll free 888-844-3393. We're the company that's here for you on the internet and in person.