Brought to you by 1AAuto.com, your source for quality replacement parts and the best service on the internet.
Hi, I'm Mike Green. I'm one of the owners of 1A Auto. I want to help you save time and money repairing and maintaining your vehicle. I'm going to use my 20-plus years experience restoring and repairing cars and trucks like this to show you the correct way to install parts from 1aauto.com. The right parts installed correctly, that's going to save you time and money. Thank you and enjoy the video.
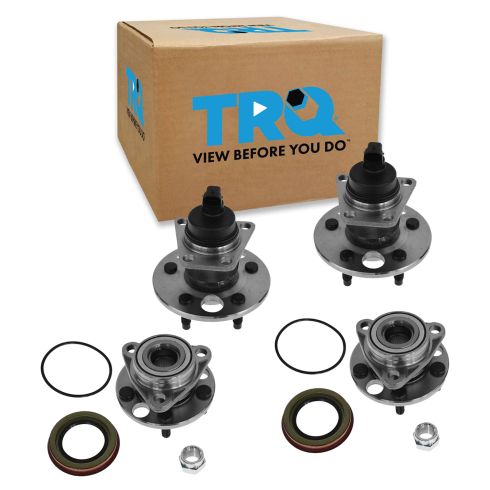
In this video, we're going to show you how to replace the rear hub on this 1997 Sunfire. This hub replacement is basically the same as any 1982 to 2005 Cavalier, Sunbird, Sunfire. Just maybe some cars don't have ABS so you wouldn't unplug the connector. Tools you'll need, 19mm socket and ratchet to remove the wheels and tires, pliers, vice grips or vice grips pliers, screwdriver, 15mm socket and ratchet wrench, and a T50 Torx driver. These are the tools for this '97 Sunfire. If you have a different year, make or model, you could need slightly different tools.
I want to raise the car, secure it and remove the rear wheel. Once you have the rear wheel off, you pull the drum off and that came off pretty easy. It's not always going to come off that easily. Basically, hook your vice grips on to a spring and pull. Spring off. You basically, get your pliers on here, push and turn. It's released and a stud comes out. It's the same thing over here. Take a screwdriver and pry off the adjustor lever. Some things come off here. Now, the only thing that you have holding it together is this pin here which is attached on the back side by a clip and kind of just drive that clip off with the screwdriver. Now, your shoes are off.
Now when the brake is out of the way, you can see there's inside there is one of the Torx bolts and then you can just turn this, one there and around here, one there. They hang on to the back here with these bolts. So only to put a wrench on these bolts and hold the Torx bolts on this side. First I'm going to do is give these bolts a good coating of penetrant. On an ABS-equipped car, you can just take and disconnect the ABS sensor. Just kind of get it up and out of your way.
What I like to do is tack the lower ones first with the T50 Torx bolts and they have a 15mm nut on. Now, this car is a Northeastern car so the nuts are pretty rusty so you want to make sure you get your wrench on there really good. I take my 18mm wrench and I stick it on there like this. That gives me some extra leverage. There's very little room to work here and I can just barely move them. Once I get it moving, I'll be able to use this side, you can pull it easy, that wrench moved a little bit. That's me turning the bolt. As I get a little loser, should be easy to turn. Now, I can just undo it from here. Back at the hub actually starts to hold that wrench for me. It's not easy but that's how I'll attack the other ones. Now the other two, the top ones are easy now. I'll be able to use my impact wrench and access those really easily. Once you have the bolts out, after the Torxes and all that good stuff, what you want to do is actually keep the backing plate, this embarked from the hub which basically just takes- You need to be somewhat careful here cause you've got a hard line. There's your hub off.
What I'm going to do is take a wire brush and clean this all out a little bit and then put it back together with a new hub. Old hub obviously, new hub, you can see from the back it's all the same. Everything's got to bolt together and be exactly the same. It's just going to be nice and new and function a whole lot better, not making any grinding noise and whatnot. Just take the new hub, got into place. Take a bolt put them on and a nut. Then you need to tighten this up and you want it, tighten the top, right one snug and then the bottom left one snug and kind of crisscross until they're all snug and then you want to torque them. One thing I'm doing is this anti-seize lubricant. It just helps everything good and get a little easier and I put that on each bolt before I put the nut on.
I'm going to tighten up the bolts to 44 ft. pounds. In the bottom, I'm going to have to put the torque wrench on the Torx bit. Just quickly, plug in the ABS lead. Now from here, we are now going to speed through putting the brakes back on. If you want to see this part of the video in regular motion, just check our other videos for rear drum brake installation.
We hope this helps you out. Brought to you by www.1AAuto.com, your source for quality replacement parts and the best service on the internet. Please feel free to call us toll-free, 888-844-3393 where the company that's here for you on the internet and in person.