Hi, I'm Mike from 1A Auto. We've been selling auto parts for over 30 years. We're dedicated to delivering quality auto parts, expert customer service, fast and free shipping, all backed by our 100% satisfaction guarantee. Visit us at 1AAuto.com, your trusted source for quality auto parts.
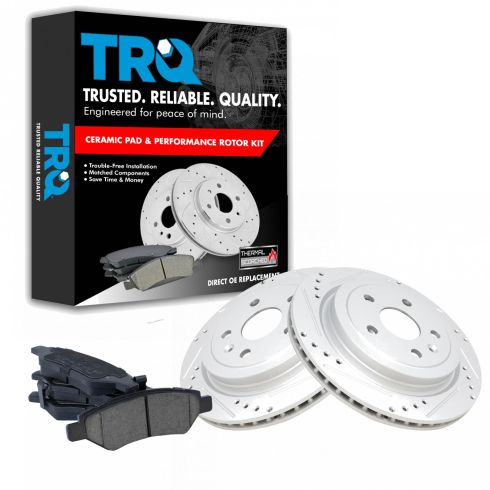
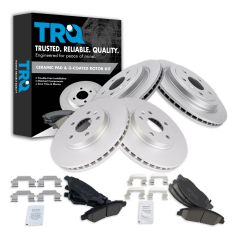
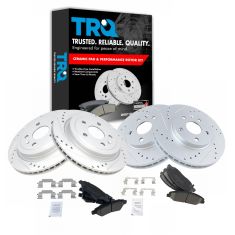
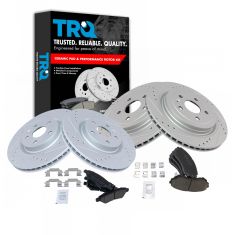
In this video, we're going to be working with our 2011 Chevy Camaro. We're going to show you how to remove and replace your rear brake pads and rotors. We're showing you this on the passenger side but the procedure is the same on the driver side and we recommend you replace your brakes in pairs. If you like this video, please click subscribe. We have a ton more information on this and many other vehicles and if you need these parts for your car you can follow the link down in the description over to 1AAuto.com. Here are the items you'll need for this procedure.
Loosen all of your lug nuts with a 22 millimeter socket and a breaker bar or a long ratchet. Raise and support your vehicle. We're using a lift to make it easier to show you what's going on but this job can easily be performed at home with a jack and jack stands. Finish removing all of your lug nuts. You should be able to do this by hand now, but you can use a 22 millimeter socket and ratchet if necessary. Remove your wheel and tire.
Using a T30 Torx socket, a ratchet, and an extension, remove the rotor screw. If yours is stuck, you can use a box end wrench on the lugs like this to counter hold it while you loosen the screw.
Loosen and remove the two 14 millimeter caliper guide pin bolts. Do this with a 14 millimeter socket and ratchet. If yours is spinning, you can either get a skinny wrench on the hex of the caliper bolt here, or you can go ahead and grab that with a pair of pliers. These bolts are one time use only, so be sure if you're removing them, you have a new set to replace them with. Remove your caliper and hang it somewhere safe and out of the way with something like a bungee cord, zip ties, or mechanic's wire. Really all you want to do is make sure that you're not putting any stress on the rubber hose.
Remove your brake pads. If yours are stuck in there, you can use a flat blade screwdriver or a small pry bar to pop them out. Otherwise, just take them out by hand. Loosen the two 16 millimeter caliper bracket bolts with a 16 millimeter socket and a breaker bar. These bolts are also one time use, so again, if you're going to be loosening them or removing them, be sure you have a new set handy. Once we've cracked them loose, we'll switch over to a 16 millimeter socket and ratchet. Then remove your caliper bracket from the vehicle.
Now, your rotor may be stuck on. First, always be sure your e-brake is off so you don't damage that when removing the rotor. If you're not saving the rotor, you can go ahead and hit the faces of the rotor to knock it loose. Or if you want to save the rotor because you're getting it turned or just replacing another component, you can hit the hub of the rotor between the studs and that'll usually free it up enough to get it off.
Use a flat blade screwdriver to pop off your brake shims. Now, ours aren't in bad shape so you can just use a wire brush and remove all the dirt and debris from them. As long as they don't have any heavy rust build up or they aren't broken or have lost that spring, you can go ahead and just clean them like this. Or if yours are really bad, you can always just replace them with a nice new set.
Either way, you'll want to use a steel wire brush to bring down all the corrosion and buildup where the actual shims sit in the caliper bracket. You don't have to go crazy here and make these a brand new polished clean surface. You just want to make sure you get the heavy stuff off so your new shims sit on there nice and straight.
We'll put a thin coat of brake grease where we just cleaned. This will keep our shims from corroding and getting stuck onto the bracket, as well as helping to prevent any other rust and debris buildup for the next time we need to do our brakes. We'll just be able to wipe the old grease off and then wipe some new stuff on and save us some time later. Hold the boot and slide your caliper pin out. Wipe off all the old grease with a paper towel. Now, this is nice and clean and smooth so we'll just re-grease this and throw it back in. If you have any heavy rust buildup or corrosion, you'll need to either sand them down and grind them if it's not bad, or if they have some really heavy buildup, they can be replaced. Ours looks good, so we'll just throw some new grease on there and pop it back into the boot. Make sure that it actually seals back into that boot, and then we'll do the same thing with the other pin.
Install your shims. Pop into place. Then we'll apply some grease to the top of these too, again, to prevent them from corroding and also to make sure that our pads move smoothly and quietly along the guide.
Make sure you clean up any rust buildup on your hub as well. The face of our hub is actually still nice and clean, but the bore has got some buildup on there, so we're just going to take our wire brush and knock it down. Again, don't need to have a perfectly clean hub when we're done here, but getting this debris off will make our new rotor go on nice and easy and help prevent it from getting stuck on there again in the future. Then put a thin coat of grease on here. Same idea, this is just going to prevent rust buildup later on, make sure our rotors come off nice and easy in the future, and save us the headache of needing to clean all this surface down next time.
Install your rotor onto the hub backwards and spray down the inner piece here because this is what's called a drum and hat rotor, which means our e-brake is actually a miniature brake drum that sits inside of here, so this is its contact surface, and then we'll want to spray the back face of the rotor as well to remove the solvent they use to keep these from rusting when they're in the warehouse. Flip the rotor over and install it the right way. Be sure to line up your rotor's screw hole with the threads in the hub. We'll spray this side down as well.
Reinstall your rotor screw. Now these don't actually have any kind of structural integrity or function to them other than holding the rotor upright when you install your new rotor, so I'm just using my T30 Torx socket on the end of an extension just to help keep that upright and make installing our caliper bracket, pads, and calipers a little bit easier.
Reinstall your caliper bracket and start your two new 16 millimeter caliper bracket bolts by hand. We'll then bring them down close with our 16 millimeter socket and ratchet. We'll then torque the bolts to 30 foot-pounds. We'll then add 90 degrees to the bolts. Now, you could use a torque angle gauge for this, but 90 degrees is pretty easy to eyeball. Trust me when I say once these bolts are down tight, they're down tight. You won't get them any further than that 90 degrees.
Install your new brake pads. Grease the back side of both your brake pads. This will help prevent them from sticking to our calipers as well as making sure they're nice and quiet and smooth.
Unhook your caliper from whatever you used to secure it out of the way. We'll then use a pair of tongue and groove or slide jaw pliers to slowly compress the piston on the caliper.
Reinstall your caliper. Install your new caliper bolts. We'll do the same thing, we'll hold the guide from spinning with a pair of pliers and torque these to 20 foot-pounds. The manual does say these bolts are one time use. However, we don't have to add a degree angle to them to torque to yield, but where the manual says to replace them, we went ahead and threw a new set in.
Reinstall your wheel and tire and get all five of your 22 millimeter lug nuts on as tight as you can by hand. Torque your lug nuts to 140 foot-pounds in a cross pattern.
Thanks for watching. Visit us at 1AAuto.com for quality auto parts, fast and free shipping, and the best customer service in the industry.