Brought to you by 1AAuto.com, your source for quality replacement parts and the best service on the Internet.
Hi, I'm Mike from 1A Auto. I hope this how-to video helps you out, and next time you need parts for your vehicle, think of 1AAuto.com. Thanks.
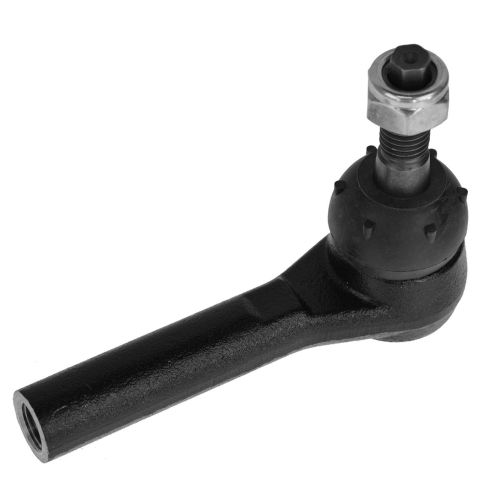
In this video, we're going to show you how to replace an outer tie rod on this 2005 GMC Savana 2500. It's the same process on the Savanas from 2001 to 2006, as well as a large variety of GM trucks and vans. The tools you'll need are an adjustable wrench, a piece of pipe for leverage, a 7 millimeter and 21 millimeter socket and ratchet, a pair of pliers, jack and jack stands, a hammer, and a torque wrench.
Start by removing the wheel cover or whatever wheel trim you might have. This one has a chrome one. Pull that off, and then, just use your socket and pull or loosen the lug nut covers. Pull the center cap off. If you don't have the benefit of air tools, you'll want to loosen the lug nuts with the vehicle on the ground. Then, jack up and secure the vehicle and remove the lug nuts, wheel, and tire.
Now, what you want to do is angle the wheel so you can get back to the outer tie rod. Now, using an adjustable wrench and a piece of pipe, you want to loosen the tie rod. Using a 21 millimeter socket, you want to remove that castle nut at the top of the ball joint. This one didn't have a pin through it to secure it, but typically, they do. All you want to do is straighten out the pin and pry it out. Now, using a hammer, you just want to hit the knuckle. Just repeatedly hit it until that bolt loosens up and pull the tie rod free. Before you remove the tie rod, make sure you know what the length of it is. Just measure this distance. Now, you can spin the outer tie rod off.
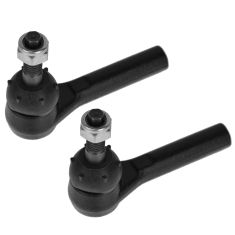
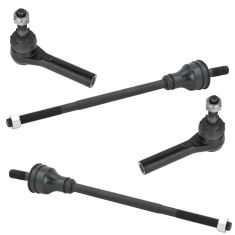
The old one is on the right, with the new outer tie rod on the left from 1A Auto. You can see it's an exact match. It comes with everything you need for installation. Now, using a 7 millimeter socket and ratchet, you just want to make sure you tighten this up. Then, twist the outer tie rod back onto the inner tie rod. Now, you want to re-measure it and make sure it's the right distance. Then, you want to line up the knuckle with the bolt on the ball joint. Push it up through and replace your castle nut. Push the pin through the bolt and the castle nut. You just want to use pliers to pry the ends of the pin. Now using your adjustable wrench, just tighten that back up.
We'll just fast forward as he puts the wheel back on. You want to replace the lug nuts while it's up in the air. Tighten them. Lower the vehicle. Tighten them the rest of the way and then torque them to 100 foot-pounds. Then, you want to put back on your hubcap. Tighten the lug nut caps and replace your wheel cover.
We hope this video helps you out. Brought to you by www.1AAuto.com, your source for quality replacement parts and the best service on the Internet. Please feel free to call us toll-free, 888-844-3393. We're the company that's here for you on the Internet and in person.