Hi. I'm Mike from 1AAuto. We've been selling auto parts for over 30 years!
We'll open the door and right under the center of the dash is the lever. We'll pop the hood. Under the center of the hood, on the bottom, there's this lever. You want to move that and that will release the hood.
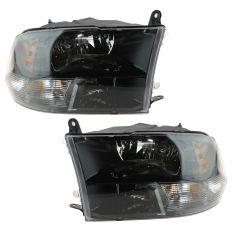
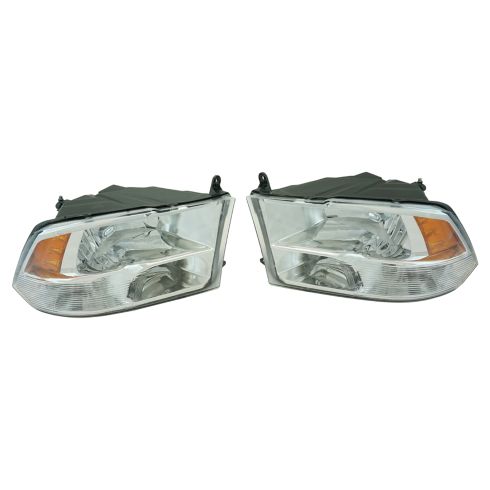
On this headlight there's two bolts in the front. There's one up here and then there's one straight down behind the grille, but we're actually going to start on the backside of the headlight. Down here, in the wheel well, there's a small cover that you have to remove and there's a push pin. That is the first thing you want to take out. We're going to use this thing, a push pin removal tool, but you can actually use a flat-tip screwdriver or a pair of pliers to get this. All right, with the push pin out of the way, this flap opens up. Having the wheel cut to one side actually gives you a little more space here to work.
At this point, you can reach into this little access panel and find the little lever that you push up, and you'll hear it snap all the way straight up and release this side of the headlight. Right down here, between the grille and the headlight, is another bolt and I'm just going to lift this up out-of-the-way so we can get a good camera shot out of it, but you don't actually have to move that. So now, I'm going to put a 10 millimeter socket on a swivel and a really long extension, I'd say it's at least 12 inches, and slide the ratchet all the way down here until it lands on the head of the bolt. The bolt itself is probably a good two inches long, so it takes a lot of turning to get it out. All right. When you feel like you've turned it about a thousand times, you're probably done.
So now, we can move on to this top one right here. It's, again, a 10 millimeter. So, we're going to lose the extension and the swivel, and just use that on the end of the quarter drive ratchet. Once you've cracked it loose, you can actually just get in there with your finger and turn it. There we go.
Now, you're going to want to remove the outer side of the headlight first, because there's actually a lip of the headlight that sits behind the grille on this side, so you can't just pull that headlight out. You have to remove it on this side, which requires a little bit of prying because there's a little ball on the back that snaps into place. So, hopefully we can wrestle this out. There we go, all right. Then you can slide that out.
On the back of the headlight, you can see this is the ball that was holding the headlight into place. That's the thing that took the effort to snap in and out. It locks right into this little channel right here. Up here, you can see this is the lever that you pushed up and down to lock the headlight in place or remove it.
All right, so, we're going to remove the high-beam connector, which we'll have to pull this white tab up like that to do, and then you push down the black tab and you can disconnect it. Then this thing slides right out like that. Over here, you have the red safety that you'll push up, and then you can remove the connector. At that point, your headlight is completely free of the truck.
All right, so to reinstall it, it is easy as reconnecting the connectors in the same way that you took them off. Make sure you push down your red pin. Put this back in place. Over here, you connect your high-beam connector and push the safety back in, and then you can push these two push pins back where they belong.
On the back side of the headlight you have this little ball that you need to snap into this hole, and then you have this, which needs to go into this hole where this tab is. But before you can do that, you have to put it in behind the grille. So, we'll get it in behind the grille, and then sort of feel the headlight around until it feels like the ball is setting in its little hole. Then, you can snap it into place.
So, we now need to get this bolt way down behind the grille. And obviously, if you just put it in here it's going to fall right out of the socket. So, here's a little trick. What you can do is you can take a piece of tape, put it on top of the bolt, and then you kind of jam the socket around it and that holds it. So, now you can hold it upside down. So, with that, then you just kind of slide it on down, and try and find the hole behind the grille. Might take a few tries, but this is the easiest way of doing it.
Before you tighten up that one all the way, you should always get all the other bolts in, and that way you can align them all first. That makes them easier to install. All right, with the top bolt in, now you can snug this one up, and then swap your ratchet to not have the extension or the swivel on it, and you can tighten this one up too.
On the back side of the light, we have to push that white lever back up, or actually back down. There we go. You'll feel it snap into place. Once that's done, you close your little access door and put your push pin back in. The procedure is exactly the same for the other side.
Thanks for watching. Visit us at 1AAuto.com for quality auto parts, fast and free shipping, and the best customer service in the industry.
