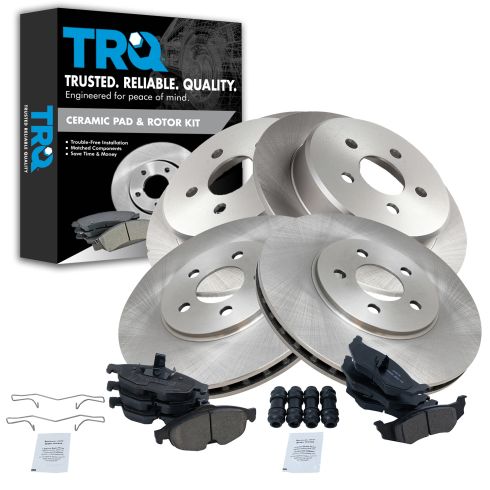
1ABFS02407-Dodge Stratus Chrysler Sebring Front & Rear Ceramic Brake Pad & Rotor Kit TRQ BKA11632

Replaces
2005 Chrysler Sebring Convertible Front & Rear Ceramic Brake Pad & Rotor Kit TRQ BKA11632

Product Reviews
Loading reviews
4.75/ 5.0
8
8 reviews
Awesome
August 1, 2018
Everything about this purchase was spot on. From beginning to end everything was smooth and the parts were perfect. I'm extremely satisfied with the service and my purchase.
bernie
August 10, 2020
1a auto gave me a great price on brake pads and rotors, fast and free shipping was a bonus!! the parts were exact fit with no problems installing. i would definitely recommend 1a auto parts to anyone in need of reliable auto parts and i look forward to doing business with them again in the future.
Brake Job Done!! :+)
December 23, 2020
Just recently bought a kit which included brake pads, rotors and also all fasteners and rubber pieces. The rotors are ceramic and much lighter than the stock ones I had on. Before hand I reached out to 1A auto on a good package deal and I dont remember the ladys name, but she did and awesome job helping me with what I needed. Will definitely be online shopping with you guys again.
Front and rear brake rotor set
January 28, 2021
Changed all my rotors and brakes on my 2004 Chrysler Sebring and the difference was like night and day the brake package was great products high quality very good I would recommend it to anyone who is looking to get the brakes done
Great parts
April 3, 2021
Everything showed up one time good quality and good fit
Ok parts
May 20, 2021
The whole set of brake pads and rotors are nice but I will say that the brake dust that comes off of the parts is a little much. They dirty my rims, but for the price they are worth every penny. It comes with all 4 rotorsz and 2 sets of pads for 130. It's a great deal. Also, the kit came with all the brake kit accessories and brake grease.
Very very satisfied
June 27, 2022
Easy installation fast delivery and this is a honest opinion described to a t and very responsive
Long lasting, work great.
April 2, 2023
Holding up very well. Good product.
Customer Q&A
No questions have been asked about this item.
Chrysler is a registered trademark of FCA US LLC. 1A Auto is not affiliated with or sponsored by Chrysler or FCA US LLC.
See all trademarks.


