Brought to you by 1AAuto.com, your source for quality replacement parts and the best service on the Internet.
Hi, I'm Mike from 1A Auto. I hope this how-to video helps you out, and next time you need parts for your vehicle, think of 1AAuto.com. Thanks.
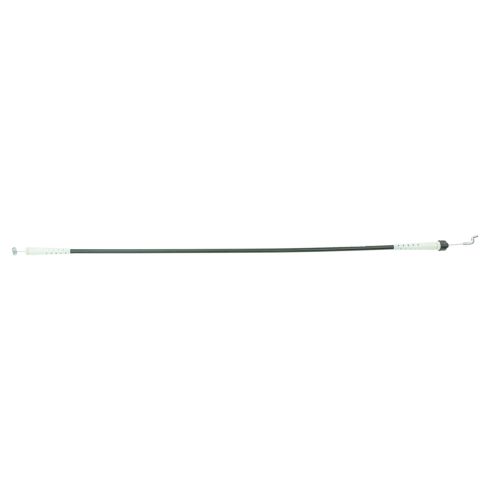
In this video, we're going to show you how to replace a door latch cable. This is a common item in these '80 to mid '90s Ford truck as well as the Broncos. There's a cable that goes from the handle to the latch mechanism and it often breaks or seizes up. I'm going to show you how to replace the driver side on this truck. The passenger side is the same procedure. Tools you'll need are . you're going to need a new cable from 1A Auto. You'll need a Phillips screwdriver, a T20 Torx driver, door panel clip tool or a putty knife, 11 millimeter wrench or a socket and ratchet, flat blade screwdriver, a Phillips screwdriver socket bit (and you'll see what I mean by that in the video), and a flashlight or shop light to shed some light inside the door.
We're going to remove the window crank handle. On these Fords, sometimes you can see the screw here. On this particular one, you pull this part of it out and then move it off to the side. This one needs a T20 Torx driver. Remove the mounting screw. Pull the handle off. Now, you'll want to remove two Phillips screws: one right up here, one right on the door pull there. Just fast forward here as I use a Phillips screwdriver to remove those two screws. Once you get those out, you'll want to get a door panel clip tool and bring it in behind here. There's a clip behind this reflector. Let's slide it up a little bit further. Then from here, continue around and release all the clips. If you don't have one of those door panel clip tools, you can actually use a household putty knife. It will work, as well. Pull the top rear of your water shield back to expose the side of the door.
The handle end of the cable is pretty simple. Use a screwdriver and pry in here and then just pull up with your hand. It comes out and then you just pull the cable forward and right out. First use an 11 millimeter wrench or a socket and ratchet and remove this 11 millimeter bolt. This bolt holds the window track. Once you have it off, it just allows the window track to move around a little bit. You don't want to pull this out. You want to pull it forward but don't pull it out of the truck. Next, we want to disconnect the rod that goes to the exterior door handle. Right through there, you can see a clip. I'm going to reach my hand in here and feel for that rod. Basically, I'm wrapping four fingers around that rod and then using my thumb to push this lock here. This is a little lock here. Push that lock out towards the outside of the door. I'll use my thumb to push this lock down here to the outside of the door and pull to disconnect that rod. Next, use a flat blade screwdriver and you can see a little tab here. Use the screwdriver to keep this little tab moving. Use your fingers, work it up and down, and pull it out. That now allows you to pull your lock cylinder out. You're going to pull it out and then you want to actually twist it up and pull it right off.
Then you'll need a bit that has a Phillips driver. You could try using a large Phillips screwdriver but usually these require a little more torque than that. This allows you to use a ratchet handle and get the required amount of turning force on these three screws. I'm just going to fast forward as I remove those three screws. On one note, this truck does just have the manual locks. If your truck has power locks you're definitely going to have to disconnect some electrical connections during the next step which is the step of actually pulling the latch mechanism out. Now, you can reach in and grab the whole latch. You'll see your lock came down. As you start moving the latch mechanism, there are three rods that are connected to it. It's important that you try and grab on to all three of those rods and pull them all out at once with a latch mechanism. Pull this cable right into the door. Bring the latch down. Then it comes right out. To remove out cable, we're going to press on these tabs right here. I'll show you that better. Press on these tabs and take this plastic housing right off. Look at that, we have a little Japanese stink bug in there. Then this pulls down and out of here. Then bring the cable this way. You just have to push the cable through, hold this down, and pull the cable out the rest of the way. Oops, we got it twisted.
The one here from 1A Auto is exactly the same as the old one. Take your mechanism and pull this lever down. Pull that lever down. Put the cable through and you kind of twist it and just keep twisting and forcing it in. That goes in. Push the cable head in and pull it into place. I'm just going to use a flat blade screwdriver here to help me pry it into place the rest of the way. That's in. Once you have the new cable hooked up, just slip this cover back on and then you're going to kind of squeeze it and latch it back on. If your lock rod should come off while you're working on it, it just goes back down in.
Then you want to spin it around and it basically goes nice and close to the latch mechanism and once it's all said and done, it kind of goes in front of your rod here. Grab a hold of it like that. Just put it down in, holding on to all the rods, here. Put these cables down in. You can pull your channel up and slide the latch mechanism in. You're going to have to turn it a little bit, just slide everything in. Bring your lock button up into place. The mechanism goes like that. I'm going to speed it up here. All I'm doing right now is just putting those three screws in and just tightening them up a few turns by hand. I'm not going to tighten them up quite yet. Now, reach in at the end of the cable pull it up and out through here. Put it in place. Force it down in. Make sure it's working well. I'll just take this, and put this clip down so it's like that. Take the rod and you have to put your finger on top of it, and push it down into the clip. Just line that clip up, again. Push it right in. It's locked in.
I'm just going to take my lock cylinder and put it right back in. This orange faces toward the front of the truck. Put it in. This clip just slides right in by hand. Now, I'll pull the channel to the side, grab my lock rod, and just put it right in there. You can push it in place. Now, we can tighten these back up. Just to save a little time here, we'll fast forward. Tighten those three screws up, nice and firm, and then put the window channel back in place and tighten up the 11 millimeter bolt that holds it in place and then put the water shield back up in place. Take your door handle. Pull your door handle out. Get the panel on there. Push the front in here. Pull it back up and on. Make sure you get the door lock knob through. Lift it up, go back. Push that towards the window, slide it down on. Then your clip should pretty much be lined up. I'm kind of peeking in back here. Then put your two screws back in. Now, we'll put the washer for the handle back on. Put the crank back on. Use a T20 Torx driver. I'll speed it up here as I put that screw in and then tighten it up snug. You don't want to make it too tight. You're all set.
We hope this video helps you out. Brought to you by www.1AAuto.com, your source for quality replacement parts and the best service on the Internet. Please feel free to call us toll-free, 888-844-3393. We're the company that's here for you on the Internet and in person.