Brought to you by 1AAuto.com- your source for quality replacement parts and the best service on the internet.
Hi, I'm Mike Green. I'm one of the owners of 1A Auto. I want to help you save time and money, repairing and maintaining your vehicle. I'm going to use my 20 plus years' experience, restoring and repairing cars and trucks like this, to show you the correct way to install parts from 1A Auto.com. The right parts, installed correctly, that's going to save you time and money. Thank you and enjoy the video.
In this video, we'll be showing you how to replace the grille on this '98 Explorer. The only tools you'll need are a Phillips screwdriver, a regular screwdriver and a 10 millimeter socket and ratchet to switch over the emblem.
On this Explorer, it's pretty easy. There's a little door that you push a little tab, comes up like that. Remove these two screws, here and here. Pull up on the bottom and out from behind there, too, bring this out, twist off this bulb, this one twists. This one over here, you can pull the ears back, when I say ears, I mean this little things, pull them back and off. Once you've removed your parking lights, you're going to remove six screws. There's one on each side behind the parking lights, and then two on top for each side, there, there, there, there and the one on the other side, behind the parking light.
Once those screws are removed, you can see there's a clip here, at each side that you're going to pull the plastic out of, and there's clips right in behind the grille, in the middle. What you want to do is give a firm tug, tug and reach in behind, tug, tug and lift up on this here. Make sure you don't take any lights with you, and there's your grille and bezel out. If you're looking to just change one of these bezels, there are four screws on each side. You're also going to want to remove your emblem and transfer it to the new grille. Use a 10 millimeter socket. This is the new grille with new emblem.
I'm going to just speed up through this as I'm just getting all four of these little screws started for the bezel to the grille. All four of them started first, get it lined up correctly, and then tighten them up. The other thing you can see is the new bezels came with new clips. As far as the clips go, our grille did come with new ones, but I actually prefer using the old ones. All you have to do is, kind of push them through and they drop out the bottom. These clips have a little slot in them, and on the grille, there's a little ridge on one side. Push the clip on and then use a little screwdriver, push each side onto the grille.
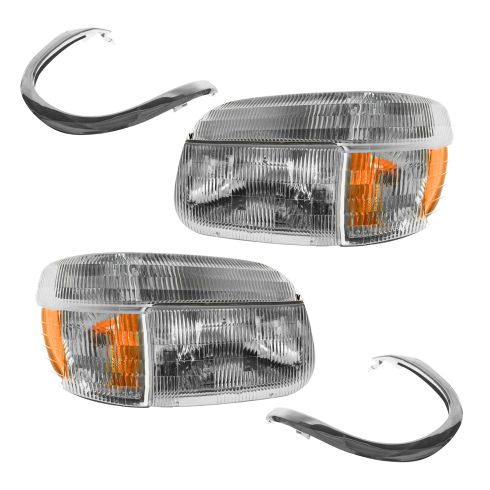
Now we can take our new assembly, pull the wires through here, pull the wires through on the far side here. Put it up in, get it lined up, lift this plastic up, and slide it under. Lift up, slide it under. Push the top in; make sure it's pretty well lined up here. Make sure that's lined up there, make sure this one's lined up over here, as far as the clips go. Check, make sure your bottom clips are in, push them in. To get these other two clips in here, you want to look under here and make sure, you'll probably have to press down on your grille a little bit, and line them up. You can see them right under here. Press down and then in. Now we can put our six screws in. You may notice that we complemented our new grille with a new set of headlights, and we'll just do the same thing with the parking lights here.
We hope this helps you out, brought to you by www.1AAuto.com- your source for quality replacement parts and the best service on the internet. Please feel free to call us toll free 888-844-3393. We're the company that's here for you on the internet and in person.