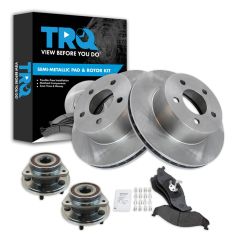
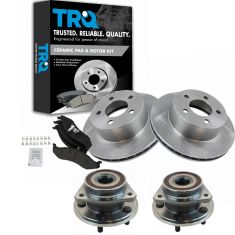
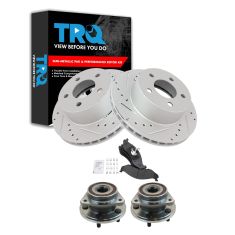
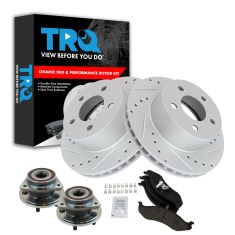
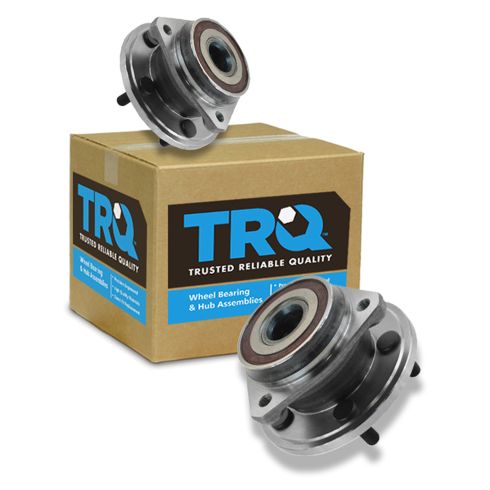
1ASHS00004-Jeep Front Driver & Passenger Side 2 Piece Wheel Bearing & Hub Assembly Set TRQ BHA53299
Replaces
1992 Jeep Wrangler Front Driver & Passenger Side 2 Piece Wheel Bearing & Hub Assembly Set TRQ BHA53299

Product Reviews
Loading reviews
4.97/ 5.0
37
37 reviews
February 3, 2017
It is a great replacement for my Grand Cherokee with 250,000 miles on it and I bought two for the price of one from my local auto parts store!
Wheel bearings for 98 Cherokee
July 30, 2017
You people are amazing. I could not find the wheel bearing hub assemblies for my Jeep anywhere under $95.00 each. You sold me both for $78.00 delivered! They fit the truck perfectly and I am one happy camper. Thanks!
Excellent
September 6, 2017
A++++. To include all aspects of purchase process ..
Well done
Excellent merchandise especially the price.
October 4, 2017
Great product, installed with no problems. Great price. Shipping was fast.
Very satisfied
December 9, 2017
Great price and fast delivery got it in 2 days already ordered another part for y'all will tell other people about the company
Jeep hub assembly
January 8, 2018
Great price, received parts quick, exact part match, and good quality.
Awesome for the price and received early the. Scheduled date
March 8, 2018
Now that I changed these out my jeep is road worthy again. I was skeptical of the price but they were good quality. And I received it before the scheduled delivery date which was awesome too! 1AAUTO is my new go to for parts. Next is a whole new steering kit and axels
Great prices, fast service!
April 4, 2018
Bought two bearing hubs for my Cherokee. Price was better than anyone else and they shipped them quickly. Far better than Rock Auto and you can actually speak to a human being if necessary.
Great job guys!
Great!!!
June 15, 2018
Great fit easy install good durable quality type parts I would buy again
very good part
October 3, 2018
bought other hub assemblies from 1aauto and have had no problem with any of them. Parts fit perfectly and are well made. Easy to replace.
Fast Delivery and Quality Product
April 2, 2019
I purchased both sides Jeep Wheel Bearing Hubs for my 98 XJ. The arrived in 2 days and were a perfect fit. The 1A Auto install video was well done and accurate.
Fit perfectly
July 26, 2019
Look well made and its a great price.
Parts were exactly as described and they fit perfectly
August 18, 2019
User friendly website and fast shipping. Overall a 5 star experience!
Great phone service, fast delivery
November 22, 2019
This was my best result ever from an online parts company. The gentleman on the phone took his time helping me, answered a few questions and after I processed my order I received exactly what I ordered very quickly. They will get all of my business in the future
Guy
Excellent product
March 13, 2020
Ordered this hub assembly to replace the failed unit on my 98 Jeep Grand Cherokee Laredo. It was an exact match, went on with no issues and has performed perfectly since installation. I would highly recommend this hub assembly to any owners looking for a quality replacement part!
May 5, 2020
Great
Easy replacement
September 11, 2020
I have been upgrading the old parts and by using these it makes the project a ton easier. They fit together great, was a fast installation and I am happy with my purchase. Affordable and grey quality.
Great deal
October 19, 2020
Bought these hub bearings, great price and warranty. The quality is great, super quiet and smooth.
Fit and easy to install
March 6, 2021
Parts came in fast,, they were correct and easy to install. So far they are working perfectly after about a week of use. Very happy
More than pleased
March 21, 2021
I was more than pleased with the products purchased from 1aauto. They were heavier duty than the factory parts that I replaced and now my jeep grand cherokee is steering and handling one thousand percent better!
I would highly recommend this company and their products to anyone in need of auto parts. The shipping is fast as well as easy and to be honest their prices can't be beat!
Thanks 1aauto for all your outstanding service!
July 25, 2021
These were a perfect fit and are working great
5 Star Product
October 9, 2021
These installed perfectly and have greatly improved my driving experience. These are such a great product for the price.
October 17, 2021
perfect fit, smooth ride.
November 15, 2021
Fit my 97 Cherokee xj perfectly,smooth quiet ride! I will be ordering new rotors in a couple weeks and will probably use 1a for all my parts from now on.
November 19, 2021
not in yet
February 27, 2022
Good fit head ache free
June 8, 2022
Great price Quality! Recommended! Thanks
September 17, 2022
Parts worked just fine and easy install !!!!
October 19, 2022
great
Great advice, good instructions, and perfect fit.
November 7, 2022
Thanks for great auto parts, excellent video instruction, and confidence in using your company.
Excellent product
December 22, 2022
Good product at a excellent price
I recommend this 100%
It worked perfect for me
Will buy this again
Wheel hubs
February 7, 2023
It worked as design on my Jeep.
June 11, 2023
They took longer to cook than the directions indicated and they were tough when thoroughly cooked. But the flavor was hittin and the crowd was pleased.
Top Notch
November 29, 2023
Good, what you would expect for a replacement part?. It's the YouTube videos that really stands out?.
December 2, 2023
Easy install and perfect fit
Great part great price
December 30, 2023
Has been a great product for my jeep TJ.
November 2, 2024
Direct fit
Customer Q&A
Is there a left and a right wheel bearing? Can you put them on wrong?
April 17, 2017
10
These will be interchangeable and meant for either Driver or Passenger side. As long as they are torqued to the proper specifications you will not have any issues.
April 17, 2017
Alex P
Any recommendations on what to do if you strip the 12 point 13 mm bolts? Thanks
March 31, 2018
10
Blow the head off with a torch. If no access to a torch use an impact hammer and chisel it off. I used a torch on mine when it was stripped.
April 1, 2018
Daniel T
Is there a difference between 2wd and 4wd?
January 18, 2021
10
These parts are not specific to 4WD or 2WD.
January 19, 2021
Jessica D
According to my VIN I have a 1990 jeep cherokee, but when looking for the bearing hub, most of the auto parts stores offers me a hub bearing which is shorter than the one I need. Anyone with the same issue?
July 9, 2021
10
We are not aware of anyone having this issue. We recommend checking with your dealership.
July 10, 2021
Cristina P
Does this product come with new bolts? Or do you have new bolts, mine are shot
February 16, 2022
10
Hello,
No, these hubs do not come with bolts. Currently, we do not carry them for your vehicle. You can find those at your local automotive store. We're always updating our inventory so please check back soon!
February 16, 2022
Kelly S
10
Does not come with bolts only bearings
February 16, 2022
Alejandro A
10
No but I got a set at the local wrecking yard
February 27, 2022
Steve O
does the 1994 cherokee require abs wire?
August 31, 2022
10
The ABS sensor is not integrated into the hub for these vehicles, it is mounted elsewhere.
August 31, 2022
T I
Will they work on the 4x4 jeep?
December 19, 2022
10
Yes, as long as youre using the factory or comparable spline axle shafts it will work just fine.
December 19, 2022
Andrew P
10
Yes they will.
December 20, 2022
Daryol A
10
Yes, this will be able to work depending on the year and model of your vehicle.
December 20, 2022
Emma F
Are these greasable hubs?
January 2, 2023
10
No these are not,they are a sealed hub
January 3, 2023
Eric K
10
Nothey are permanently lubricated and sealed types.
January 3, 2023
Charles L
10
No they are sealed unit bearings.
January 3, 2023
Zach D
10
No, these parts will come as being sealed units.
January 3, 2023
Emma F
10
Nothey are permanently lubricated and sealed types.
January 5, 2023
Charles L
Do these need the bearings greased?
February 23, 2024
10
These bearings will already come as being pregreased.
February 23, 2024
Emma F
Jeep is a registered trademark of FCA US LLC. 1A Auto is not affiliated with or sponsored by Jeep or FCA US LLC.
See all trademarks.


