Hey, everyone. It's Len down at 1A Auto. Today we're going to be working on a 2001 Lexus GS300. We're going to be doing an outer tie rod today. All right, one of the first things that we're going to want to do is after we have the vehicle semi-supported off the ground, we want to make sure the wheel is still on the ground firmly. You take your 21 millimeter socket, and if you have a long ratchet or a breaker bar, one, just a little bit. You don't want to go too far.
Now as we take off this one last lug nut, you want to make sure you hold that wheel on. You don't want it to fall off, go bouncing off, hit you in the knee, and hurt yourself. Safety is key. Let that down nice and easy.
All right, so now while we're trying to take off these tie rods, we get the outer tie rod here, your jam nut as I mentioned before, and your inner tie rod with the inner tie rod boot. What I want to do is I want to break this jam nut free. Sometimes they'll be really hard to do. You want to do that while it's still attached to your knuckle for added support. Let's give it a try. I have these right here, a little bit of length. With a big enough lever you can move the world as they say. So let's give it a try and see if this puppy breaks free. Nice. There we go. Love it.
All right, next what we're going to do is we're going to take off this nut. So come on up. Now we're back up top. We loosened up our jam nut while this was still attached to the knuckle. We've got the same little clip like what we saw before. Maybe you haven't seen, but it is in one of my videos. We're going to pull a little ear off or off to the side and then pull it out. The ear that I was talking about is this, and it wraps around the side of this slotted nut. Put that aside so you don't lose it.
Next we're going to take our 17 millimeter. You can use a shallow socket if you want. It'll probably be better than a long socket because you don't want to be up here. Might as well be as close to the ... to what you're working on as possible. Goes right on, 17 millimeter six-point socket. We're going to try to break this free. There we go. If you have an airgun, it takes you 10 seconds. You got a ratchet. It'll take you 30. Take that nut right off of there. As always, I pre-spray everything so it already worked its way in there.
Now what I'm going to do is I'm going to get my big fabulous hammer and I'm going to whack the knuckle. Try to break this free. What I'm going to also make sure I do is I'm going to put this nut right back on. You don't need to go all the way on. A couple threads, three, four, five, whatever you want to do, doesn't have to go all the way down. It's basically just so when you whack it and this does break free, it doesn't come falling down. If you're working on the ground, you get your face near there or whatever god forbid somebody gets hurt. Safety first. Don't let this go anywhere. This will help prevent any safety hazards.
Like I said, using my big fabulous hammer I'm going to hit right on the knuckle. I don't need to hit the tie rod. I don't have to hit the nut. At some point if it doesn't break free from here, I could use a little chisel or even a hammer on there because we're going to be replacing the tie rod end anyway. If we weren't replacing it, you would not want to hit this. Here we go. Here we go, broke free.
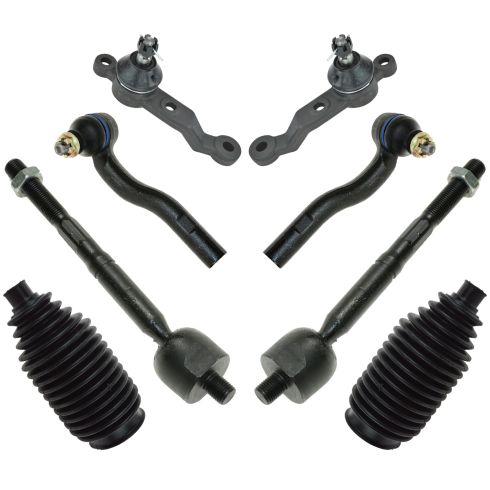
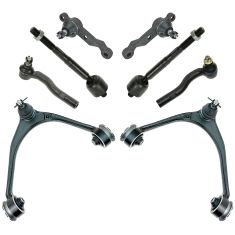
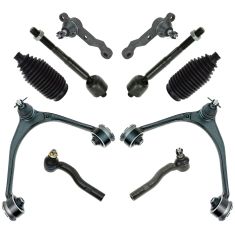
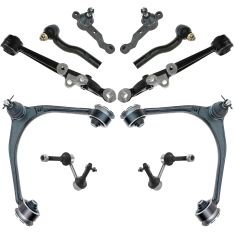
Now you can go ahead and hold it up. Make sure it doesn't fall in the face or anything. There we are. Now with our new part from 1A Auto--I wanted to mention once again, is you always want to make sure you match up your part. I'm going to walk over to the vehicle where I just took the tie rod off of the knuckle and bring it right over. You can see how it has a bend. If you go over the other side of the vehicle, the bend will go the opposite way. You want to make sure you bring it over and compare. Make sure it's just about the same. It should be just about the same.
Everything's made to the right specs. If it goes this way for some reason, it's wrong. The stud's going up assumptively. That means that this is the other side. It's possible that it happens. People make mistakes. But if it is wrong, just get the right one. So it's matched up. It looks good to me.
Next what we're going to do is we're going to unscrew this piece, count how many turns it comes off. I got myself a little crayon here. Once I make my count, I'm going to write it down someplace. You can use a pen, piece of paper. I use a crayon right in a conspicuous place, just so I don't forget. That's going to help you try to keep the alignment as close as possible for when you have it off. So if you're off by a thread or two, you might have one of your tires going like this, one going like this. You never know. Get it as close as possible. Anytime you do any type of front end work, you always want to get down to a reputable shop and have it aligned. It's going to help you out in the long run. Preserve your tires.
So here we go. We're going to count it up. Counting from where it started, one full turn, two, three, four. Who counted it? 15, right? All right, I'm going to write down because I don't know about you but I forget most things. As you see here, we have our old outer tie rod end and our new outer tie rod end. They both have the same bent, which is great. They both have the same shaft. Get this off of here. You can see, they both stand about the same height. Get it bent. Move it over. Everything's the exact same on this. It's made to last, quality, durable, 100%, it's got a great warranty and it's non-greasable, comes pre-greased so you'll never have to worry about getting under there and throwing some grease in it. This puppy will last you years and years and years. And you can get this part and any other quality part at 1aauto.com.
Now we're going to install our outer tie rod end. I have that right here. I've already matched it up. We remember that it's 15 turns as notated as I wrote down. So here we go, I'm going to start. Let's see, wait until it gets going here. All right, now we're going to count it, one, two, three, four ... 15. This ended facing up. That's where it started. Perfect. Line up the stud. Put this right here. We can start our nut. Turning to the left find our first thread. Get it started.
Next we're going to take our jam nut. We're going to turn it down towards the outer tie rod end, and the jam nut with its name being what it is, jams the outer tie rod end and onto the inner tie rod end, so the adjustment won't move on its own. You can take your adjustable pliers. You can take a wrench. You can take whatever you want. Get this thing going. You're just going to give it a little.
All right, now we have our castle nut started. We're going to ahead and lift up on the tie rod and pull it down as close as we can finger-tight. If you have a wrench that ratchets, that's great. If you don't, you can wrench it. Or if you chose to, you could take off the whole caliper bracket and use a socket and ratchet. It's all completely up to you. I'm just going to make it nice and snug. That feels pretty good.
Now what I'm going to do is I'm going to check to make sure that the hole is lined up with the castle nut, and remarkably it looks like I did. So I'm going to go ahead and put through this little cotter pin, push it through, locks right in into the castle nut. I just wanted to mention that if you did choose to take off your caliper brackets so you can torque this outer tie rod nut, the torque specification will be 64 foot-pounds.
All right, now it's time to get the wheel up on here. Roll it up onto your leg or your knee. Never lift with your back unless you have to. You really shouldn't have to most times. Go ahead and grab a lug nut. We're going to start one on. Getting it lined up.
Now that we got our wheel on the ground, you don't want all your pressure of your vehicle on it because if this isn't tightened down snug enough, you could off-kilter your wheel, and even though you're thinking you're torquing it down to the 76 foot-pounds it's specified to be, it might not be. So with the wheel gently on the ground to the point where it can't spin on you, you're just going to get start with one and you're going to go into criss-cross pattern with your 21 millimeter socket to 76 foot-pounds. One click, crisscross, make a star. If you're feeling up to it, just go around one more time, one, two, three, four, five, five. This puppy's all torqued up. Good to go.
Thanks for watching. Visit 1aauto.com for quality auto parts shipped to your door, the place for DIY auto repair. And if you enjoyed this video, please click the Subscribe button.