Brought to you by 1AAuto.com, your source for quality replacement parts and the best service on the Internet.
Hi, I'm Mike from 1A Auto. I hope this how-to video helps you out, and next time you need parts for your vehicle, think of 1AAuto.com. Thanks.
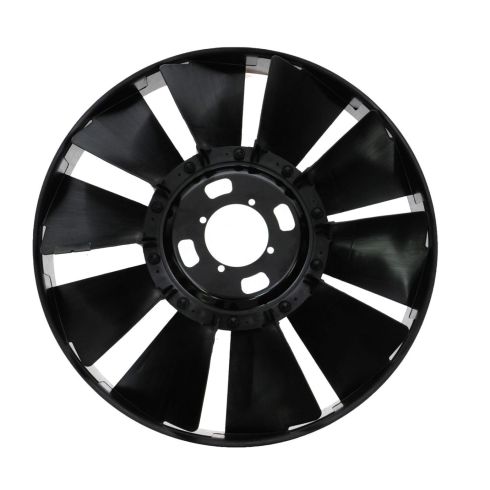
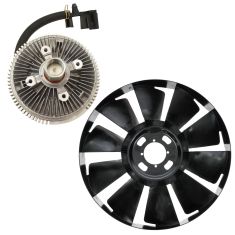
In this video, we're going to show you how to replace the radiator fan on this 2003 GMC Envoy XL. It's the same part and similar process on the regular Envoys from 2002 to 2009. The items that you'll need is a new radiator fan from 1AAuto.com, T30 Torx driver, flat blade screwdriver, 13mm and 15mm socket and ratchet, fan clutch wrench, and a large adjustable wrench.
Start off by loosening this hose clamp and this hose clamp, and then remove this T30 bolt up here. We'll just fast-forward as Mike does that. Now, technically you don't have to remove the air duct, but it does make it a lot easier to see down in there and route the belt and things like that. Now pull this hose free. Then lift that air intake hose up and out.
Next, you want to locate your serpentine belt diagram, which is located right here on the shroud. You just want to refer to this as you're trying to put the belt back in place, and make sure that you have one of these before messing with the belt. Then, using a 15mm socket and ratchet or a 15mm wrench with another wrench for extra leverage, just push down on the tensioner. Then pull the belt up and over that center pulley, and carefully relieve the tension on the tensioner. Now pull your serpentine belt up and out.
Using a 13mm wrench or a 13mm socket and ratchet, you want to just loosen up these four 13mm bolts on the fan. What you want to do is you want to loosen them up enough that you can manipulate them by hand. Loosen them and then just tighten them back in by hand, so loosen them up. Again, make sure they move by hand and then just finger tighten them back into place.
This is a fan clutch pulley wrench, and it just has a couple of studs at different angles. We're going to use the narrow ones and the pulley that has four holes in it. You put it down in, it fits in, and then hold the pulley and put a large wrench down in. Once you have it loose, you should be able to just- I'm just holding the pulley with one hand and twisting the clutch off with the other. You want to twist it so that the fan clutch comes most of the way off that shaft. Once it's most of the way off, then just take those four 13mm bolts out that hold the fan blade to the fan clutch.
Before you get the clutch all the way off, shake the fan back and forth and loosen it from the clutch. Then you reach through the fan, hold onto the clutch, and twist the water pump until you get the fan clutch all the way off. Now start to pull the fan up and the clutch will come with it. Once you get it to about this point, now we're going to on this side to disconnect this harness. Pry out behind where the harness is plugged in to release that clip.
Now, just try to work the fan, you need to reach through and grab that clutch. Reach in behind the fan and pull the clutch back up and through the fan. Once you've pulled it through, you can lift the fan up and out. Then the clutch pulls right out.
On the left is the old radiator fan; on the right is the new one from 1A Auto. You can see they're identical, and they'll fit exactly the same. The smooth side of the fan faces the front. The bladed side of the fan faces the back. Put it down in, put the clutch into place making sure that the harness is going off to the driver's side, and then carefully lower the fan and clutch back down into the car.
Once you get it down underneath the shroud, just push the clutch out of the fan. Put this harness connection back into place. Once you have it lined up, just hold it there, push that clip through, and then reconnect your harness. Make sure your fan is all the way down. Then pull your clutch up and back through the fan and onto your water pump pulley. Then just turn the pulley to twist it back into the clutch. Then make sure your fan is lined up on the clutch, and replace and tighten those four bolts back up. Now just twist the clutch back on as far as you can. Once you have that on there as far as you can, turn it by hand using your fan clutch wrench and your adjustable wrench and tighten it back up the rest of the way.
As you go to put the serpentine belt back in place, just refer to this belt diagram again and you want to make sure it follows this exactly. To put the belt back on, just feed a loop down to your biggest lower pulley which is the crank shaft pulley, and make sure it goes around that. Then pull it up over your top pulley, which is your water pump, and then feed another loop down to your power steering hydraulic pump pulley. Bring it back here to your tensioner, and you're ready to reattach it.
Put your wrench or socket and ratchet onto the tensioner, pull back on the tensioner, and just push your belt underneath that center pulley. Carefully release the tension and make sure your belt is on all the pulleys correctly.
Now feed your air intake hose back down into place. Make sure it's pushed on all the way. Then push this end back into place. Then tighten up those two hose clamps. Now tighten up the T30 bolt.
We hope this video helps you out. Brought to you by www.1AAuto.com, your source for quality replacement parts and the best service on the Internet. Please feel free to call us toll-free, 888-844-3393. We're the company that's here for you on the Internet and in person.