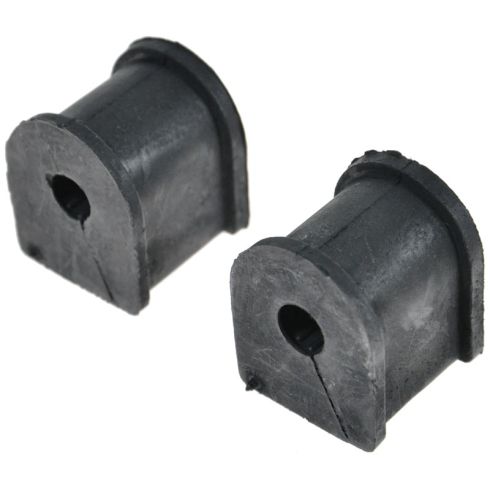
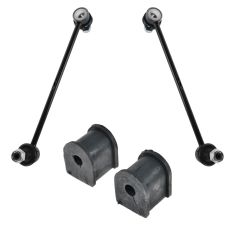
1ASMX00093-Toyota Lexus Rear Driver & Passenger Side 2 Piece Sway Bar Bushing Set TRQ PSA67737

Replaces
2006 Lexus RX330 Front Wheel Drive Rear Driver & Passenger Side 2 Piece Sway Bar Bushing Set TRQ PSA67737

Product Reviews
Loading reviews
4.80/ 5.0
15
15 reviews
Sway Bar Bushings
January 25, 2017
No great savings here...convenient to order from IA...same price as O Riely of other parts houses.
Perfect fit
April 28, 2018
Identical replacement for the originals. Slid right into place
Worked perfect
September 16, 2018
Super simple to install, I watched the video anyway, and picked up a good tip to work the bolt in and out to prevent breaking it, which I did in fact use. They stopped my rear end rattle, I can finally travel in peace!
work great
October 15, 2018
These were very easy to install. Worth doing if you're doing any other work down there.
Perfect fit!
November 13, 2018
Easy to find in the catalog. Shipped quickly, received quickly. Fit perfect. Just the right part
Sway no more
June 21, 2019
Perfect fit, no problem
Toyota Rear Sway Bar Bushings
March 20, 2020
Product is exactly as described. Fast delivery, fair prices, installation video very helpful. I recommend 1A Auto to everyone I know.
Rear bushings for sway bar.
May 18, 2020
Perfect fit for Camry 1999.
Good fit & Good price
June 18, 2020
Title says it all. What more could you want!
Did the job.
March 25, 2021
Bought these because the back side of my Camry on the passenger side kept making a noise over bumps. Suspension, sway bars have been replaced so I thought maybe the bushings? The noise is not as often and its a quieter ride. So maybe its more than that but the product was identical to the original part and satisfied with the quality
Camry Rear Sway Bar Bushings
April 23, 2021
Arrived on-time and fit perfectly. Thank you 1A-Auto for another perfect part fit!
Good bushings
February 28, 2022
Good fit. Easy 20 minute job.
March 10, 2022
Great product, quickly installed with a perfect fit.
Good fit!
October 15, 2022
I just installed them today!
They seemed to fit good.
Hopefully that cures the clunking noise! Thanks
Best ever
July 12, 2023
Great product, perfect match
Customer Q&A
What is the inner diameter of bushing?
September 22, 2022
10
Actual Measurements are not listed or available. Our parts are exact replacements for your vehicle's OEM parts. As long as your vehicle is listed to fit, these parts will directly fit and function like the originals.
September 22, 2022
Andra M
Lexus is a registered trademark of Toyota Motor Corporation. 1A Auto is not affiliated with or sponsored by Lexus or Toyota Motor Corporation.
See all trademarks.


