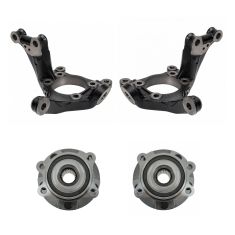
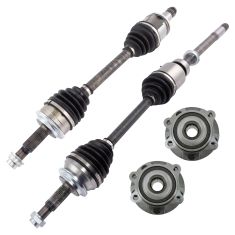
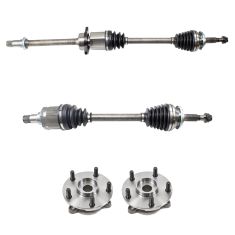
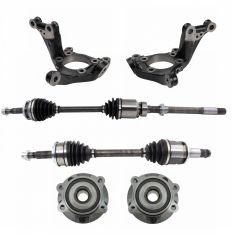
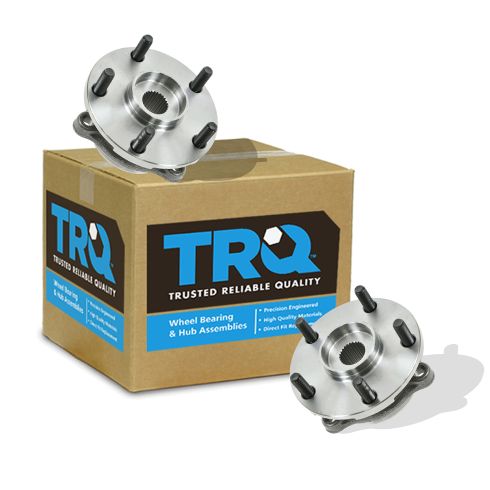
1ASHS00509-Toyota Lexus Scion Front Driver & Passenger Side 2 Piece Wheel Bearing & Hub Assembly Set TRQ BHA53597
Replaces
2006 Toyota Rav4 L4 2.4L Front Driver & Passenger Side 2 Piece Wheel Bearing & Hub Assembly Set TRQ BHA53597

Product Reviews
Loading reviews
4.81/ 5.0
32
32 reviews
Fast shipping and excellent quality
August 2, 2018
Received the parts in no time and came in in good shape. Good reasonable price for two hubs versus one.
August 8, 2018
Good delivery time including free shipping. Quality of your parts you sell is high and most importantly your parts pricing is one of the best among your competitors.
hub assembly amazing quality
December 1, 2018
parts came in right on timw no problens what so ever quality looked amazing thank you and also may i add very affordable
Replaced stock bearings on 09 RAV4
March 27, 2019
Replaced both sides on 09 RAV 4. Went on nicely and the front end grinding changed to a glide.
Wheel bearing hub assembly
May 15, 2019
I would definitely recommend this product to anyone looking to replace their wheel hub assembly. It is great quality and VERY affordable. I know times are tough and car parts are expensive, but 1A Auto have amazing prices and GREAT quality products! I will definitely buy future car parts from them.
Excellent product
November 28, 2019
Purchased this pair for 1/3 of what one was for OEM. Easy to install would recommend for money saving DIY project.
Great product
December 1, 2019
Worked well, and installation was as OE fit.
Great fit
December 13, 2019
Fast delivery!! Perfect fit!!!!
May 4, 2020
This parts is very good
2011 Rav4 front wheel bearings fit perfectly and perform great!
August 2, 2020
My daughter and her husband planned a cross country trip in her 2011 Rav4 with 200k miles from Virginia to Colorado during their time off last month. Before they got here, she asked me to help replace her struts, shocks, complete brakes (rotors, calipers and pads), sway bar links and front wheel bearings. So when they got here I had a pile of Rav4 parts waiting in my garage, I found the best price for front wheel bearings at 1A Auto and they were the exact fit and perform great. I was comfortable with them returning to Virginia (nonstop I have to say, 28 hours straight) because we had replaced all the parts that needed to be done in 2 days with her husband's help. When they left after 2 weeks in Colorado, they kept us informed as to their travel progress and how her Rav4 performed, it performed perfectly with no noise or problems. I'm sure that with this Rav4 it can probably go another 200k miles
My auto parts
August 19, 2020
So far I have not been disappointed! I like the idea of getting the correct information about your parts making sure that they will fit.
Perfect fit.
December 18, 2020
Easy swap on my 4x4 07 Rav 4. Torque specs were right in with the parts.
February 20, 2021
I would like to start off by saying that this is the best website I have came across to order parts from. I have received my order on time and in a decent time frame. The parts have been exactly what I ordered and worked perfectly. The price is n
EXCELLENT!
May 26, 2021
Perfect replacement on my 2011 Toyota Rav4- had noise on my old ones and with these- replaced both front bearings, quiet at last! SO happy!
A1star
August 21, 2021
fast shipping great price
September 5, 2021
Good product
Great resource
February 10, 2022
Great resource for OEM parts. Also accurate and helpful installation video. I was able to install myself and save an ridiculous amount of money
2008 Scion xB
March 7, 2022
Perfect direct fit.
Legit
March 9, 2022
Perfect fit. Seriously.
brakes
March 24, 2022
Great quality and easy install with the A1 UTube instructions.
Hubs fit perfectly
December 8, 2022
Works as advertised
Impressed
January 27, 2023
1A auto was fabulous, excellent customer service and great products. Respect 1A AUTO
Great
February 8, 2023
We have got other parts for our Toyota Rava4 and they are great
Excellent Wheel bearing
February 26, 2023
Exact fit on my 2008 Day 4cyl, instructional video was a perfect compliment, whining noise is is gone, product is excellent
It works
March 15, 2023
Easy install. Not as quiet as i wish but its cheap so wasnt expecting much
Great prices
May 9, 2023
Very please with my order , perfect fit .
Perfect Fit
June 26, 2023
Fit well and good quality. Very happy
Front hubs,and bearings 2008 scion Xb
July 21, 2023
Great parts excellent customer service will order from here everytime.
Perfect fit
September 16, 2023
Perfect fit, quiet again!
October 29, 2023
They are no good. Making noises.
I have all wheel bearing replaced by a1 auto parts thankyou
[{"url": "https://wac.edgecastcdn.net/001A39/prod/media/pNISJll75W64CYGsite/6ebda76d0d631c10bddb42c2694487f6_1699176361532_0.jpeg", "caption": ""}]
November 5, 2023
I had all four hubs and bearings replaced on my rav4 with Trq parts from A1auto thanks
February 16, 2024
Fast shipping through Amazon.
Incredible price.
Perfect fit.
So far (300 miles into is) is working perfectly.
Customer Q&A
is the bearing already pressed in?
May 13, 2016
10
Yes, simple swap with a couple bolts. Hardest part is the drive axle removal.
May 13, 2016
Gregory W
10
Yes pre-assembled like the OEM part
May 16, 2016
Brian F
10
Yes
May 4, 2020
Oscar C
10
The toughest part was getting the old wheel bearing hubs out, they were rusted on. But I watched the YouTube videos that 1A Auto Parts provides and we had to drive the old hubs out while on the car, it took a lot of pounding but the new ones fit easily once we cleared off all the rust and had clean bores for the new hubs to bolt on.
August 3, 2020
Allen S
10
Yes
August 20, 2020
Ruben S
will this fit the toyota rav4 08 v6 3.5l?
July 17, 2020
10
This is not the correct part for your vehicle, but we do carry the one you need. The correct part number is: 1ASHS00510
Please let us know if you have any other questions. Thank you!
July 17, 2020
Jessica D
10
Hello,
We do not offer the rear wheel hubs for this Rav4.
July 20, 2020
Corey M
Does this come with new axel nuts?
December 17, 2020
10
Axle nuts are not included.
December 18, 2020
Andra M
Will this fit a 2011 RAV4 base model, with a 2.5l engine & front wheel drive with 4x4?
September 14, 2022
10
Hello, this is listed to fit 2011 Toyota Rav4 L4 2.5L
September 14, 2022
Ricale A
Will this fit on toyota rav4 2.4l 4wheel drive?
November 6, 2022
10
Assuming the correct year(s), yes. It worked fine on our 2011 2.4L4 with 4WD.
November 6, 2022
Karlis M
10
This kit is not specific to the drivetrain. This kit is listed to fit all 2006-2008 Toyota Rav4 models with a L4 2.4L engine.
November 7, 2022
Jessica D
Will this fit my 2011 RAV 4 2.5L?
December 29, 2022
10
Yes, this part will fit your vehicle.
December 30, 2022
T I
Will this fit Japan built car?
December 27, 2023
10
Yes, this is able to fit for Japan built models.
December 28, 2023
Emma F
Toyota is a registered trademark of Toyota Motor Corporation. 1A Auto is not affiliated with or sponsored by Toyota or Toyota Motor Corporation.
See all trademarks.


