Brought to you by 1AAuto.com, your source for quality replacement parts and the best service on the Internet.
Hi, I'm Mike from 1A Auto. I hope this how-to video helps you out, and next time you need parts for your vehicle, think of 1AAuto.com. Thanks.
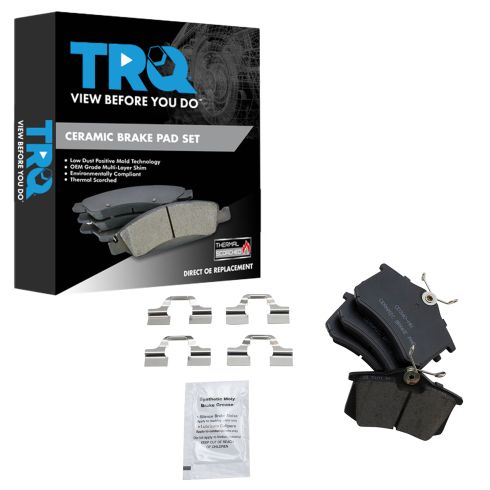
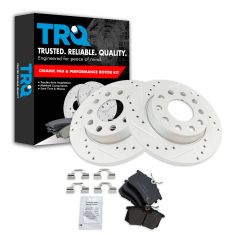
In this video, we're going to show you how to replace the rear brakes on this 2004 Volkswagen Jetta and we show you on the passenger side, but the driver's side is the same procedure. The items you'll need for this are new brake pad and rotor kit form 1AAuto.com, 13mm and 18mm socket and ratchet with a piece of pipe for leverage, 7mm and 8mm Allen bit or wrenches, flat blade screwdriver, jack and jack stand, torque wrench, wire brush, large C-clamp, mineral spirits, or brake cleaner, brake grease, and a pry bar.
Start off using a 7mm Allen bit or wrench and just pry out these lug cap covers, and we'll fast forward as Don does the rest of them. You'll notice that one of these lug bolts is slightly different and it's rounded. You're going to need a key to remove this and the key can be found right here in the trunk, right next to your jack. We'll just push it into place and now it will remove like all the other lug nuts. If you don't have air-powered tools, you're going to want to loosen these while the vehicle is on the ground. Then raise the vehicle and remove them the rest of the way. If the wheel doesn't pull off once they're all removed, just twist another lug bolt back in, and then use a pry bar from behind and just hit the wheel out. Now you can just remove that lug bolt, and your wheel is free.
Now you can inspect your brakes. You can check the rotor, check for any deep grooves, and you can look through here to see how much life is on your brake pads.
To remove this caliper, you need to remove these two 13-mm bolts on the back and we'll fast forward as Don does that. Using a flat blade screwdriver, pry the brake pad back into the piston to help remove the caliper a little bit. Now you can just pry the caliper off, and just set it aside, and remove your brake pads.
Now, remove these two 8mm Allen bolts. We'll fast forward as Don does that. Once those are removed, you can pull your caliper bracket off. We need to remove the screw if you still have one there holding the rotor in. It's going to take some force usually, and worst case scenario, you could actually just use a drill and drill the head off, and then remove the disk. It's not necessary for re-installation.
Using a large C-clamp, you just want to apply some pressure to the piston on the caliper and then use your pliers to just twist the piston back into place. You'll notice after a while that the C-clamp will become loose and just tighten it up again, and then start twisting again. You just want to repeat this process until the piston is back in place, and we'll just fast forward as Don does this.
Using mineral spirits or break cleaner, clean up your rotor whether it's old or new, and using a wire brush, just clean the slides where the brake pads go on your caliper bracket, and check these slides and make sure they move in and out. If they don't, pull them all the way out and grease them up again. Then apply some brake grease to the tabs on either side of your brake pads.
Push your rotor into place and replace that Phillips screw. We'll just fast forward as Don does this. Now put your brake caliper bracket back into place and just replace those 8mm Allen bolts, and we'll fast forward as Don replaces and tightens them up. You want to torque these to about 50 foot-pounds.
Now push your brake pads into place and then fit your caliper up over them and into place on the caliper bracket, making sure that those slides go underneath and into place for the bolts to go through, and we'll fast forward as Don replaces those two 13mm bolts and tightens them up.
Now replace your wheel and those lug bolts and just tighten them up. If you don't have air-powered tools, tighten them preliminarily, then, lower the vehicle and tighten them the rest of the way. Now with your vehicle on the ground, just torque each of those lug bolts to 100 foot-pounds. We'll fast forward as Don replaces those lug bolt caps. Now pump your brakes until they firm up and then do a brake test from 5 mph and then 10 mph. Then you're all set.
We hope this video helps you out. Brought to you by www.1AAuto.com, your source for quality replacement parts and the best service on the Internet. Please feel free to call us toll-free, 888-844-3393. We're the company that's here for you on the Internet and in person.