Brought to you by 1AAuto.com, your source for quality replacement parts and the best service on the Internet.
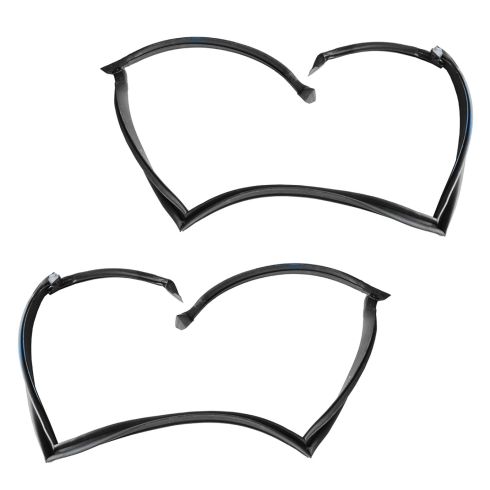
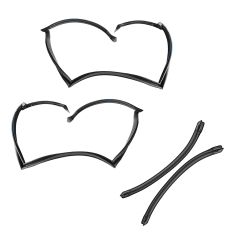
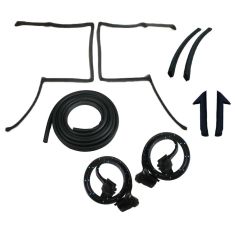
In this video, we're going to show you how to remove the T-Top roof rail seal, which is the seal that is attached to the car itself. Tools you'll need are a heat gun, you'll definitely need a heat gun, it makes it a whole lot easier to get the adhesive to release. You'll need a Phillips screwdriver, as well as a putty knife and a regular screwdriver to do some scrapping out of the channel. For your T-Top roof rail seals, which go all the way around here, the first thing you are going to do is, you're going to remove this trim panel and then this trim panel. The rear one, it's a screw here and a screw down here and then it will pull off. On the front one, it's a screw up here and it will pull up off. I'm going to fast forward here a little bit and these screws can be a little difficult, you really need to push your screwdriver into them to get it to grip and pull them out. Now the same thing for this front panel and you'll see here again, I changed position actually so I can get more leverage pushing that screwdriver in. Once you have that off, pull back and down. There are . it looks like they're broken on this one. You probably will have to pull harder as there are two pins that go up into the body of the car that hold it. It also clips on down there at the bottom so you have to push it up and out and then pull it up.
We're going to start with our heat gun down here. There are two pins, which you will have to pull out. As you can see, like usual, my weatherstrip is falling right apart and it should be glued in with this channel here. I'm just using a heat gun and following it right up, just pulling. The glue is usually old enough and dry enough that it doesn't really hold anyways.
As you get right up into here, see when that focuses in, there's a little 7mm bolt right here and you're going to want to remove that. Okay and we'll speed it up here as I do that and you can see a typical original headliner has basically going to fall apart when I touch it and fall down. You'd obviously, if you're saving your headliner, be a little more careful. Okay, we're going to fast forward again, and in this area you're going to encounter more glue. I'm going to use a screwdriver and a putty knife just to try and make sure I'm still taking the weatherstrip off in as a single of a piece as possible. I'm using the heat gun to release the glue again and then following it right up to the next corner. Now again here, you'll see I spend quite a bit of time on this corner, trying to heat it up really good. Usually the factory has put some glue in there and a lot of times people, when they get leaks, they try and put some extra glue in there and try to get it to seal up but again just try and get it in there. What I'm doing is with the knife and screwdriver is just pulling out some of the pieces and trying to get as whole of a piece as possible. Again, to keep pulling it out nice and smooth. Right up under here is another 7mm screw right there. I'll fast forward through removing that 7mm screw and then back at it with the heat gun and you'll notice that rather than trying to go from the far corner across, I start at this corner, rip and then just trail it across. You'll notice also that it takes a little more time, that's because this car probably leaked and the solution that the person came up with was let's throw a whole bunch of sealant at the front of the weatherstrip, which just makes it a little more difficult to get apart. It probably didn't help the problem and I'm also just making sure that I pry out from underneath that channel, make sure that you get all the residue and the glue and everything out from there.
Now I'm just doing the same thing right down the windshield pillar, this proved to be a little more difficult. You can see it comes apart, just stay at it with the heat gun and prying it out with a putty knife and/or a screwdriver. This is just a little section up near the front corner that I had left because it frustrated me. Again, just really scraping it out. Using the heat gun and this is one of those areas where a lot of owners will have put a whole bunch of extra sealant in and that's what happened here. There's a whole bunch of extra sealant and it's all gunked up in there. I'm just doing my best to get as much as possible out of there and get it as clean as possible. Once you've got the weatherstrip removed, just use your heat gun and screwdriver or putty knife and try and clean up as much as this stuff as possible. The cleaner you get this, the more time you spend cleaning it out, the better your new weatherstrip will seal and it looks like we're probably going to have to end up replacing this metal plate. This being a New England car, the metal plate is pretty much gone so we'll probably be looking for one of those before we go to ... After we paint and before we go to install the new seals.
We hope this helps you out. Brought to you by www.1AAuto.com, your source for quality replacement parts and the best service on the Internet. Please feel free to call us toll-free, 888-844-3393. We're the company that's here for you on the Internet and in person.