Brought to you by 1AAuto.com, your source for quality replacement parts and the best service on the Internet.
Hi, I'm Mike Green. I'm one of the owners of 1A Auto. I want to help you save time and money repairing or maintaining your vehicle. I'm going to use my 20-plus years experience restoring and repairing cars and trucks like this to show you the correct way to install parts from 1AAuto.com. The right parts installed correctly: that's going to save you time and money. Thank you and enjoy the video.
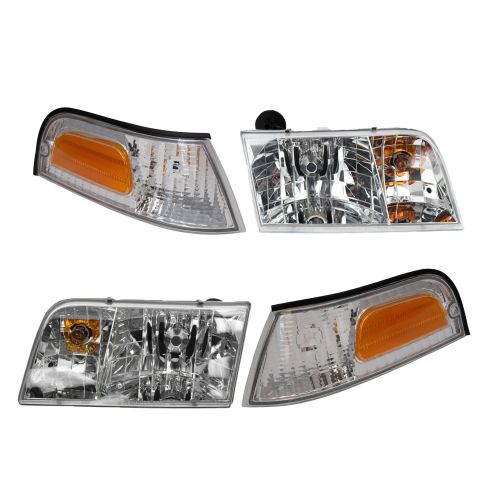
In this video, we're going to show you how to replace the side marker light, both replace the bulb and the whole assembly, if you were to break one. The only tools you'll need are a Phillips screwdriver and a 11mm socket with a ratchet and a small extension.
To replace the side marker you're going to need a Phillips screwdriver and an 11mm socket with a small extension and a ratchet. Remove the Phillips screw right there from the side of the lens, and then down in here, there's an 11mm bolt right there, and you remove that. For me, it takes an extra second, but I just like to remove this whole piece here; there are three clips that you spin out. Then the clips pop right out and this lifts up and out. Just gives you a little more room in here. As this bolt is coming off, you want to be careful not to drop it. I just pulled it into the socket and bring it right up. Then the light comes right out.
Here's your side marker, and then if you were looking to replace the whole assembly with a new one from 1A Auto, because it got broken or something, you just pull a clip out here and pull this harness right through there. Obviously, reinstallation is just the reverse. Plug in our light; turn it and twist. You want this harness to kind of go down and around. You want it to come down out of here and then clip it into there. Now, put it right in there. Put this on. Replace it. Let's put our screw in first. Okay, now here I'm putting that little nut right into my 11mm socket and then feeding it down in there and putting it on. The reason you put that screw on first is so you don't have to hold the light at the same time while you're trying to get that nut down in there. Makes it a little easier, without dropping it. Now we'll fast forward through tightening up that nut. Make sure the screw is tight; they don't have to be overly tight. You are just going into plastic here; so as long as they're nice and snug, it's not a very big part, so it won't go anywhere. Now this panel just goes in; make sure the front goes under, down on, and you just push the pins in, push them down, and they're on.
We hope this video helps you out. Brought to you by www.1AAuto.com, your source for quality replacement parts and the best service on the Internet. Please feel free to call us toll-free, 888-844-3393. We're the company that's here for you on the Internet and in person.