Replaces
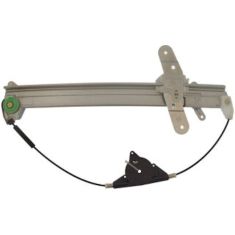
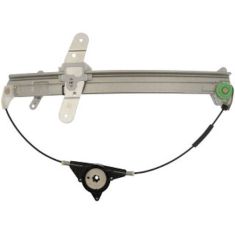
2005 Lincoln Town Car Front Driver Side Window Regulator TRQ WRA51186

WRA51186
This part doesn’t fit a . Select from parts that fit.
Specify your vehicle's year, make and model to guarantee fit.
This part doesn't fit a . Select from parts that fit.
Buy in the next and
Recommended for your 2005 Lincoln Town Car
Frequently bought together
Specify your vehicle's year, make and model to guarantee fit.
This part doesn't fit a . Select from parts that fit.
Part Details
- Yes
- Yes
- Galvanized Steel
- Electric
- No
Specifications
- Driver Side
- Front
About TRQ:
TRQ is a trusted brand dedicated to making every repair a success story by combining premium parts with easy installation. Each TRQ part is engineered by a team of automotive experts to meet or exceed OEM standards, delivering enhanced performance and maximum longevity. With rigorous in-house testing, the brand ensures superior fit and function across every product line. TRQ also provides customers with best-in-class, step-by-step installation videos—so you can complete repairs with confidence, whether you're a first-time DIYer or an industry professional.
Product Features
Note: This window regulator is designed to work with factory style motors only. Due to variations in aftermarket designs, replacement motors may not have the correct gear style.
Attention California Customers:
![]() WARNING: This product can expose you to chemicals including Lead and Lead Compounds, which are known to the State of California to cause cancer, and birth defects or other reproductive harm. For more information, go to www.P65Warnings.ca.gov.
WARNING: This product can expose you to chemicals including Lead and Lead Compounds, which are known to the State of California to cause cancer, and birth defects or other reproductive harm. For more information, go to www.P65Warnings.ca.gov.
Lifetime Warranty
This item is backed by our limited lifetime warranty. In the event that this item should fail due to manufacturing defects during intended use, we will replace the part free of charge. This warranty covers the cost of the part only.
FREE Shipping is standard on orders shipped to the lower 48 States (Contiguous United States). Standard shipping charges apply to Hawaii and Alaska.
Shipping is not available to a P.O. Box, APO/FPO/DPO addresses, US Territories, or Canada for this item.
Expedited is available on checkout to the United States, excluding Alaska, Hawaii.
Final shipping costs are available at checkout.


Created on:
Tools used
- This is Part 2 of a two part video Please consult Part 1 for prior instructions Perform the steps outlined in Part 1
- Insert one of the bolts into the window regulator Push the regulator into the door Hang the regulator by its bolt Insert the three T30 Torx screws bolts into the blower motor Insert the four 10mm bolts loosely into the regulator Connect the window switch wiring harness Connect the window motor to the lead Lower the window onto the regulator Insert the two 10mm bolts that hold the window to the regulator Turn the vehicle on Run the motor up for 4 seconds Disconnect the window motor lead Tighten the four 10mm bolts to the regulator
- Replace the weatherstrip Connect the speaker wiring lead Insert the Phillips head screws from the bottom of the door panel Insert the Phillips head screws behind the door pull Push in the door pull Insert the Phillips head screws under the door pull Connect the power window switch wiring harnesses Push in the power window switch Screw and replace the door lock knob
Brought to you by 1AAuto.com, your source for quality replacement parts and the best service on the Internet.
Hi, I'm Mike from 1A Auto. I hope this how-to video helps you out, and next time you need parts for your vehicle, think of 1AAuto.com. Thanks.
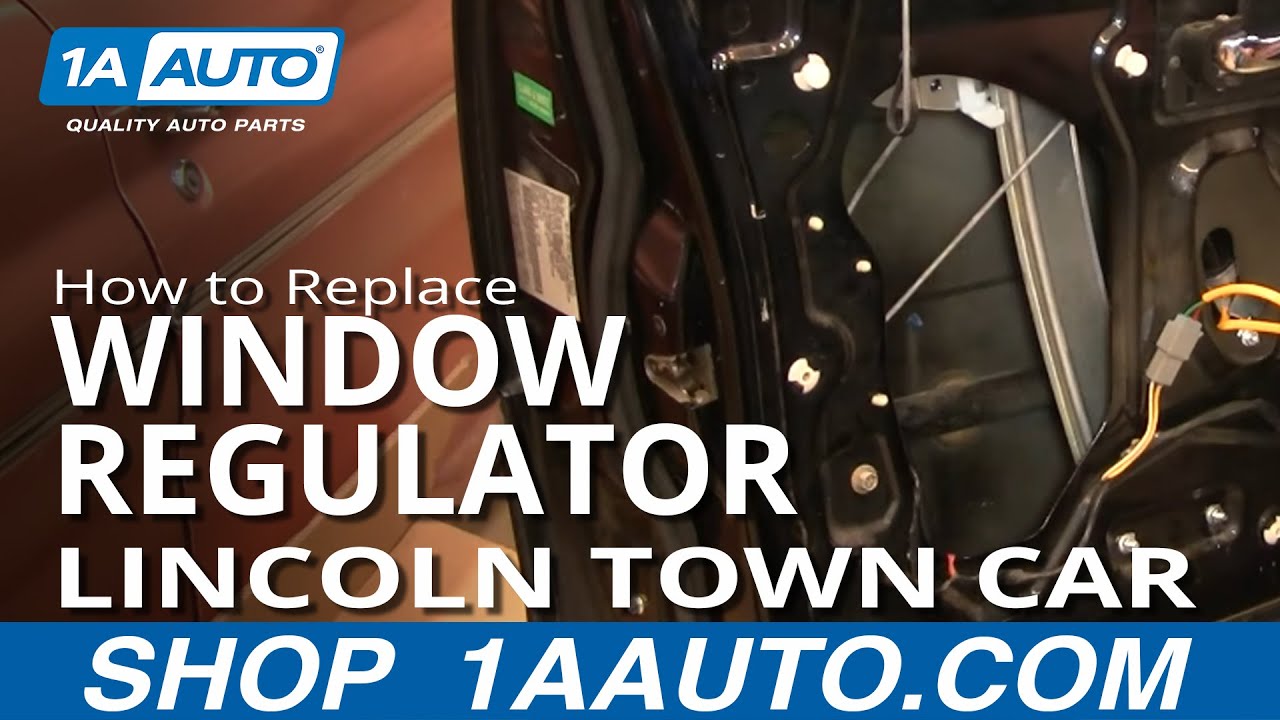
This video is part two of a two part series for installing a regulator in this 2000 Lincoln Town Car. We sell this regulator with and without the motor included. This video is part two of replacing the window regulator without replacing the motor. Here's a quick look at the tools you'll need to accomplish this. To see the first part of this video, just search for the same video title but part one in the title rather than part two.
On the window, you'll have these rivets. Use a pair of needle nose pliers and carefully just pop them out. So, to reinstall a regulator without a motor, you can see I just kept my original one because it's in good shape. I'm just showing you how to do it in this video. You want to put it in, get it in behind that rod, then up, and look through these holes you can look up above here. Get that into place. Now, to bolt the bottom, I have two M6 and they're 2cm long; they're the standard 1.0 pitch. I'm going to use those on the bottom here. I'm going to feed them, let's see.
Now, I'll also start my fasteners up here at the top. We will fast-forward here, but you can see how I put the nut into the socket with the extension, feed it in, and start it onto the stud of the window regulator.
Then I'm going to take my window and get the nose down in as we straighten it. Feed the nose of the glass down in with the rear in the channel, and then, eventually, you pull the nose into the front channel and get it all set in the window channel. Then bring it up. Make sure you pull it into place. Push it down a little further, pull the front into the channel, then rotate it up. You let the glass down.
Then I've got another set of M6. These are 2mm long. Put them through. Now, I use my 10mm socket here. There's no motor on the regulator still, so I can push it down a little bit and that allows me to get my fastener on there. These ones I will tighten up. Notice none of the other ones I've tightened up so far. Now, I do have a special type of serrated nut that once you tighten it up, it keeps it from loosening. Pull your gear back like that. Put the motor in. Push it into the transmission. Then we'll start this bolt up here.
Now, you want to look right through this hole, and bring that screw into place. Now, you can see I've got it in place there, and I've got the holes pretty well lined up there so I can put the two other screws in. Now pull your lead through and reconnect. Okay, those of you with a keen eye will notice that in this shot the window regulator is now a steel color. That is because I just borrowed this footage from the video where I actually replaced the entire window regulator and motor assembly together. But all the steps are the same for doing this procedure.
Now, with the key on, run your window up and down a little bit a couple times. Probably with it right about there. Tighten up this upper one and tighten up this one. Then re-tighten my lower ones. That's it.
Now, reinstall this piece of rubber. So here, I'm just going to speed up putting the door panel back on just to keep the video at somewhat of a manageable length. If you wanted to see this part of the process in regular speed, just check out our other videos for the Lincoln Town Car door panel removal and replacement.
We hope this video helps you out. Brought to you by www.1AAuto.com, your source for quality replacement parts and the best service on the Internet. Please feel free to call us toll-free, 888-844-3393. We're the company that's here for you on the Internet and in person.
WRA51186
877-844-3393
Monday - Friday 8:00am - 9:30pm ET
Saturday - Sunday 8:00am - 4:30pm ET
Specify your vehicle's year, make and model to guarantee fit.
This part doesn't fit a . Select from parts that fit.


