This video is brought to you by 1AAuto.com, your source for quality replacement parts and the best service on the internet. Hi, my name's Mike Green. I want to help you save time and money repairing your vehicle. I have 20+ years experience restoring and repairing cars and trucks. My company, 1A Auto, sells high-quality replacement parts over the internet. In this video, I'll be showing you how to install these parts. By the end of this video, you'll know how to install them and where to get them. That's going to save you time and money. Thank you and enjoy the video.
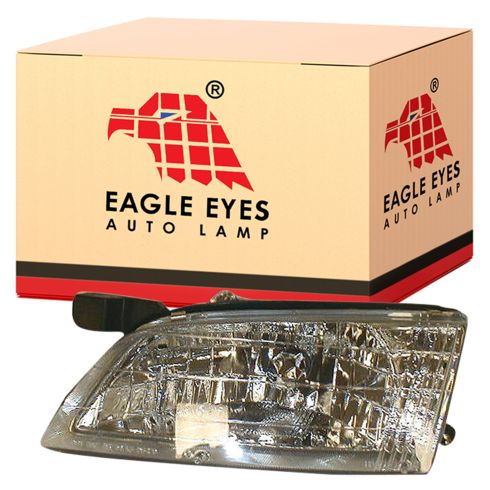
In this video, we're going to show you headlight replacement on this 1998 Nissan Altima. This headlight is basically the same from '98 to 2001. It's a fairly simple procedure. It requires only a Phillips screwdriver, a regular screwdriver, and a 10-millimeter socket with a ratchet and extension. We're going to start by opening the hood, and there's a Phillips screwdriver to remove. Basically, it holds the top of the headlight to the parking light. Then once that screw is removed, you're going to put a screwdriver down in there and separate the ball and socket of the light. You're going to separate the parking light from the headlight. You could just pull really hard, but it's actually a little easier putting the screwdriver down there. Then the parking light comes out. your bulb.
Now, you have to remove two screws. One's already missing on this car. It looks like the car had a little bit of a scrape before, so we'll only be removing that one top screw. You can see here, it appears where the headlight attaches to the grill, these two screws and this little kind of jagged bracket don't appear to be original to the car. Like I said, I think this car had a little bit of a scrape, so somebody kind of did their best to put it back together. It looks like they got the job done, and based on what we have, we're probably going to have to put it together somewhat the same way. These cars kind of came down the line, I believe, with the headlights on them, and then the grill actually kind of clipped up onto the plastic of the headlight. There was actually nothing fastening them together, but if this car got into a little accident, that may have broke, and somebody did their best to fix it up.
Okay, so now there's another two bolts here. This is in front of the battery on the driver's side, and one of them you can't really see. I'm pointing to it right there. It's kind of blocked by that plastic, but you can reach it with a ratchet and an extension and a 10mm. Once those two bolts are taken out and the headlight pulls forward, you can reach in behind and unplug the light bulb. Pull on the tab with your thumb and unplug the bulb and then your light's out. Then we can kind of do a side-by-side on the new one, and you can see the new one is much clearer and will provide a lot more light. Make sure all the mounting points are the same, and it looks like the right one. Then you can see up here in that top corner, sure enough, our new light has got a nice, solid piece of plastic and it appears that someone may have done a little bit of work, and this could happen on a car this old. Somebody just had to do some work and get it back together. Now, they put the new light back in, and you're going to see here actually. I kind of figured out as I'm doing this that I have to actually loosen up the grill. You're probably going to have to loosen up the grill on your car, and I'll show you that in a second and go in behind the grill here in a second. So this is in behind the grill, and it looks like our car had a big screw and a washer on it, and probably It was a bolt, and I just kind of took that out so it loosened up. Now I can slip that headlight in behind the grill now. You'll see I'll pull on the grill a little bit, slip the headlight in there, and then push it back into place.
Once I do that, then I'll put the one bolt I still have on the side. We'll install that and tighten it up, and when you tighten these things, you know, here. It's all, it's plastic, so you want to make it tight, but not incredibly tight. I'm just using a small ratchet handle there, and that's about all you need as far as tightness. Then I'm going to tighten up these two nuts in here, and these are all 10mm in size. Once that's done, then I'm going to replace the parking light, and you want to kind of line up the back part with the fender and then you just push it right onto the ball. Push the ball and socket right together, and then the Phillips screw back on the top of that.
There it is. Tighten that up, and the assembly is back together. Now, we'll do a quick test just to make sure everything's working properly. Turn on the lights. The lights work. The signal is working, and we're pretty much all set. Try the high beams and make sure they're working. That's good. Then a quick shot. I'm just going to kind of patch the front together. I drilled a small hole into the new headlight and used a washer to kind of separate the grill from the headlight a little bit, the way it looks like it probably was originally. Not the optimum thing to do, but sometimes on an older car, you just kind of do what you've got to do to make it good.
This video has been brought to you by 1AAuto.com. We truly hope this video has helped you out. We are your source for quality replacement parts and the best service on the internet. You can call us toll free 888-844-3393. We're the company there for you on the internet and there for you in person.