Brought to you by 1AAuto.com, your source for quality replacement parts and the best service on the Internet.
Hi, I'm Mike from 1A Auto. I hope this how-to video helps you out, and next time you need parts for your vehicle, think of 1AAuto.com. Thanks.
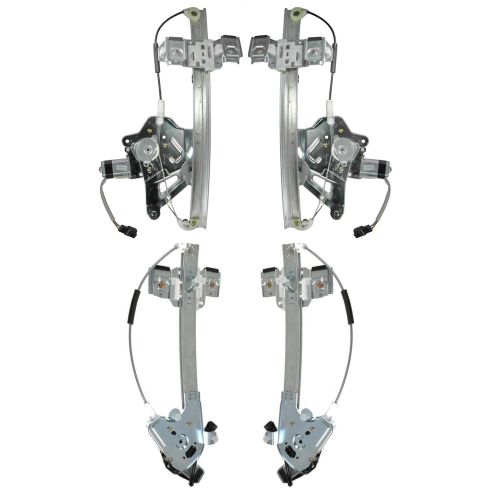
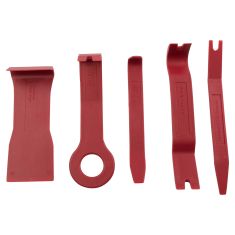
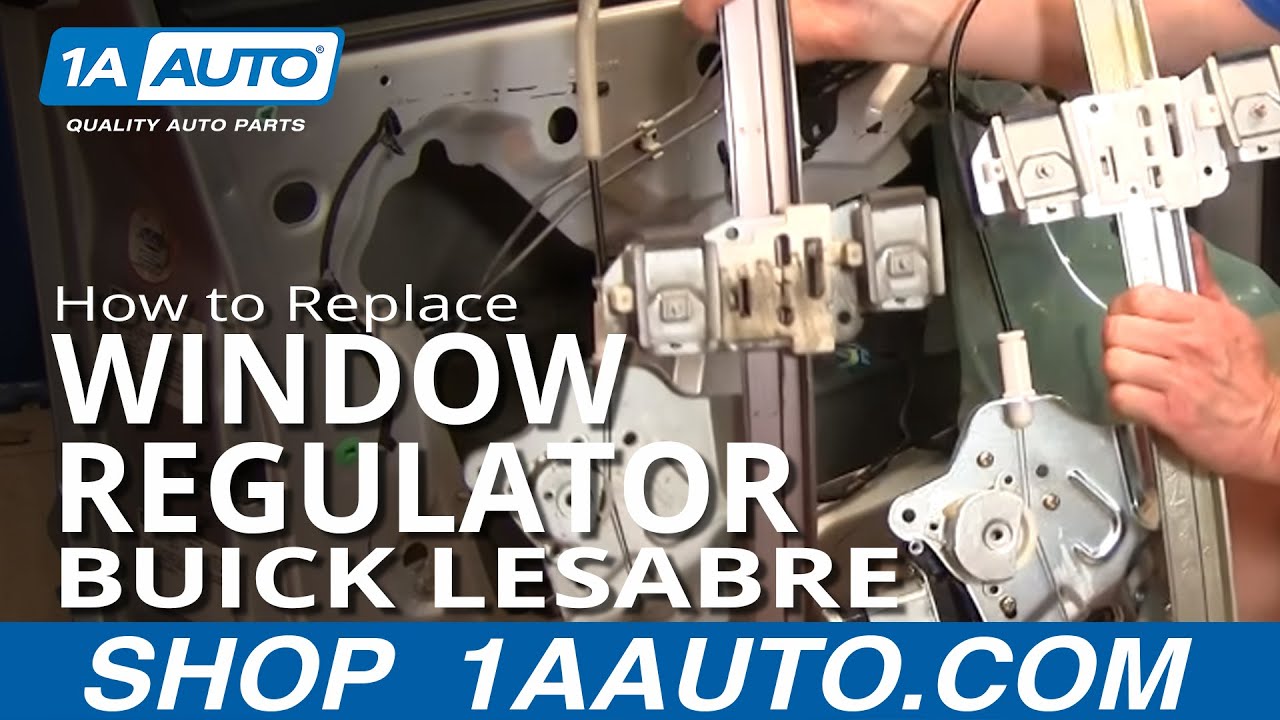
In this video, we're going to show you how to replace a power window regulator on this 2000 Buick LeSabre. It's the same as many LeSabres and Bonnevilles, although removing the door panel may differ a little by car. The tools you'll need include a flat blade screwdriver, Phillips screwdriver, door panel clip tool which is available at 1AAuto.com a 10mm wrench or socket, a ratchet, and some pliers.
Start with a flat blade screwdriver. Just carefully go right in behind here and pull out on this bezel. It comes forward and off. Next, you want to take your screwdriver again and pry out on this courtesy light. It comes straight out; you can pull the bulb out like that. With a Phillips screwdriver, you look right in here, you'll see a black Phillips screw remove that. Now, there's a series of clips around the door panel, so you want a door panel clip tool. What you can do is pull out on the panel, slide it in, then down until you come to a clip, and pull it out right around the clip. Then pull on the door panel and the tool at the same time. Then just keep doing that right around the whole panel. I'll speed it up here as I just work my way around the panel.
Then, once you release the clips, you'll want to actually try and pull the handle out, or pull the panel out, and pull it up and off of the bracket. Pull the back clip out, pull the door panel up, and then come up to the front here and pull out all these clips out. You want to pull your door panel up and out. Then there's a little, it's actually a little electrical connection here, just press on the tab, disconnect that, and the door panel comes off.
You can see right here, this is the clip in the middle that slides down on these clips here. What you want to do once you have the panel off, take your screwdriver and push up. There's basically two little teeth that hold it on. Push up, pull the clip off, and push down. Let's see here. That comes off. You can slide right back into there. Fast-forward here as we remove the other clip, put it back into the panel, and then the panel is ready to install when you have your project done.
Once the door panel is off, use some pliers or a screwdriver and pull the pins at the top of the water shield out, and carefully pull the water shield down to give you access to the part. Use a 10mm socket and ratchet and just remove these two nuts so you can remove the door control box. We'll just fast-forward again. Removing that box just allows you to pull the water shield down a little further. Use your door panel clip tool or a pair of pliers and remove the pins and the big Styrofoam block that's the lower part of that opening.
The window regulator is a cable driven regulator, and, generally, what happens is you'll hear a popping noise, and then you can hear your motor working, but you're just hearing a bunch of grinding. In that case, you'll be able to just grab your window and move it up and down by hand. You want to basically move it until you see these two bolts. You can see one right there and one right there. That's where they are in the up position. Those are 10mm. Basically, what you could do is just lift your window all the way up, have a helper hold it, and then you remove those two bolts. Speed it up here again.
In the last frame, I did say you could remove those bolts, you do just need to loosen those two 10mm bolts. Right down in here is your window lead, you just push down on this tab. Sometimes a flat blade screwdriver properly placed will help. Now, your regulator is held in by three bolts: one up here and then two down here. I'll remove those. We'll speed up the tape again as we remove those nuts that hold the regulator to the door.
Once those nuts are removed, you can pull the regulator back out of the door and pull it out through the large opening. You can see my original is in fine shape, so I'm just going to reinstall it. You just want to put it right down in. Wiggle it around just a little bit to get it in there. You need to reach up in, make sure your regulator goes inside your window, and then bring that stud through there, and then bring your other two mounting studs down here and here. Start these nuts on. Speed it up again here as I just start all three of the nuts on, and then tighten them up with my 10mm socket and ratchet. You want to tighten them nice and firm.
I'm just going to bring my plug one more time. Plug the lead into your window motor, turn your key on, and plug in your door panel. Bring your regulator up, that's down, up right into place. Now, it's right in the door. Now the regulator and the window are right together so I can disconnect this again. Now we can tighten these two bolts right here that secure the regulator to the window. Now reinstall the Styrofoam block, isolation block, and carefully put your water shield back up, put the pins back into place, and make sure you press the outside edges into place.
Before you put your door panel back on, again make sure this bracket is in place. Reconnect your harness. Now, two of your lower pins are longer so you can actually put those in place. I'm just looking down, seeing those go in place. Those should line up, and then you can just rotate the panel onto the door, and then we watch everything go in, peek back here, make sure that these pins are lined up. Stick the back in a little bit and then put that in. Make sure to take our Phillips screw and carefully put it in and connect our courtesy light.
We hope this video helps you out. Brought to you by www.1AAuto.com, your source for quality replacement parts and the best service on the Internet. Please feel free to call us toll-free, 888-844-3393. We're the company that's here for you on the Internet and in person.