
★★★★★
February 20, 2026
Fuel pump works perfect! Took care of my problem. Shipping is always on time!

Replaces







Part Details
About TRQ:
TRQ is a trusted brand dedicated to making every repair a success story by combining premium parts with easy installation. Each TRQ part is engineered by a team of automotive experts to meet or exceed OEM standards, delivering enhanced performance and maximum longevity. With rigorous in-house testing, the brand ensures superior fit and function across every product line. TRQ also provides customers with best-in-class, step-by-step installation videos—so you can complete repairs with confidence, whether you're a first-time DIYer or an industry professional.
Product Features
Returns: Parts with electrical components cannot be returned once installed.
Attention California Customers:
 WARNING: This product can expose you to chemicals including Di(2-ethylhexyl)phthalate (DEHP), which is known to the State of California to cause cancer, and birth defects or other reproductive harm. For more information, go to www.P65Warnings.ca.gov.
Lifetime Warranty
This item is backed by our limited lifetime warranty. In the event that this item should fail due to manufacturing defects during intended use, we will replace the part free of charge. This warranty covers the cost of the part only.
Returns: Parts with electrical components cannot be returned once installed.
FREE Shipping is standard on orders shipped to the lower 48 States (Contiguous United States). Standard shipping charges apply to Hawaii and Alaska.
Shipping is not available to a P.O. Box, APO/FPO/DPO addresses, US Territories, or Canada for this item.
Expedited is available on checkout to the United States, excluding Alaska, Hawaii.
Final shipping costs are available at checkout.
Created on:
Tools used
Brought to you by 1AAuto.com, your source for quality replacement parts and the best service on the Internet.
Hi, I'm Don from 1A Auto. I hope this how-to video helps you out, and next time you need parts for your vehicle, think of 1AAuto.com. Thanks.
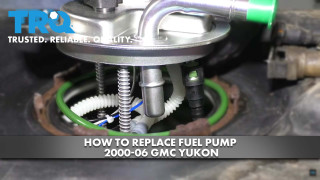
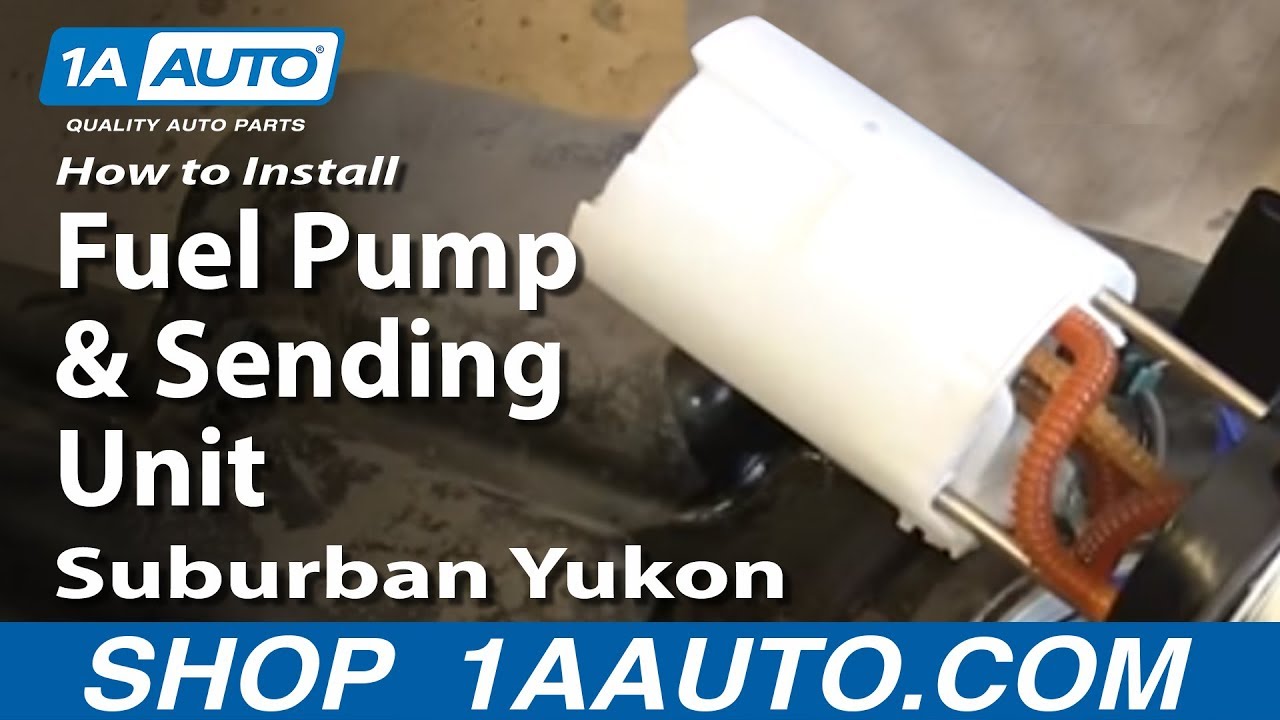
In this video we're going to show you how to replace the fuel pump and sending unit on this 2002 Chevy Suburban with the 5.3 liter V8 engine. The items you'll need for this are a new fuel pump and sending unit from 1AAuto.com, 8 and 15 millimeter socket and ratchet with an extension, flat blade screwdriver, pry bar, pliers, hammer, an assistant, and jack and jack stands.
Start off by loosening these two hose clamps. It's that hose but we actually end up loosening the hose clamp that's up near the spare tire on the other end of the hose from where we pointed as you can see here. That'll make it a little bit easier when we actually get the tank down. Once you loosen those hose clamps, just pull those hoses free. You may need to use a pry bar to help get that free. You can also use a large flat blade screwdriver.
Now, you want to take a jack stand and just put it underneath your gas tank. Next you want to remove the gas tank straps. To do that, you want to remove this 15 millimeter bolt, and this one on the other strap. We'll just fast forward as Don does that. Now just pull that strap up and out of that slot. Do the same thing with the other one.
Now, have an assistant hold one end of the gas tank while you lower the jack and reposition it. On top of the gas tank, just pull this hose free from the bracket, and then go down to the end that's lowered. You'll see this hose. Just pull that free and then pull the hose from this bracket on the side of the tank. Then, do the same thing with the one below it. Then, you keep freeing those hoses by pulling out the brackets that line the tank. Now, on fuel pump and sending unit you'll want to just push the tabs and the harnesses and disconnect them. Then using a pair of pliers just push the tabs on this hose to pry the hose off. Just pull them free. Now, at the end of the gas tank closer to the front of the vehicle, you'll want to just pull these hoses out. Then, reach back behind here and just pull up on these hoses you disconnected from the fuel pump sending unit earlier. Using duct tape, just tape up the holes on the lower end of the gas tank. You removed those hoses at the beginning of the procedure. We want to make sure it has no leaks. Rremove the jack stand, lower the back end of the gas tank down. Just carefully slide it out. Then, you can set your gas tank down and then just disconnect this hose. If the gas tank is too heavy, just dump some of the gas out into the proper container.
Now, to remove this ring, you want to just lift up on this plastic tab on the side here and then, using a hammer and screwdriver you want to just twist that ring, making sure the that tab stays up. Once the ring breaks free, lift it up and over the sensor and pull it off. Now your fuel pump and sending unit are pulled out of the tank. You want to make sure that you drain the gas that's stored inside of it by just holding it upside down.
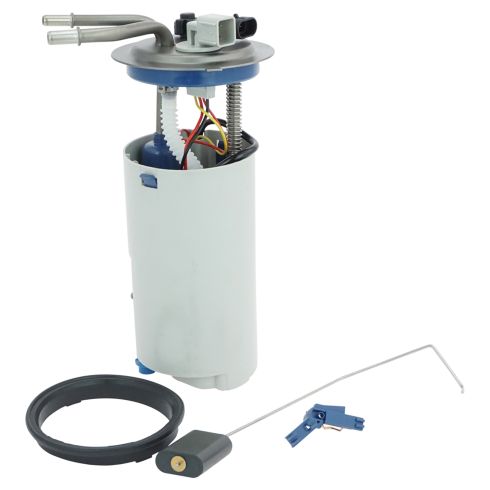
On the left is the old fuel pump and sending unit. On the right is the new one from 1A Auto. You can see that they're identical and they'll fit exactly the same. Push this arm into place and then you want to swap over these clips, just pry out on them and slide them off. Then slide them into place on your new sending unit.
Lower your new fuel pump and sending unit down into place. Put the ring back on. Then using a hammer and flat blade screwdriver, just hit it back into place.
Now, take the fuel tank and put the front end up first. Then, you can reconnect that hose in there that you can only really access when your tank's down. Then you just want to clip these hoses back into that bracket. Push that tank back up into place, not all the way because you still have some things to connect up there but pull them in there and then put the stand underneath it, with the back end lower than the front. Then push these hoses back into your sending unit. Reconnect those two harnesses. Then you just push these hoses back down into this bracket. Make sure you push them into the other bracket all the way up to the back of the tank. This goes back. Then push this hose back into place and re-clip it to the side of the tank. I will just fast forward as Don raises the tank the rest of the way back up. Now, you just want to remove that duct tape. Now, reconnect these two hoses and slide the hose clamps into place. Then just tighten them up with your socket and ratchet.
Slide the rear gas tank strap into this slot and then feed it up with the bolt in and tighten it up. Then repeat the process for the gas tank strap on the other side, and you're all set. We hope this video helps you out.
We hope this video helps you out. Brought to you by www.1AAuto.com, your source for quality replacement parts and the best service on the Internet. Please feel free to call us toll-free, 888-844-3393. We're the company that's here for you on the Internet and in person.

FPA61914
Fuel pump works perfect! Took care of my problem. Shipping is always on time!
Fuel pump is failed within 2.5 years (approximately 17k miles) without giving any sign. Was stranded on the side of the road. Unfortunately, 1A Auto does not cover labor cost which is very high for fuel pump replacement.
I cut an access panel in my 2002 suburban this round. Dropped the tank the first time, there wasn't going to be a second. So far gauge is accurate and no issue's from engine performance.
It's seems to be work good it fit perfect
Awesome! Works great
Exact fit does it's job.
Excellent perfect fit same as the old one
Another Great Deal from 1A Auto. Fast Free Shipping. Highly Recommended To Keep Your Vehicle Running.
Fast delivery and part works great so far!
Great fuel pump, excellent value. Works like new
Yes.
From my experience with this unit, it has been accurate. Currently when I fill up, it is at the full mark on the gauge, or when there are about 3-4 gallons left the gauge will be on the Empty mark. The only exception to the accuracy has been the gauge itself. I had to replace the faulty factory servos in my instrument cluster. This is a common issue with these model years for these trucks.
It fit my 2003 5.3l Suburban without changing wire harness. Unfortunately the sending unit has already failed in just over 1 year.
Thank you for the inquiry. This part is listed to fit 2002 Chevy Suburban 1500 models with a V8 5.3L engine, Flex Fuel and the 8th VIN digit "Z".
China Im sure. Like everything else.
