Brought to you by 1AAuto.com, your source for quality replacement parts and the best service on the Internet.
Hi, I'm Mike from 1A Auto. I hope this how-to video helps you out, and next time you need parts for your vehicle, think of 1AAuto.com. Thanks.
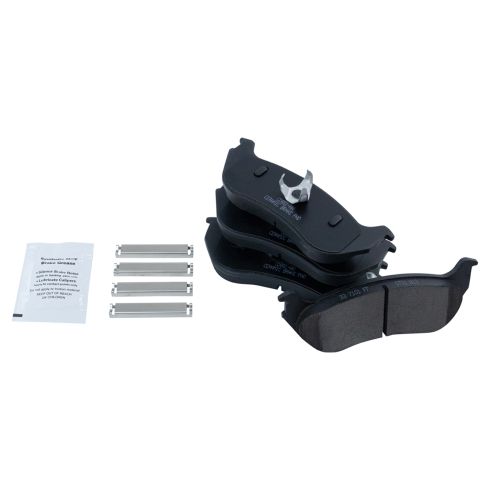
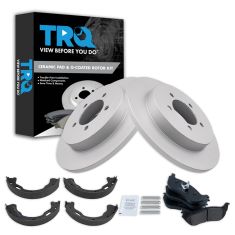
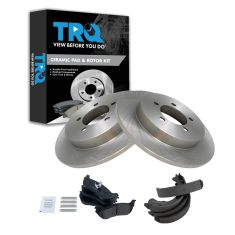
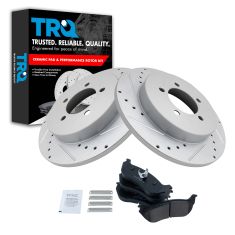
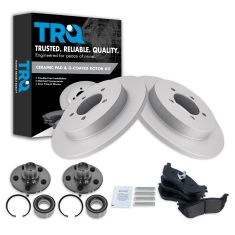
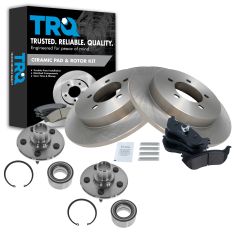
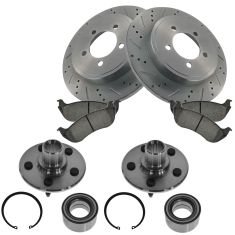
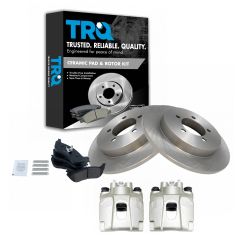
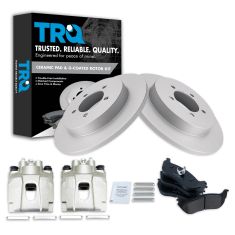
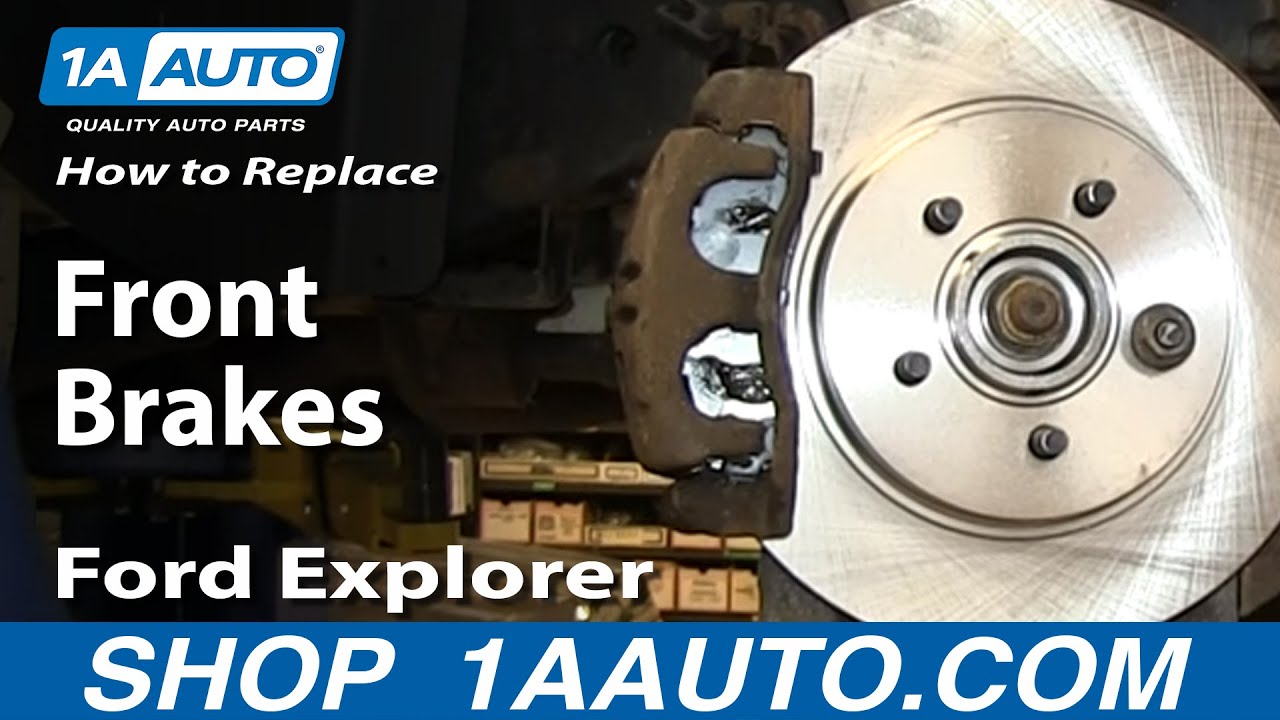
In this video we're going to show you how to replace the front brakes on this 2003 Mercury Mountaineer. We show you on the passenger side, but the driver's side is a similar procedure. The items you'll need for this are new brake pads and rotor kit from 1AAuto.com; a 14, 18 and 19mm socket and ratchet with a piece of pipe for extra leverage; a flat blade screwdriver; a hammer; jack and jack stands; a torque wrench; a large C clamp; brake grease; and a wire brush.
Pry off the hubcap by using a flat blade screwdriver in the small slot on the side. Once you get it started, you can just pull out around the edges. We'll just fast forward as Mike removes those 19mm lug nuts. If you don't have air-powered tools, you want to loosen them while the vehicle is on the ground, raise the vehicle and remove them the rest of the way. Now you can pull the wheel free.
You want to just inspect your brakes. Just take your fingernail and go up and down. You're feeling for any grooves. Small grooves are okay, but anything that really gets your fingernail stuck in there or anything is a little too much. You want to either replace your rotors or turn them down. Do the same thing on the back side. You can see the inner pad here. That's got some pretty good life left on it. Then the outer pad, if you look right here, you see between the metal here and the rotor. There's good life on that. The brakes are actually in really good shape on this, but we're going to take them off and put them back on to show you how to do it.
Now just open up this clip with a flat blade screwdriver. You just have to pry the tab and pull it open. Just pry the harness out of this clip and pull it out of these three. Then you want to remove these two 14mm bolts. We'll just fast forward as Mike does that. Now, using a flat blade screwdriver, just pry right here and that will push the piston in on the caliper and make it easier to pull the caliper off. Do it again down here and pull the caliper free. You want to set it up and out of the way so we're just going to put it up here. Just to make sure it doesn't fall down, use a wire tie to just secure it up there. Now pry out your brake pads. The best way to tell the life left in your pads is this little slot right here is a wear mark, so you can see it pretty much goes away once you have about an eighth of an inch of pads left. Like I said before, these pads have quite a bit of life left on them.
Now remove these two 18mm bolts. You can see he's using a piece of pipe for some extra leverage. When you pull out the last bolt the caliper bracket pulls free. Pull your rotor off.
Take your rotor and push it into place and then replace a lug nut just to hold it there while you reassemble the caliper bracket and caliper. If your new brake pads do not come with any new slides, you'll want to wire brush off the slides. If they do, then you can just pull the old slides off and then clip the new slides into place. Make sure your caliper bolts slide in and out easily. You can see the top one does. This one does not, so we pull it out. You want to just pull this boot off and then clean up the slide. Take some brake grease and just apply it all over the bolt. Slide the boot back on and then slide it back into your caliper bracket. You may have to repeat that two or three times until it slides nicely. Each time you put it in and take it out it will take some more dirt out. Now, using mineral spirits or brake cleaner, just wipe down the rotor.
Now take your caliper bracket, line it up and then just replace those two 18mm bolts and tighten them up. Then torque both of those to 85 foot-pounds.
Next put a little grease on the ear here and here, and some grease here just to keep the squeaking down. These tabs really hold it in place, so you could just take your finger, bend them down a little bit. It helps get in there a little bit. Then take the pads and kind of go in diagonally, so they go up against those ears. Push in. The top went in but the bottom just needs a little more convincing. For the back one, put some grease on the ends and some grease on the outer face. Let's see, just kind of put it in diagonally. I use my hammer just to kind of tap it in. Now remove your wire tie and pull your caliper back down. Then take one of your old brake pads and then just use the large C-clamp to push in those pistons on the caliper. Then just remove the C-clamp and the brake pads when the caliper pistons are pushed all the way in. Then take your caliper and push it back into place over your brake pads. You want to make sure that those slides push down underneath and line up.
Once they're lined up, replace those two 14mm bolts and tighten them up. Then torque both of those to 25 foot-pounds. Then just push this back into those three clips and then back into this bracket and then close that final clip. Wipe down any dirt you may have gotten on your rotor while replacing the caliper and then remove that lug nut, replace your wheel, then replace all the lug nuts and tighten them preliminarily. Then you'd want to lower the vehicle and tighten them the rest of the way, then torque each of these in a crossing pattern to 100 foot-pounds. Now replace your hubcap. Just line it up and hit it back into place.
Whenever you've done any work on your brakes you want to just pump the brake pedal until it firms up. Then you want to do a stopping test from five miles per hour, then 10 miles per hour.
We hope this video helps you out. Brought to you by www.1AAuto.com, your source for quality replacement parts and the best service on the Internet. Please feel free to call us toll-free, 888-844-3393. We're the company that's here for you on the Internet and in person.
