Brought to you by 1AAuto.com, your source for quality replacement parts and the best service on the Internet.
Hi, I'm Mike from 1A Auto. I hope this how-to video helps you out, and next time you need parts for your vehicle, think of 1AAuto.com. Thanks!
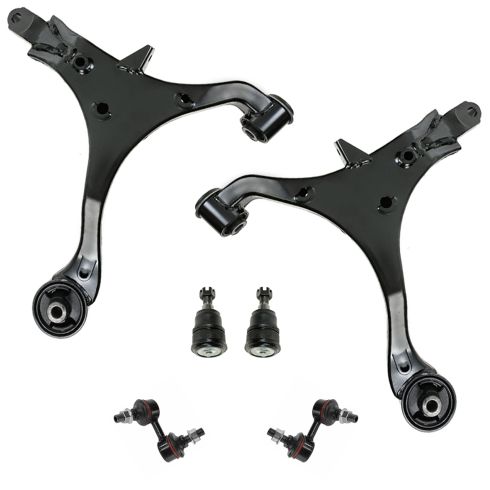
In this video, we're going to show you front sway bar link replacement. This is a 2003 Honda Civic, it's pretty much the same for a 2001 to 2005 Civic, as well as some other Honda vehicles. We show you on the driver side, but the passenger side is the exact same procedure, and if one side is broken on your car, most likely replacing the other side is a good idea as well.
Items you'll need include new stabilizer link or links from 1AAuto.com, 14mm wrench, a 19mm socket and breaker bar or tire iron, 5mm hex bit, ratchet and extension, and, as you'll see, we used a reciprocating saw, so you might find that you'll need one too.
We'll remove the front wheel, held on by four 19mm lug nuts. If you have a different style hubcap you'll need to remove that, but just use a breaker bar or your tire iron and loosen the lug nuts while the tire is on the ground. Now raise and support the vehicle. Now remove the lug nuts the rest of the way, and the wheel and tire.
For this repair, you want to make sure that you have your vehicle level. You need to raise up the front of the vehicle and support both sides, and you can turn the wheel. Your link is right here.
First thing we're going to do is just use a wire brush and some penetrating oil to try and clean off these threads as much as we can to make it easier to get apart. 14mm wrench, put it on here, and turn counterclockwise. It looks like this is already spinning, so 5mm hex socket. You may want to make sure that your bit's in there, hammer 'til you drive it in.
We've gotten the bottom one loosened up, put the wrench on the top one, and then we'll do the same thing, we'll drive the 5mm hex socket in. We've got it loosened up, and what's happened is what happens a lot on these. These lock-nuts actually bind up more and more as you get them off, and they get harder and harder, and then the 5mm hex strips out. What most shops do is they don't even bother with the nuts, they just cut these off right from the beginning.
Using a torch can be intimidating, so we're going to just show you how to use a reciprocating saw. We've got a set of locking pliers on there just to hold it in place a little bit. Now we'll just cut it off. Now the upper one, again, holding it with my locking pliers.
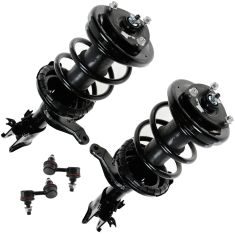
Here's the new part from 1A Auto. I like this design a little better since it has the hex on the end, but also has bolt head, so you can hold it with a wrench on the backside. We'll go and install that.
Put it in and start the nut on the backside. Put the bottom into the control arm, thread your nut on, and the technical spec on these is 29 foot-pounds. It's easy enough to get a torque wrench on this one, but getting a torque wrench on the inner one is pretty difficult.
Put your wheel back in place, start your lug nuts, we'll tighten them preliminarily, and then torque them when the vehicle's back down on the ground. Then tighten your lug nuts, 80 foot-pounds and just cross in the pattern.
Any time you do work on your brakes, make sure you pump the pedal. Get a nice firm pedal before you test drive the vehicle.
Thanks for tuning in. We hope this video helped you out. Next time you need parts for your car, please visit 1AAuto.com. Also check out our other helpful how-to and diagnosis videos.