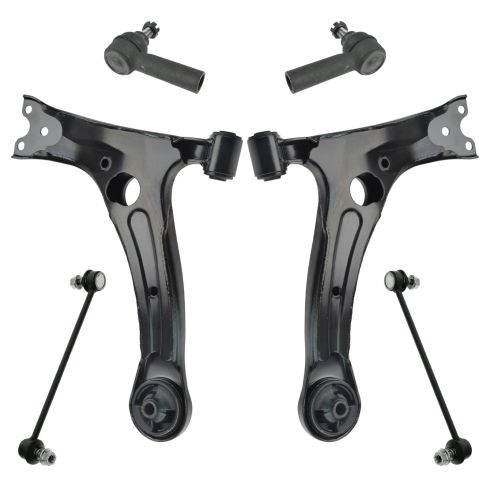
Okay, friends. One of the first things we need to do is safely raise and support the vehicle with the suspension hanging. Once we've done that, we're gonna remove our five 21-millimeter lug nuts. Let's get the wheel off of here. Now that the wheel's off, we have a nice, clear view of our lower control arm. To service the lower control arm, if you're not replacing the ball joint at the same time, we're just gonna remove this nut, the bolt, and the other nut right here. Okay. So as you can tell, it's starting to put a pressure right up along here. So I'm just gonna leave this as it is for this second and then we're gonna move along to the front bolts right there. Let's remove this 19-millimeter headed bolt.
All right. If your bolt's stuck inside there and you seem like you're struggling a little bit, it's probably just because there's a lot of pressure still. If you wanted to, you can move along to the rearward bolt. Once that's loose, we should be able to move this around and the bolt might come out a little bit easier. The bolt that you can see from the bottom also comes up along the top area right there. We're gonna use a 19-millimeter wrench to hold that nut and then from the bottom we'll remove the bolt. Now that that rearward bolt's loose, this is much looser. So let's get this right out of there. Now that that bolts out of there, I'm gonna take a nice long pry bar. I'm gonna come through the hole in the control arm so I can move this and we'll finish removing this nut. Okay. So let's pry down and separate those two. Now I'm just gonna turn that ball joint so it's out of the way. You wanna be very careful not to damage the boot in any way. At this point, I can bring this control arm up a little bit just like this and it'll apply less pressure to the bolts and we should be able to take it out. Now let's pull the front area out of the subframe and then, of course, pull out the rear area. Let's spray the area with some penetrant just to help it slide out of there. As you can tell, the bushing area is kind of kinked off to the side. That's, of course, gonna jam things up a little bit. So you're gonna need to use a pry bar, do whatever you can. We're gonna pull it straight out towards the front. There it is, friends.
The next thing we need to do is take a look at the mounting areas where the control arm's gonna go. If it looks like it's got a lot of crud or build up, you need to make sure you get it out of there at least as much as possible because we don't want anything restricting the area. Don't forget about the front one. If you have access to any copper Never-Seez, I always like to put a little bit kind of around where the bolt holes are just to help that control arm bushing slide right in. Do it in the back and in the front if you have some. Okay, friends. Now it's gonna be time to install our brand new lower control arm. To start, I'm gonna kind of line it up approximately with where it needs to go. What you're gonna notice is that the bushing itself is gonna be at a little bit of an angle. So you might have a little bit of an issue pushing it in there but what you can do is use a nice rubber mallet, hit along the front here just to kind of drive it in. If it seems as though the bushing is going at too much of an angle, it's gonna get caught, so just go right along the lip with a pry bar and your hammer and just give it a couple of loving bonks until it slides in. So you can see this is going at a severe angle at this point. I definitely don't wanna let that keep going like that, so I'm gonna go ahead and give it a bonk like I said. To continue, what I like to do is just use a nice bungee cord or whatever you might have for a strap and just try to strap it up so there's no way that it can fall down and potentially hurt you while we continue.
Now, the next thing that we need to do is, of course, line up the bushing with the hole at the mounting point. You can go ahead and use a pry bar. And I also like to have a nice screwdriver like this so I can go up through the hole. Use the pry bar, move it around to any direction that it needs to go to be able to line up the hole. To check it, just go ahead and use your screwdriver, come right up through there, and then, of course, you can wiggle it around a little bit to make sure it's perfectly aligned. At this point, let's go ahead and start that bolt in. If your bolts look like this, let's just go ahead and clean them up. Now that we have our bolt threads nice and cleaned up, let's go ahead and start them in here. To start the bolt into the rearward bushing, you're gonna notice that the bushing's more than likely gonna be at an angle. To help you line it up, you can use a shallow socket, put it right on there, and then a nice long extension, and that'll give you leverage to be able to maneuver the bolt as needed. Start our nut on there. If you wanna use a little bit of threadlocker, we'll call it your prerogative. Now, the next thing you're gonna want is a nice pry bar. We're gonna come through the top hole of the control arm just like this and now we'll be able to twist the control arm to be able to get that bushing into where it needs to go. There we are. It's started. So at this point, let's go ahead and drive this in. Let's go ahead and give this a couple of bonks, try to drive it in. Let's line up that hole. Let's try to line up the hole here. Take your bolt. If you wanna use a little bit of thread locker, like I said, your prerogative. Start that in. Now we're gonna line up the lower ball joint with the control arm. Go ahead and press down on that. Shift this so it lines up. And then, of course, start the studs into the holes. Let's snug them up. I always like to start with the bolt first.
All right. Let's go ahead and torque these to 66-foot-pounds. Torqued. The next thing we need to do before we can start snugging up the inward bolts is to put load on the suspension. What I mean by that is you need to jack up right under here. We just kind of wanna make it so that the control arm is sitting as though the vehicle's on the ground. Obviously, if you're working on jack stands or anything like that, you wanna be very careful because you don't wanna shift the vehicle off those jack stands, you wanna make sure you're safe as possible. Now that we have this raised up, let's go ahead and snug these up so we can torque them. Now we're gonna torque both of these bolts to 101-foot-pounds. Let's get this out of here. Let's get our lug nut off of there, get the wheel up on here. We'll bottom out the lug nuts and then we'll torque them to 76-foot-pounds. All right. Let's torque them in a criss-cross manner. Torqued.