Brought to you by 1AAuto.com, your source for quality replacement parts and the best service on the internet.
Hi, I'm Mike from 1A Auto. I hope this how to video helps you out and next time you need parts for your vehicle, think of 1AAuto.com. Thanks.
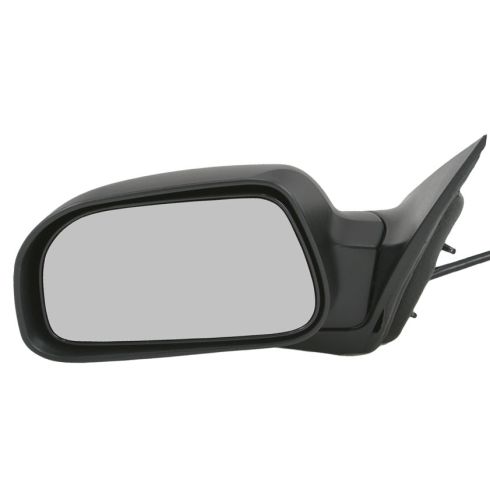
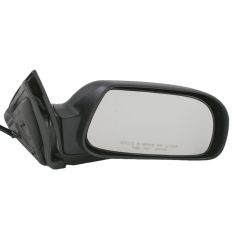
In this video, we're going to show you how to replace a side rear view mirror on this Chrysler Pacifica. We show you the driver's side in the video. The passenger's side is basically the same procedure. The tools you'll need are a flat-blade screwdriver, Phillips screwdriver, a door panel clip tool or a putty knife would work, and either a 10mm wrench or a 10mm socket with a ratchet.
First, you'll take a flat blade screwdriver and there's a little trapdoor right there. You pry that forward and out, and there's one down here, you pry this one back and then out. This one, forward and off. This one, pry backwards, a little twist of the screwdriver and pull it out. Then right in behind, there's two Phillips screws, we'll remove those.
Now, a door panel clip tool and another screwdriver. The clip tool in behind here, go down to this. You'll feel this clip, take it out and get right on that clip. It came apart pretty easy. Go right around the door and release the clips right around, it's usually probably five or six clips, then pull it out and up and off.
It's a little hard to film, but start with this speaker wire. You should be able to pull it right off. Then these harnesses, they just all have little tabs right on the bottom of them, just pull up with your finger and release. Actually that middle doesn't need to be unplugged. This cable here, pull it out and pull it out and then the cable comes out and you can disconnect. There's a clip here, pull the clip off, and pull that cable up and out. This cable should pull out. It looks like this has been apart before, like somebody broke it, so there's now a wire tie holding it. Snip the wire tie. This cable, it should just snap right out of there and then it pulls forward and out. Then, finally way down is your courtesy light, same thing, it just pulls right off.
You can see your mirror plugs in right here, push down on the tab and unplug that. This carefully, pull it right out. Pull it out and then up. You don't want to pull it off too far. Take this pad and move it. Again, there's three 10mm bolts here. We're using a socket with a ratchet extension. A 10mm wrench would work just as well too. Speed up here as I just remove those three nuts that hold the mirror on. Once those are off, reach out and pull your mirror or what's left of your mirror right off.
Here's our original mirror. New mirror from 1A Auto. See, it's exactly the same. Has the same connector and everything. It's going to go on there just like the original. Let's just reverse the procedure. Put your harness through. You can use your original 10mm nuts. Again, I'll just fast-forward. I put the nuts on by hand at first and then tighten them up nice and snug. Tighten them up firmly. Don't over-tighten them. Nice and snug with your socket and ratchet or wrench.
Put this insulation back on, slide it down and in. Reconnect the mirror and push this back up in place. Slide it down there first. Make sure it goes on the other side of the metal, into place. Bring the door panel over. We're going to plug in out light way down here first, probably can't see it. Plug in our speaker. Plug in our two harnesses there. This goes in. You have to peek down around, pull your lock up. You slide it backwards in and then just leave it there for now. This one goes into the handle and lock this clip on. Bring it around, pull it back, cable in and down. As you bring the door panel towards the door, you put this cable in. Panel up and on. Peek back in here. Put our two screws back in. Put our little trim doors back on.
We hope this helps you out. Brought to you by www.1AAuto.com, your source for quality replacement parts and the best service on the Internet. Please feel free to call us toll free: (888) 844-3393. We're the company that's here for you on the Internet and in person.