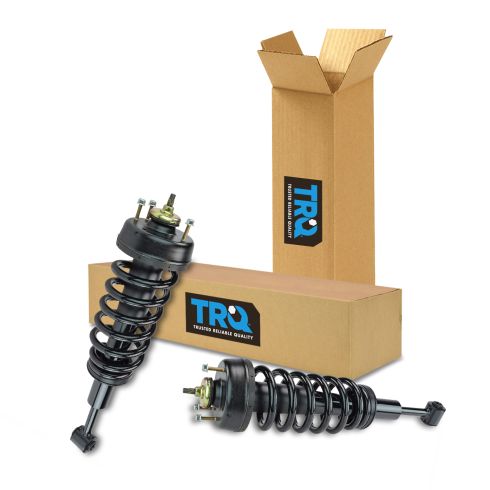
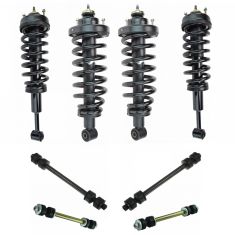
Kit Includes: (1) Front Passenger Side Strut & Spring Assembly (1) Front Driver Side Strut & Spring Assembly
Quantity: 2 Piece
Specification
Side Location
Driver & Passenger Side
Location
Front
TRQ fully loaded shocks and struts are manufactured using premium raw materials and calibrated to restore original ride comfort. TRQ shocks are fully loaded featuring a pre-loaded bearing plate, upper and lower spring isolator, upper spring seat, coil spring, boot kit, and premium strut. TRQ recommends replacing your shocks or struts in pairs to ensure even wear of components and improved ride comfort. All products are fit and road-tested in our Massachusetts R&D facility to ensure we deliver on our promise of Trusted Reliable Quality.
Product Features
Loaded Struts: Pre-assembled application specific design
Application Specific Design: No modifications necessary
Matched Pair: Improved comfort and extended service life
Restored Performance: Reduced body sway and vibration
Replacing struts used to require specialized tools to compress, remove, and transfer the old spring and mount. Our Pre-assembled, complete strut & spring assemblies come with all new parts and make the job much quicker and easier for the do-it-yourself mechanic.
Strut & spring assembly contains:
Upper Strut Mount
Strut Bearing
Coil Spring
Boot & Bumper Kit
Gas-charged Strut
Item Condition:New
Attention California Customers:
WARNING: This product can expose you to chemicals including Chromium (Hexavalent Compounds), which is known to the State of California to cause cancer, and birth defects or other reproductive harm. For more information, go to www.P65Warnings.ca.gov
Lifetime Warranty
This item is backed by our limited lifetime warranty. In the event that this item should fail due to manufacturing defects during intended use, we will replace the part free of charge. This warranty covers the cost of the part only.
FREE Shipping is standard on orders shipped to the lower 48 States (Contiguous United States). Standard shipping charges apply to Hawaii and Alaska.
Shipping is not available to a P.O. Box, APO/FPO/DPO addresses, US Territories, or Canada for this item.
Expedited is available on checkout to the United States, excluding Alaska, Hawaii.
Final shipping costs are available at checkout.
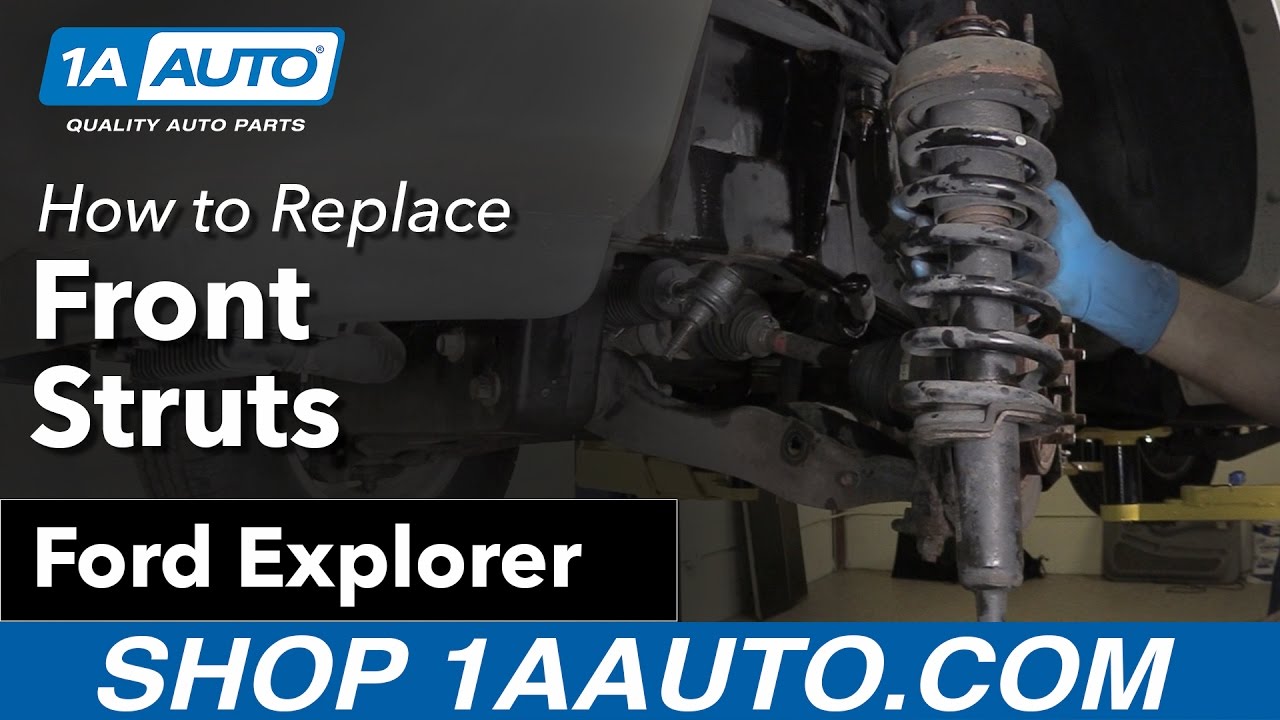
How to Replace Front Struts 2006-10 Ford Explorer
Created on:
Tools used
24mm Socket
13mm Socket
15mm Wrench
Socket Extensions
Torque Wrench
Hammer
Rust Penetrant
Pry Bar
18mm Wrench
8mm Wrench
Jack Stands
18mm Socket
19mm Socket
21mm Socket
21mm wrench
24mm Wrench
22mm Wrench
Ratchet
Floor Jack
22mm Socket
1. Removing the Wheel
Loosen the five 19mm lug nuts
Raise and support the vehicle
Remove the lug nuts
Slide the wheel off the hub
2. Removing the Strut
Apply rust penetrant to the strut
Unclip the plastic retainer from the top of the strut
Remove the three 13mm nuts from the top of the strut
Remove the 24mm bolt from the bottom of the strut
Remove the flag nut from the control arm
Lower the control arm and lift the strut out of the control arm
Remove the 21mm nut from the tie rod ball joint
Strike the wheel knuckle with a hammer to loosen the tie rod ball joint
Separate the tie rod from the wheel knuckle and set it aside
Remove the strut
3. Installing the Strut
Remove the 18mm nut from the upper control arm ball joint
Strike the wheel knuckle with a hammer to loosen the upper control arm ball joint
Separate the upper control arm from the wheel knuckle
Put the strut into place
Start the three 13mm nuts at the top of the strut
Start the 24mm bolt into the bottom of the strut
Thread the flag nut onto the 24mm bolt
Tighten the three 13mm nuts
Clip the plastic retainer onto the top of the strut
Raise the suspension to ride height with a jack
Place the upper control arm ball joint into the wheel knuckle
Fasten the 18mm bolt onto the upper control arm nut
Tighten the control arm nut to 41 foot-pounds of torque
Place the tie rod ball joint into the wheel knuckle
Fasten the 22mm nut onto the wheel knuckle
Tighten the 22mm nut to 52 foot-pounds
Tighten the 24mm bolt at the bottom of the strut
Lower the suspension and remove the jack
4. Installing the Wheel
Slide the wheel into place
Start the five 19mm lug nuts
Lower the vehicle to the ground
Tighten the lug nuts to 100 foot-pounds in a crossing pattern
Hi, I'm Mike from 1A Auto. We've been selling auto parts for over 30 years. We're dedicated to delivering quality auto parts, expert customer service, fast and free shipping, all backed by our 100% satisfaction guarantee. Visit us at 1AAuto.com, your trusted source for quality auto parts.
Using the 19 millimeter socket and a breaker bar, loosen the lug nuts on your tire. Raise and support your vehicle. We're doing this on a lift to make it easier to show you what's going on, but this job can be done at home on a jack and jack stands. Finish removing your lug nuts. You should be able to do this by hand at this point. You can use a ratchet if you need to. You can then remove your wheel and tire.
It may be a good idea to apply some penetrating oil to whatever parts you're going to be working with. There are three 13 millimeter nuts on the top of the strut that you'll need to remove. There's also a little plastic harness retainer here that you can just pop off with either a trim tool or a small flat blade screwdriver. Once that's out of the way, unless you have a very low profile socket ratchet, you'll need to remove the nuts with a 13 millimeter wrench. If you have a ratcheting wrench, now is an awesome time to utilize it.
Loosen and remove the 24 millimeter bolt on the bottom of your strut. This has what's called the flag nut inside the control arm, so there's actually a little leg on it that'll jam against the control arm and prevent it from turning. You're going to start this with the breaker bar because they tend to be pretty tight. Once we get it moving, we'll switch over to a ratchet. Be ready to catch the flag nut once you've backed the bolt out enough. Hold on to the strut while you work the bolt out of the bar. You may want to use a pry bar for this, but you can do it by hand. Just find a good place to get in there and bring the control arms down so you can lift the strut up.
Once you got the bottom of the strut out of the control arm, sometimes you may need to undo the 21 millimeter nut on your outer tie rod. To avoid damaging the tie rod end, hit the side of the knuckle in order to release it and remove your strut from the vehicle.
Now, depending on your specific vehicle, you may need to remove the upper ball joint from the knuckle to get enough clearance to install your new strut. We're installing a loaded one, so it's actually a little bit taller than our older one was because it had sagged from being on the truck for so many years, so we're obviously going to replace both sides to make sure we keep our ride height level. We're also going to undo this 18 millimeter nut with a socket and ratchet and then hit it with a hammer and release it from the knuckle, just like we did for our tie rod end.
We should now be able to install the strut nice and easy. Start the three 13 millimeter top nuts by hand. Reinstall your 24 millimeter nut into the bottom of the strut. You may need to lift up on the lower control arm and use the socket and ratchet to help center it and set it back in part way. Then we'll get your flag nut on there. Hold that while you get the bolt started. Bring the bolt down close, but don't tighten it yet. We want to wait until we have the weight of the vehicle on the suspension before we twerk all of our hardware. Tighten the three 13 millimeter nuts down with your 13 millimeter wrench low profile socket and ratchet or ratcheting wrench, depending on what you have available. Once you've got the nuts tightened down, if you used a ratcheting wrench, I recommend using a standard box end to finish tightening them down because the ratcheting wrenches don't tend to be super strong for high torque and they're usually a little bit shorter, so double check them with a box end and then reinstall the retainer plastic on the rear two bolts.
Using a screw jack if you're on a lift, or a standard floor jack if you're working on the ground, put the weight of the vehicle onto the suspension. This will also get you close enough to install the upper control arm. Get that 18 millimeter bolt started. Using the 18 and an eight millimeter wrench, the 18 on the nut and the eight millimeter on the shaft of the ball joint, hold that while you tighten it down. Once you get it snug so the tapered portion is seated back in the knuckle, you should be able to get your ratchet on there without it spinning. Torque the nut to 41 foot-pounds.
Install your tie rod into the knuckle. If you seated in there fully, that should prevent it from spinning while you reinstall your 22 millimeter nut. Tighten that down with a 22 millimeter socket ratchet. Torque the nut to 52 foot-pounds.
Reinstall the wheel and tire onto your hub. It's easiest to put a lug nut inside of the 19 millimeter socket to start it onto the studs. Get all five of these down as tight as you can by hand and then we'll torque the wheel once there's some weight on it. Lower the vehicle back down and put partial weight onto the wheel of the tire. This means that you may have your jack or lift under the vehicle. Ge the tire to touch and let the vehicle come down some without allowing it completely off of the lifter jack. Torque your lug nuts to a hundred foot-pounds in a cross pattern.
Thanks for watching. Visit us at 1AAuto.com for quality auto parts, fast and free shipping, and the best customer service in the industry.
SCA57055
In Stock
Product Reviews
Loading reviews
4.62/ 5.08
8 reviews
5 Stars
4 Stars
3 Stars
2 Stars
1 Star
6
1
1
0
0
J
March 5, 2019
This product is excellent
2006 Explorer struts
Mark
March 22, 2019
I bought these for my wife's Explorer to correct a bad bounce in the front end. After getting a quote from the service department of the Ford dealership where she works, I knew that I would need to tackle this job myself. The price from 1A was unbeatable, and the video they supply helped immensely. The reason that I gave this product 4 stars rather than 5 was that the struts were missing 3 of the 6 nuts required to anchor the tops. She is thrilled with the way her Explorer rides, and I'm glad to have this job behind me.
Great products
Brandy
October 13, 2020
Everytime I order has been great service.
Good value and quality
D
February 3, 2021
Overall product is ok, seems to be good quality and value, shipping was quick to deliver, my only complaint , I have purchased strut assemblies for my other trucks and there was a compression. Strap on them the get cut off after installation, it didnt compress it alot,but it just made installation go a bit easier.
That said, I am happy with A1 and the parts I purchased and will purchase again in the future, thanyou
Great customer service and parts
Craig
March 23, 2021
I always check here for parts and videos. The video was very helpful the only problem with the video is he didn't go back and tighten the bottom strut bolt.
Narciso
September 19, 2021
Thank you so much for selling parts that work perfect fit for my 2008 odyssey
Roberto
November 4, 2021
Really good for the price
Buy 1AAUTO
Edward
November 26, 2022
Perfect fix good quality easy installation,.
Customer Q&A
Are the TRQ struts comparable to O.E.M. as far as ride comfort and spring diameter?March 27, 2019
Jamie B
10
These aftermarket struts are built to your vehicle's exact OEM specifications and will fit and function the same as the originals.
March 27, 2019
Jessica D
Customer service
877-844-3393
Monday - Friday 8:00am - 9:30pm ET Saturday - Sunday 8:00am - 4:30pm ET
Mercury is a registered trademark of Ford Motor Company. 1A Auto is not affiliated with or sponsored by Mercury or Ford Motor Company.See all trademarks.
Enter Vehicle Year Make Model
Specify your vehicle's year, make and model to guarantee fit.
Year
Make
Model
Options
Drivetrain
This part doesn’t fit a . Select from parts that fit.