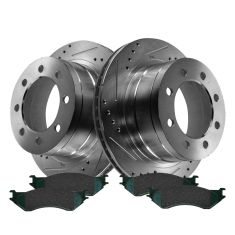
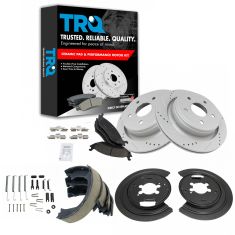
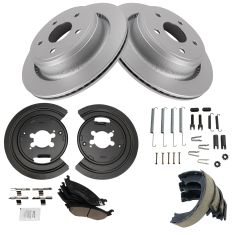
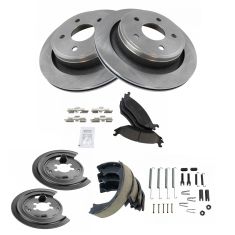
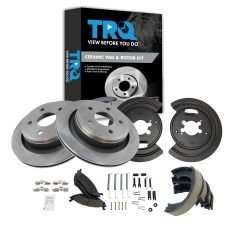
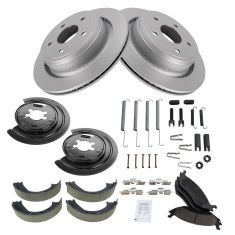
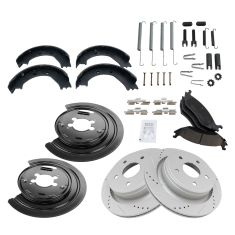
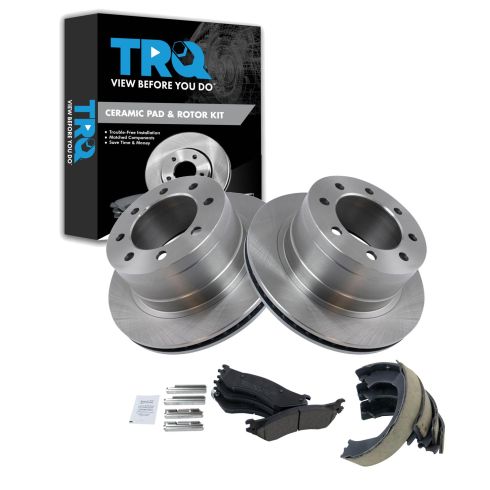
All right. Raise and support your vehicle and remove your wheel.
Now we have a clear view of the caliper. Let's take a small pry bar, come right in between here, and carefully push back our caliper a tiny bit. Perfect. Looking from the backside, you're going to see two caliper bracket mounting bolts. One located right here, one there, remove the pair. Set your caliper aside. Let's get this rotor off of here. Now that the rotor's off, we need to go ahead and spread the shoes so we can take our e-brake adjuster out. There we are. Getting it out of there is going to be the hardest part. I'll just leave it in there. Next, we're going to remove this green spring right here. Usually, if you push the shoes together, it'll kind of work its way off of there. At this point, we can kind of spread the shoes a little bit. At this point, we can get our adjuster and spring out of there. Next, it's going to be time to relieve the anchor points for this. There's going to be a pin that comes from the backside of the backing plate and it comes through to right there. And then there's going to be a retention clip.
For the clip itself, I'm just going to kind of push a pry bar up against it, and then I'm going to give it a couple of loving bonks just to try to break it free from the pin. There we are. Go ahead and grab that pin from the back. Set that aside. There's our clip. Now, we'll just do the same to the other side. So, now that those anchor points are free, I'm just going to wiggle the shoes around a little bit. If you look right along here, I can see where there's one of the springs that comes into the shoe there followed along to the other shoe, it goes in over there. Something that I like to mention is that it has two of these springs, one on the forward side or the outward side, and then one on the backside that you can't even really see from here. The next thing I'm gonna do is take a long screwdriver or pry bar like this, I'm going to try to come underneath and I'm going to try to separate the shoe from its mating point down here. There we are.
Get that out of there. Awesome. Let's see if I can take a look. Do the same thing to the other one. So, the next thing that would be easiest to do, of course, if you're replacing the hardware would be to go ahead and cut these springs. If you're not replacing the hardware, well, then don't cut the springs and just keep working at trying to get it to free up and get the spring off of the shoe. There we are. There's one. At this point, there isn't very much spring pressure on this, so I can kind of maneuver it and do whatever I need to do. So, I'm just going to kind of pull on it, see if I can get it to break free from there. There we are. This is nice and loose now. Let's go ahead and cut that other spring. Now that those shoes are out of the way, we have a clear view of our backing plate. Just give it a quick inspection, make sure it's not damaged in any way or bent. After you've done that, go ahead and scrape off any large chunks that you might see around that could cause an issue.
Now that we have the large chunks off, let's spray it down. So, now let's have a look at this area right here. This is the e-brake pivot. If you were to look at the back of the backing plate, you can see where the e-brake cable's supposed to go into. And as you were to pull on that e-brake cable, you should be able to see this pivot and it should separate the shoes if they were there. If it doesn't work, then you're, of course, going to need to free it up. Use a little bit of penetrant and go ahead and see if that'll work. Once it starts to work, go ahead and clean it down and then re-lube it with something that's going to keep the moisture away. Once we have the backing plate cleaned up and the e-brake pivot cleaned up, we're also going to make sure that we separate our star adjuster here, unless, of course, you're replacing it like we are. And then we're going to coat it with something like this, a nice little grease. That's going to help keep the moisture out of there. And now we'll start putting it together. Let's go ahead and put that adjuster so it's almost all the way closed up.
Now, we'll put this piece on there. Obviously, you want to make sure there's plenty of lubricant there. We'll set this aside for now. Any areas on your backing plate that you happen to see that look like they're raised, you want to make sure you put a little bit of lubricant on it because that's where your shoe's going to ride. Now it's going to be time to get our shoes on there. You want them facing just like this if you're on the driver's side. We've got the two little slots here facing down. If you're on the passenger side, it would be opposite facing up. With that said, go ahead and take one of your white springs and we're going to put it so this long area right here is facing towards the rear of the vehicle going into the backside of the shoe. Just like this. Now, we're going to take it just like this and we're going to go right over the pivot point that we just finished cleaning and lubing. And then if you go along to the other side, you're going to see the spring coming out along the axle. There it is.
Now, I can go ahead and start this shoe on there as well. All right. So, I've got the ear going through the shoe. The next thing that we want to do is take this lift area of the shoe right here and put it into this area right there. You can see there's a little fork. Slide it right in there. So I'm just gonna pry this. There we are. Now, I can slide it right in there. And now we'll do the same on the other side. Okay. So, now it's going to be time to go ahead and put our outward spring on there. Basically, you want to make sure it's in the same direction with the long end facing towards the back. Start it right on there. We're going to bring this over and then we'll clip it in right here. Here we go. Now it's going to be time to get our anchor point pins in there. I like to use a nice magnet like this. I'm gonna spread the shoe. If you look in the backing plate right there, you can see where there's a hole. Just go ahead and start that through. Put it through the hole in the shoe, and then I'm gonna leave the magnet right on there for now.
All right. Now it's going to be time to get the clip on there. You're going to notice that it has a flat slot right there and on the pin itself, it has a little flat edge as well. So, you want to make sure that you put these so they're lined up. There we are. Okay. So, now I'm just gonna put that down. As you could tell what the pin, I have it facing this way. And then for the slot on the clip, I have it facing in this direction. So, they're completely locked in and there's no way that it can break free. Let's go ahead and get this out of here. Move along. Let's go ahead and get our adjuster in there now. There we are. Perfect. So, now look at the adjuster and just make sure it's sitting seated inside the grooves of each shoe. You want to make sure it's in there perfectly. If it isn't, these are probably going to be spread out too far. So, now let's just go ahead and put in our pin and clip like we did on the other side. There we go. That's locked in.
Now, let's just give our shoes a couple of little taps. That's going to make sure everything's sitting as it should. Look down along here, make sure it's sitting inside the grooves where it needs to be. And, of course, make sure that neither of those Springs came off. Everything here looks great. Let's continue. Looking behind your adjuster on the backing plate, you can see a little rubber boot. Go ahead and just push that out of there. That's going to be your access point to get to your adjuster once the rotor's on. So, this is all looking great. The next thing we need to do is make sure that the hub mating surfaces clean on the axle itself and the backside of the rotor. Let's get that rotor on there. Perfect. The next thing we need to do to be able to adjust this would be to go ahead and push it on the rotor like this so it's as flush as possible, and then just try to turn it. You want to listen for the e-brake shoes to be scuffing along the inside of your rotor braking surface there. To adjust the e-brake, just come along the backside here, put your little screwdriver in there, find that wheel, and give it a couple of turns.
What I usually like to do is turn it until the point where the rotor can't turn, okay, the e-brake's basically activated. And then I'll get back in there and I'll turn it back a couple of clicks to the point that I can turn it, but I hear very slight drag on the rotor. Let's go ahead and make sure we put our rubber plug back inside the backing plate. Now it's going to be time to reinstall our caliper, take your bolts, make sure they're clean, and put a little bit of red thread locker on there. Start them both in, and then we'll snug them up. We'll torque them to manufacturer specifications. Let's go ahead and torque these to 100 foot-pounds. Let's get the wheel back on here. And, of course, all of our lug nuts. Now, let's zip these on, and then we're going to torque them to 130 foot-pounds. Torqued. The next thing that you're going to want to do is go ahead and pump up that brake pedal. Make sure it's nice and firm. After you've done that, try your e-brake. Put your vehicle in drive with the e-brake on, give it a little bit of acceleration and make sure the vehicle doesn't roll away. If it does, you need to continue adjusting up your e-brakes until it doesn't.
