Hi, I'm Mike form 1A Auto. We've been selling auto parts for over 30 years.
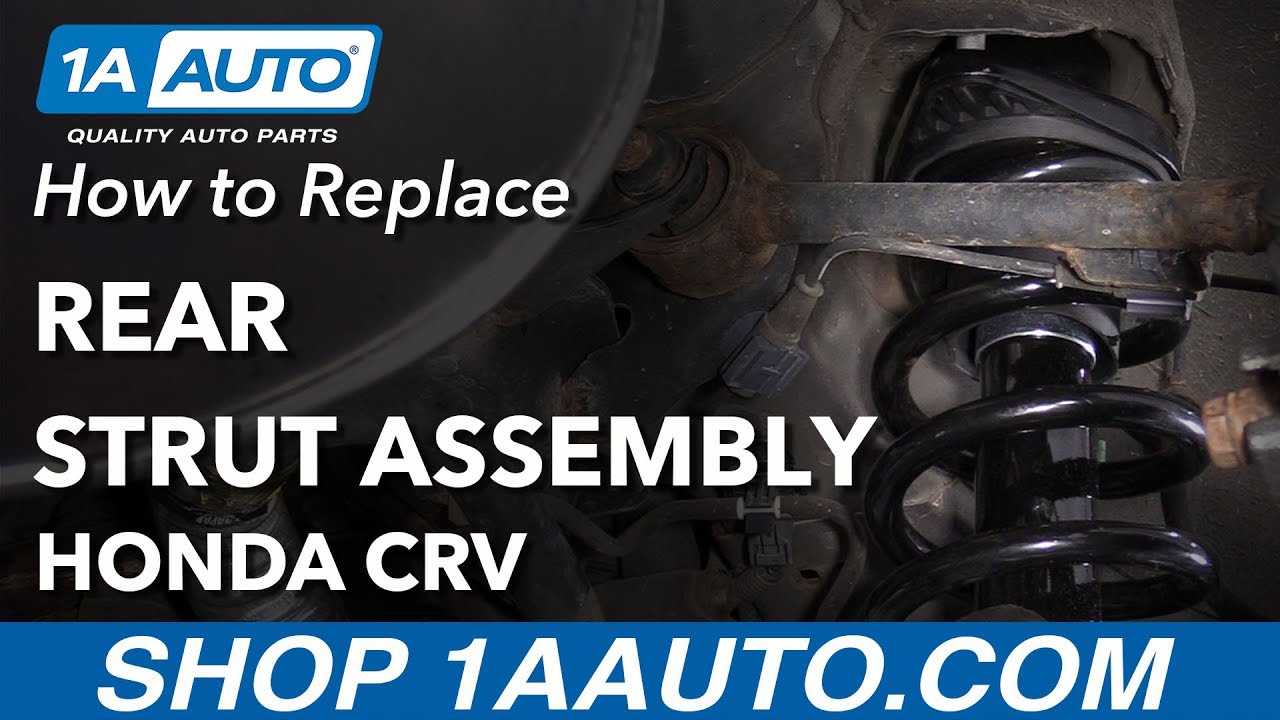
Hi, I'm Sue from 1A Auto and we're going to be changing the rear strut assemblies on the back of our '09 Honda CRV. We're getting our parts from 1aauto.com
Before you take the rear wheel off you want the suspension to have the weight on it, so we're going to open the back door to get to the compartment. You're going to fold your seat down, pulling up on that lever, and grabbing the back lever, folding that seat up, and access to the top of the rear spring and shock assembly is under this plastic cover. So we're just going to pop it out. I'm going to pop it back in to show you that I didn't need a tool to grab it. I just grabbed it and pulled. If you need to, if it's really tight, you can use a nice plastic body tool. And then you have access to the top 14mm socket-size nuts and so I'm going to get a ratchet and socket and start taking those out.
Let's see if we can get our hand in there.
Once you've removed the two upper mount nuts we can loosen the tire then raise the vehicle, remove the tire and access the lower bolt.
We're going to start by removing the rear wheel tire, losing up the log nuts. This is a 19mm socket. Now that the lug nuts are loose you can safely raise your vehicle on a two lift post or a jack with a jack stand.
Now let's spray down the bottom mounting bolt. I'm going to use a little rust prohibitor spray to get that going and I'm going to use a 17mm socket on the head of this bottom bolt. It's the size that it is, 1/2 inch breaker bar. That's breaker free.
Okay, it has come out of the first stage, so this is where I'm going to use a post jack and hold the suspension up. So to take the strut assembly out in the right rear or left rear you have to hold up the rear control arm, the suspension here, put some tension on it, and take the pressure off the bolt. You can use another jack or a jack stand just to remove this bolt enough to get it out.
Okay, so we're going to leave the tension on for a little bit and we're going to remove the two mounting bolts over here to the front, the forward, suspension and then we can lower the jack and get that strut out. This is a 17mm head on that bolt so I'm using a 17mm socket and a breaker bar.
And now we're going to lower the jack support to take the pressure off of that spring and pull that right down. Put that a little there. Now I can try to back the rest of this bolt out.
Now holding and supporting that, once it's there you can press this guy down and just pull it right out.
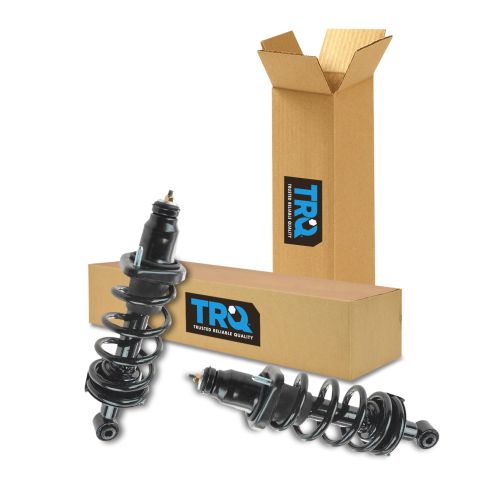
So here we have our rear strut assemblies for our '09 Honda CRV and you can see from 1aauto.com they come equipped with new locking nuts for the top mount. The springs are the same diameter, same compression, and you can see the same length. So same right height. So get your parts from 1aauto.com
Now that we've pulled out the old assembly, the strut assembly, we're going to reinstall the new strut assemble and we're going to guide it back in the same way it came out, top first.
And now you can start your lower bolt. You're going to have to pull down the suspension a little bit, get that lined up. Now that I've got that in, get my jack stand again, put it under the center of the suspension, snug it up a little bit and get ready to remount the front.
Now at this point you can choose to tighten up the lower strut mounting bolt before you put the lower control on back into the body and that's what I'm going to do. I'm going to at least get it really threaded, good portion in, before I torque it down.
There you go. I'm not going to bother it all the way, going to leave it so it will flex so that I can really make sure that the upper control arm is rebolted to the body.
You just have to pull a little bit on the suspension and you just really want to get the bolts started. And don't cross-thread them, so it's best if you can wiggle it a little with your other arm and start the threads with this one.
I'm going to grab my ratchet wrench and thread it up so that I can make sure I can guide it in with my hands to avoid any cross threading. That's going nice and smooth.
Move on to the front, snug that up. Snug it, now we're getting ready to torque that to the manufacturers' specs. So now we're going to torque the right rear suspension, front bushing onto the frame and that is 54 foot-pounds. And now we move on to the bottom of the strut. We're going to torque up the mounting bolt on that. Now to torque the lower shock assembly bolt it's 64 foot-pounds. I'm going to use my 1/2 inch torque wrench.
Now we're ready to lower it, put the tire on, torque the tire down so the suspension gets the weight and pushes it up into the body so we can tighten the top of it. Okay, let's put the tire on.
Going to tighten these up. The wheel torque on this '09 Honda CRV is 80 foot-pounds. We'll be tightening them in the star pattern.
Now we're going to lower it to the ground where we can torque the wheel. Whenever tightening a wheel, you want to do it in a star pattern. Once again, the wheel torque on this is 80 foot-pounds. I'm going to redo it real quick.
So now that we have our strut assembly installed from down below and the way of the vehicle down on the tire, we know that this upper strut mount is all the way up through the body. And I can install my new locknuts that came with the strut assembly. These have a Teflon threading on the top, so you won't be able to go down pass a certain point with your hand. You have to use a socket. This is a 14mm socket. The foot-pound on the torque on this is only 16, so really just you want it to bottom out.
So I put the 14mm socket on an extension and I can actually guide it down through this visual hole for a nice straight on accessory to make it accessible. Once again, I just want it snug, because the torque specs on this is only 16 foot-pounds. I have my torque wrench all set. We're going to torque it right down. Now we're ready to reassemble the cover and that is simply, it's got two ears that guide down in an angle, right into the slotted holes and then bring it down, snap it in.
Thanks for watching. Visit us at 1aauto.com for quality auto parts, fast and free shipping and the best customer service in the industry.