Replaces

Attention California Customers:
 WARNING: Cancer and Reproductive Harm - www.P65Warnings.ca.gov.
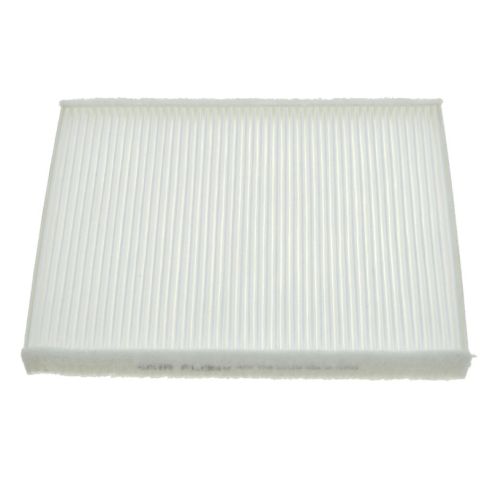
This part fits 1 vehicle spanning 2011-2017.
| Year | Make | Model | Description |
|---|---|---|---|
| 2011-2017 | Ford | Fiesta | Ford Fiesta Cabin Air Filter TYC 800163P |
| Brand Label | Part Number |
|---|---|
| DIY Solutions | HVA00697 |
| TYC | 800163P |
| Wix | 24619 |
| Service Pro | MC26175 |
| AirQualitee | AQ1198 |
| MicroGard | 4037 |
| OMNIPARTS | 22025046 |
| Spire Supply | XC26175 |
| Motorcraft | BE8Z19N619A |
| Carquest Premium Filters | 90271P |
| ATP | CF242 |
| ECOGARD | XC26175 |
| FRAM | CF11670 |
| GK Industries | CF1246 |
| 1-800-Radiator | XC26175 |
| AutoNation | AQ1198 |
This item may be interchangeable with parts from other brands with the above part numbers. This information is provided only for reference and does not guarantee that the item you are purchasing is identical to parts with part numbers from the brands listed above. To confirm that this item fits your vehicle, use the above "Check Vehicle Fit" option.
Lifetime Warranty
This item is backed by our limited lifetime warranty. In the event this item should fail due to manufacturing defects during intended use, we will replace the part free of charge. This warranty covers the cost of the part only.
FREE Shipping is standard on Orders shipped to the lower 48 States (Contiguous United States). Standard shipping charges apply to Hawaii, Alaska and US Territories. Shipping is not available to Canada.
Expedited is available on checkout to the United States, excluding Alaska, Hawaii and US Territories as well as P.O. Boxes and APO/FPO/DPO addresses. Final shipping costs are available at checkout.

Created on:
Tools used
Hey, everyone. Sue here from 1A Auto. Today we have a 2011 Ford Fiesta in the shop. I'm going to show you the location, and how to replace the cabin air filter. If you need any parts for your car, click on the link below and head on over to 1Aauto.com.
Over here on the left side kick panel, it has one plastic body screw. Take a little pocket screwdriver. Pull that center plastic piece out. Then you're just going to grab it and pull this piece out. Now that that panel is out of the way, you're going to have a connector right here that has to be disconnected from this blue sensor. Put that harness aside. Down here you can see three mounting screws. It's a T20, and then there's two more up further on the top. So you're going to have to use a socket style T20 Torx you can get a screwdriver into the top two.
Here I have this neat little, small ratchet. It can go forward and reverse. It comes with these bits. There's your T20. I put it in. The bit fits right in the socket. These are a really nice little handy thing to have, especially for interior work. You can get this right at the 1A Auto website, so let's bring it on up. Let's go up inside.
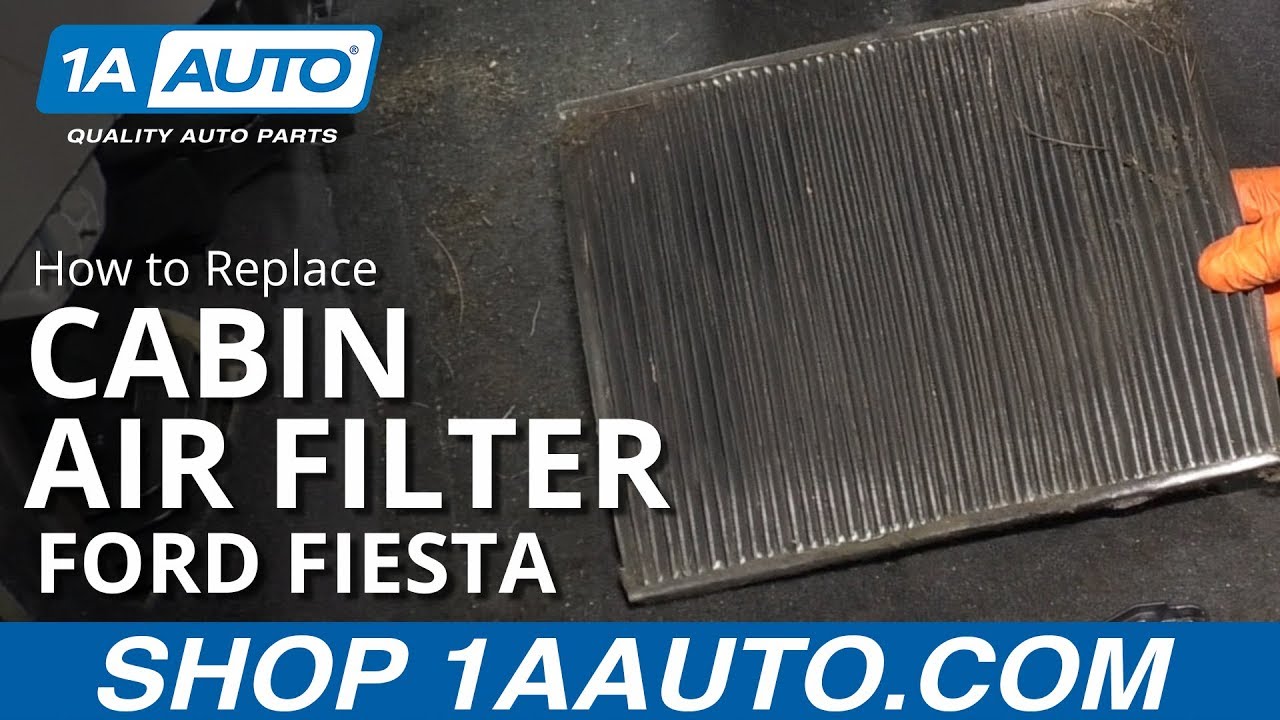
We'll go ahead and take both of these completely out. So now all the mounting screws are out, and we'll grab that cover. Then pull it this way. Then pull it down. So that's what the cover looks like. I'm sure this might have never been done, so let's see what we get here. You may have to fold the actual filter as it comes out. Yeah, I'm thinking that's never been done. That is pure mud. It's from the wet leaves and the other things that I pulled out of the actual vent area. That's been sitting down there for a while.
So now you can see the arrows. It says the direction of the airflow. This car actually has an arrow on the side of the box telling you which way the airflow goes. It says towards the compartment area, so I'm going to put that in right like this. You might have to do a little manipulation to get it up in there. Don't worry about it--it's paper. It will bounce back.
Grab your cover. Place the back up in. Now we can line up some of the long screws. We'll put the three easiest ones. Line them up in. I'm just going to snug these a little bit before I put the top other two in. I don't want this cover to move. Switch the ratchet over. I'll squeeze back up in there. So now you're going to line up your four tabs with that. Then go up and in with that body trim panel like that. In the front, bring that right up. Put your body trim on. That's it.
Thanks for watching. Visit 1aauto.com. Your place for DIY auto repairs, for great parts, great service, and more content.

800163P