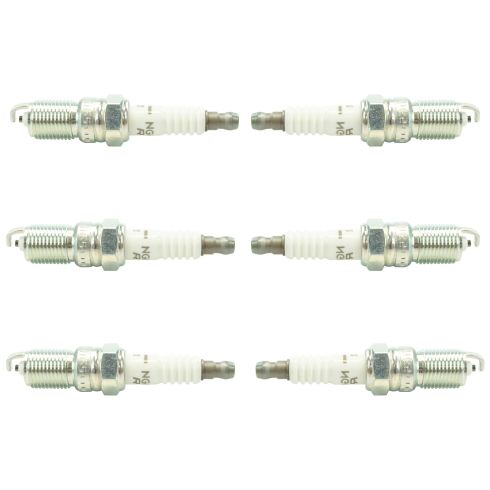
This item is backed by our limited lifetime warranty. In the event this item should fail due to manufacturing defects during intended use, we will replace the part free of charge. This warranty covers the cost of the part only.
Returns: Parts with electrical components cannot be returned once installed.
FREE Shipping is standard on Orders shipped to the lower 48 States (Contiguous United States). Standard shipping charges apply to Hawaii, Alaska and US Territories. Shipping is not available to Canada.
Expedited is available on checkout to the United States, excluding Alaska, Hawaii and US Territories as well as P.O. Boxes and APO/FPO/DPO addresses. Final shipping costs are available at checkout.
How to Replace Spark Plugs 1991-2008 Lincoln Town Car
How to Replace Spark Plugs 2009-2014 Ford F-150 54L V8
How to Replace Spark Plugs and Wires 1998-2012 Ford Ranger 4-0L V6
Created on:
Tools used
Socket Extensions
8mm Wrench
Spark Plug Gapping Tool
7mm Socket
5/8 Inch Spark Plug Socket
Ratchet
1. Disconnect your battery
Use an 8 mm wrench to disconnect the negative battery terminal.
2. Remove the coils and spark plugs
Remove the 7 mm bolt holding the coils in place, using your socket, ratchet and socket extensions.
Unplug the wiring harness.
Take your 5/8 th inch spark plug socket and a ratchet and extension to remove your spark plug.
3. Install the new plugs and coils
Use your spark plug gapping tool to set the gap of the diode.
Install the plug with your spark plug socket, ratchet and extension.
Plug in your coil to the wiring harness and plug it in and bolt it down with your 7 mm socket, ratchet and bolt.
4. Reconnect your battery
Use an 8 mm wrench to reconnect your negative battery terminal.
Brought to you by 1AAuto.com, your source for quality replacement parts and the best service on the internet. Hi, I'm Mike Green. I'm one of the owners of 1A Auto. I want to help you save time and money repairing and maintaining your vehicle. I'm going to use my 20+ years' experience restoring and repairing cars and trucks like this to show you the correct way to install parts from 1AAuto.com. The right parts installed correctly, that's going to save you time and money. Thank you and enjoy the video.
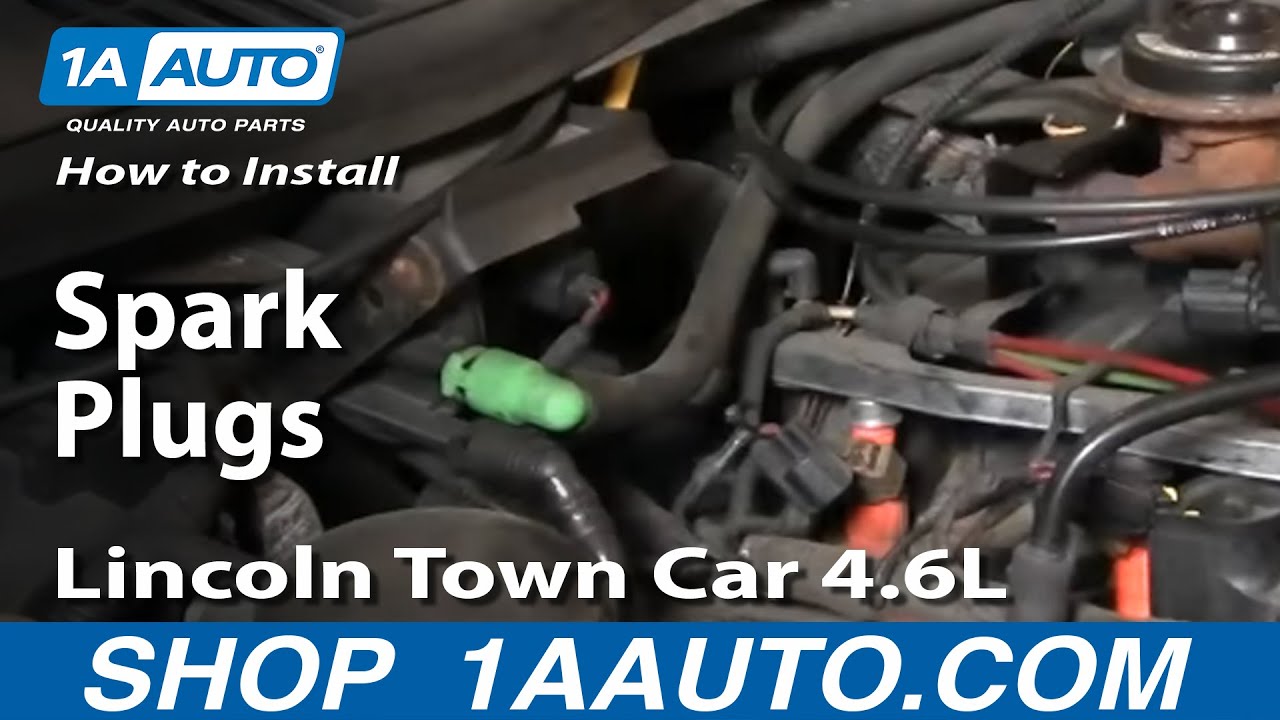
In this video we're going to show you how to remove and replace spark plugs on this 2000 Lincoln Town Car with a 4.6 liter. Tools you'll need are a 7mm socket with a ratchet and extension, a 5/8 sparkplug wrench or socket with a ratchet and extension as well, and you will also need a spark plug gapping tool.
Take an 8mm wrench and disconnect your negative battery cable. Replacing your coil and spark plugs- pretty easy. I'm going to show you on this side because it's easier to film and get to. The other side is just as easy. You do just need to remove your intake hose which is three clamps and another couple of hose connections on the back. Then you can remove that whole intake hose and get to your coils pretty easy.
The coils are held in place by a 7mm bolt. Get the socket ratchet down on there. It can be a little tough to break loose. I just want to get my socket off of here before I get too far. This connection, you just reach underneath and there's a little tab right here. Squeeze that tab and the harness pulls loose. You can just kind of pull your coil up and out like that. To get your spark plug out I've got a spark plug socket. It's a 5/8 spark plug socket. It's designed to grip onto the plug although I know mine is pretty worn out so I'm just going to put a little piece of paper towel in there and then you can put your wrench right down in. There's usually a little bit of angle. Break the spark plug loose.
Just fast forward through loosening that and then what happens is I actually get another piece of paper towel just to stuff in there to grab onto the spark plug. There's my plug. You can see these plugs are in pretty rough shape. Here's the spark plug we took out, and then here's the new platinum tip. You can see that there is quite a bit more to the new plug than the old one. This one is pretty worn out. On this Lincoln Town Car with 4.6 liter, you want to make sure that the gap between the tip of the plug and the diode is at .054. My gauge only goes to .050. So we're just going to have to just say the .004 is going to be okay which I'm sure it will be. I don't think the engine is going to mind a .004 difference in gap. What we can do is, let's see here, so we use this part of the tool to kind of bend that diode, and then we run the gauge through, and we want the gauge to basically go through and have a little bit of drag. Then that will be fine. That's .050 which is only .004 off which is perfectly acceptable. Again, I have a spark plug wrench. My wrench is a little worn out so what I'm going to do is wrap paper towel around it, stuff it into the wrench, make sure none of that paper towel was down near the threads or anything so that it sticks in there.
Now I'm going to put it down in and I'm just going to kind of lightly turn it and it goes in. When you're turning this in, it should offer some resistance, but it shouldn't be hard. If it's hard to turn you may be cross threading although it's a little hard to cross thread these plugs. Then these should be tightened to about 18 to 20 foot pounds, which is just kind of tight with the wrench like that. This happens to me a lot. I've removed a bolt, but it twisted in the socket so it's now stuck. So what I do, I take a screwdriver or something that fits right up in there, let's see here, and then I just drop it and basically that usually almost always gets the bolt from the socket. Just make sure you watch where it goes. Put is right down in. Press it in. Your 7 mm bolt. Reconnect your lead and you're all set. Just repeat that for the other seven cylinders. Then reconnect your battery and you're engine should be purring like a kitten.
We hope this helps you out. Brought to you by www.1AAuto.com, your source for quality replacement parts and the best service on the internet. Please feel free to call us toll free, 888-844-3393. We're the company that's here for you on the internet and in person.
Tools used
Torque Wrench
Gloves
Socket Extensions
8mm Socket
Silicone Paste
9/16 Inch Spark Plug Socket
Ratchet
Safety Glasses
Tools used
Socket Extensions
Flat Blade Screwdriver
5/8 Inch Spark Plug Socket
Ratchet
Swivel
1. Removing the Spark Plug
Pull the spark plug wire off the spark plug
Remove the spark plug with a spark plug socket and ratchet
Pull the spark plug wire off the distributor
Pry open the spark plug wire retainer with a flat blade screwdriver
Pull out the spark plug wire
2. Preparing the New Spark Plug Wire
Lay out the new spark plug wires by length
Find the wire closest in length to the one you are replacing
Apply dielectric grease to the spark plug wire connections
3. Installing the Spark Plug
Apply dielectric grease to the spark plug
Line the spark plug up by hand
Thread the spark plug with a spark plug socket and an extension
Tighten the spark plug with a spark plug socket and ratchet
4. Installing the Spark Plug Wire
Connect the spark plug wire to the distributor
Route the wire through the wire retainer
Connect the wire to the spark plug
Repeat these steps for the remaining spark plugs
Snap the wire retainer closed
Brought to you by 1AAuto.com, your source for quality replacement parts and the best service on the Internet.
Hi, I'm Mike from 1A Auto. I hope this how-to video helps you out, and next time you need parts for your vehicle, think of 1AAuto.com. Thanks.
In this video, we're going to be working with our 2001 Ford Ranger. We're going to show you how to remove and replace your spark plugs and wires. This particular one is a 4-liter, but this process is going to be very similar on most engines. If you like this video, please click subscribe. We have a ton more information on this truck as well as many other makes and models. If you want these parts for your vehicle, they're available from 1AAuto.com. You can follow the link down in the description. Here are the items you'll need for this repair.
We're going to start with cylinder 6, which is the driver's rear cylinder. Reach down and remove that spark plug wire. Pull that out of the way. We're using a 5/8” spark plug socket here. The difference is it's got this little rubber bushing on the inside that holds onto the porcelain of the plug and makes it easier to remove and install. It's pretty difficult to see these spark plugs because of their position into the motor. We've put an extension on there with the socket to show you right about where it is. You should be able to reach down there and feel for it, once you've removed the plug wire.
The way I like to do this to keep everything in order is to remove the plug wires individually. We just did the cylinder 6 spark plug. We'll remove the cylinder 6 plug wire. You might need a small, flat-blade screwdriver to open up this retainer. We can now remove that number 6 plug wire from the retainer, and the wire itself.
Our old plug wire was the original plug wire from the factory, so it has the number 6 marked on it to designate that this is for cylinder 6 on the vehicle. New wire kits are made to fit a multitude of different vehicles, so we're going to have to match up our wire from our vehicle with one of the new wires from our kit. I like to separate them and lay them out so you can get an idea of which one's the shortest and longest. This number 6 looks like it's probably going to be our shortest wire, judging from the fact that it goes right from the coil straight down onto the plug. Our shortest wire is here. Again, these are meant to be universal, so it is just a tad longer than our original wire, but that's all right. It's still going to go in just fine.
Just in case you don't have any handy, this kit comes with a little tube of dielectric grease. Put just a dab of that onto the connector here. We'll be sure to put just a little bit on the end of our spark plug as well to make sure that we get a good, solid, corrosion-free connection on our wire, as well as making sure it doesn't seize on there.
Here we have our old spark plug that we removed from the vehicle and our new part from 1AAuto.com. We have the same threads and the same porcelain. We have the same connector on the end here. You can see how nice and clean our new one is, with hat nice full electrode on the end, whereas our old one has gotten pointy. There's a bigger gap there from it being worn away. You can also see that we have some ashy build-up here. Looks like our engine might be running just a little bit lean. These new spark plugs are going to go in direct fit, just like our original equipment and make sure that we get a full burn of our air-fuel mixture, restore all that power and efficiency back into our motor, and fix us up right.
Again, we'll put just a little bit of that grease on the end of our plug before we install it into the motor. Try to line the spark plug up by hand first. We'll start to thread it in with the socket just on the end of an extension before we tighten it down with our ratchet.
Install your new plug wire. Remember how it was routed through that retainer. We don't want to close that yet, because we still have two more plugs and wires to do on this side. Locate the end of your spark plug. Install the wire until it clicks. Now we'll repeat these steps throughout the rest of the motor.
The procedure we've just showed you on cylinder 6 is going to be the same for the remaining 5 plugs and wires. The only minor differences maybe the combination of extensions, and/or U-joints that you're going to need to use in order to properly access the plugs. Changing your spark plugs and wires regularly or as needed, is a great way to make sure your engine stays burning fuel properly and running to the best of its ability.
Thanks for tuning in. We hope this video helps you out. Brought to you by www.1AAuto.com, your source for quality replacement parts and the best service on the Internet. Please feel free to call us toll-free, 888-844-3393. We're the company that's here for you on the Internet and in person.
NGETK00053
In Stock
Product Reviews
Loading reviews
There are no reviews for this item.
Customer Q&A
Can I purchase a chrome grille for my 94 ford ranger from A-1Auto?May 25, 2021
GALEN A
10
Currently, we do not carry this part for your vehicle. We're always updating our inventory so please check back soon!
May 25, 2021
Emma F
Are these iridium plugs?January 25, 2022
John D
10
No
January 25, 2022
Alan M
What's the difference between G power and V power in NKG spark plugs ?March 22, 2023
Eric S
10
NGK V Power Spark Plugs have a higher power output and can deliver more power to the engine and battery.
March 22, 2023
Andra M
I Thought The 2001 Buick LeSabre Could Only Use Iridium Spark Plugs. Is That Not True?June 8, 2023
Candace Y
10
The OEM spark plugs will be iridium but can be replaced with a different aftermarket design as long as they are correctly listed for your vehicle.
June 9, 2023
Jessica D
Customer service
877-844-3393
Monday - Friday 8:00am - 9:30pm ET Saturday - Sunday 8:00am - 4:30pm ET
Pontiac is a registered trademark of General Motors Company. 1A Auto is not affiliated with or sponsored by Pontiac or General Motors Company.See all trademarks.
Enter Vehicle Year Make Model
Specify your vehicle's year, make and model to guarantee fit.
Year
Make
Model
Options
Drivetrain
This part doesn’t fit a . Select from parts that fit.