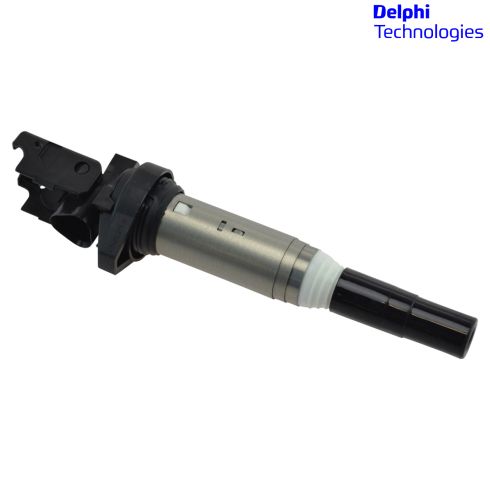
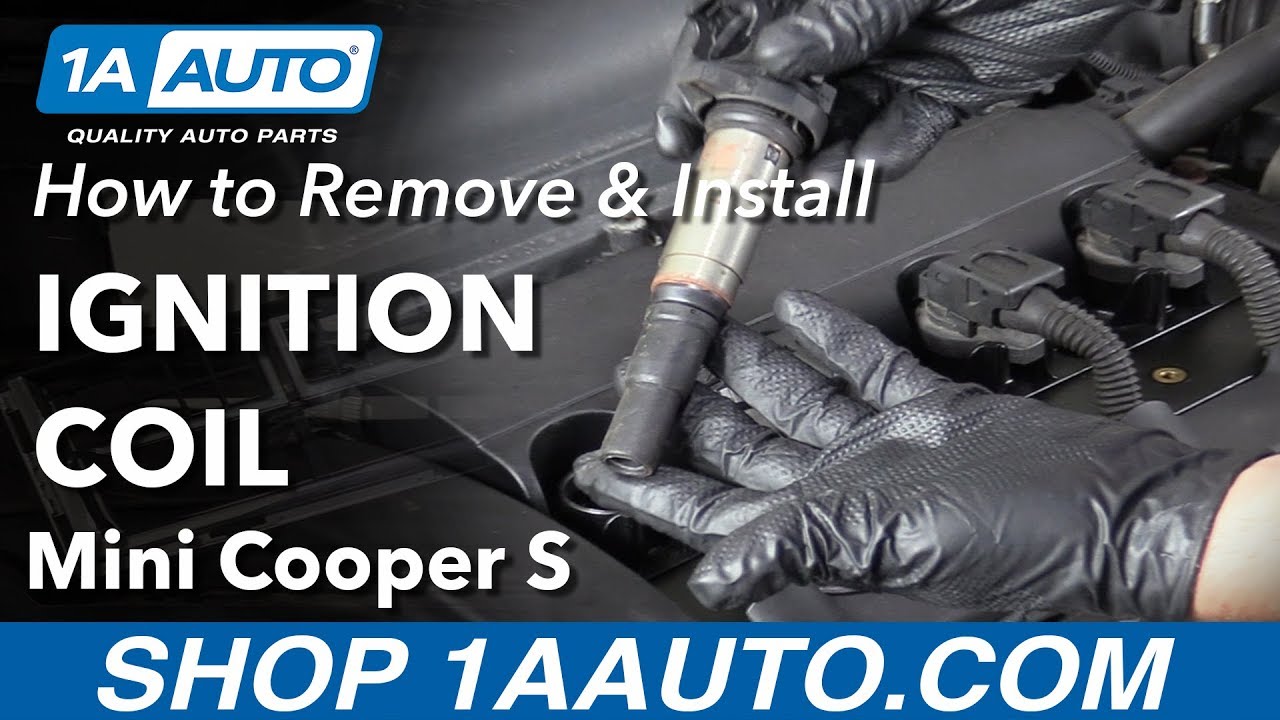
The ignition coil pack is a crucial part of your ignition system. It's function is to convert the 12 volt power of your vehicle's electrical system in to 35,000 or more volts. This produces a high intensity spark at the spark plug which then ignites the fuel in the cylinder. Coils in general will wear out over time.
Why Delphi?
As an Original Equipment Supplier, Delphi Automotive products from 1A Auto come directly from the source. You wont have to worry about going to the dealership for Original Equipment - these parts are the exact same as the original. Delphi products come with the same quality from the dealership at a lower cost to you.
Item Condition:New
Lifetime Warranty
This item is backed by our limited lifetime warranty. In the event this item should fail due to manufacturing defects during intended use, we will replace the part free of charge. This warranty covers the cost of the part only.
Returns: Parts with electrical components cannot be returned once installed.
FREE Shipping is standard on Orders shipped to the lower 48 States (Contiguous United States). Standard shipping charges apply to Hawaii, Alaska and US Territories. Shipping is not available to Canada.
Expedited is available on checkout to the United States, excluding Alaska, Hawaii and US Territories as well as P.O. Boxes and APO/FPO/DPO addresses. Final shipping costs are available at checkout.
How to Replace Ignition Coils 2007-12 BMW X3
How to Replace Ignition Coil 2007-2013 Mini Cooper
How to Replace Ignition Coils 2007-13 Mini Cooper S
Created on:
Tools used
13mm Socket
5mm Hex Socket
Bungee Cord
10mm Socket
T30 Socket
Ratchet
Trim Tool Set
13mm Wrench
I want to disconnect the battery. So, get to the battery in the back. Just use a 10-millimeter socket, remove the negative cable, loosen it up, just slide it off and out of the way. Make sure it doesn't arc out on there. Take these two trim clips out. Just use a trim tool. Try to take the center part out first, and take the push pin out. Do the same on that side. I'm gonna take these two bolts out on this side and the two on the other side as well. On this side, I'll just use a wrench and 13-millimeter and the other side, I can use a socket and a ratchet. And slide this bar out of the way. You want to take this cover off. Twist this right here. This one over here as well. And one on that side. And just grab it, slide it up and just pull the cabin filter up. I'm just going to use a bungee cord. Just go around the wiper arm, just to hold this up.
I'm gonna just keep that out of the way. I'm going to take these four bolts out. Gonna use a T30 socket. And just grab this piece. You should be able to slide it up. Slide this out, and throw all those leaves out. Now, I'm gonna use a 5-millimeter hex bit and take these four bolts out. There's two in the front, two in the back. And just slide this cover off. Just like that. To remove the coil, disconnect the connector. I'm just gonna slide this tab up just like that. And then the connector's going to slide out. It's going to slide straight down. You can grab the coil, just rotate it a little bit back and forth. Try to slide it out as you pull. Now, we're going to pull out the rest of the coils the same way. Now, we can put the coils back in. And reconnect them. Get the connector lined up and push down and lock. Do the same for the others. All right. Now, we can align these wires up. Put this through this retainer there. All right. Slide the wire through here. Put the bolt through. We'll tighten that down. And snug that up. That's good. And slide this thicker wire on top. And slide that right there. Put the nut on. And snug this up. That's good. Put the cover back there and line the cover up right here and lock it in place.
All right. Take the cover, line the cover up. And take the bolts, get all the bolts started and just snug these up. Not too tight. Take this panel, get this lined up. All right. Get that to line up. Get these bolts started. And just snug these down. Now, I'll take the bungee cord away. Put the cabin filter back in. Slide that in position. Actually it goes this way. That looks good. Put the cover on, tighten these down. Turn the locks. And take this bar, line this up. Put these bolts in, two on this side, two on the other side. On this side, I'll just use a ratchet wrench. Tighten these down, snug them up. And take these pushpins, line this up, and lock it down. There we go. Now, we're gonna reconnect the negative battery cable. And tighten up the nut. Just make sure you wiggle it, make sure it's tight. That's good.
Tools used
Dielectric Grease
Flat Blade Screwdriver
T30 Socket
Tools used
No Tools Needed
1. Removing the Ignition Coil
Slide the lock off the ignition coil
Unplug the ignition coil electrical connector
Pull the ignition coil up out of the engine
Repeat these steps for the remaining coils
2. Installing the Ignition Coil
Line up the ignition coil with its tabs
Slide the coil into place
Plug in the ignition coil electrical connector
Clip the lock onto the ignition coil
Repeat these steps for the remaining coils
Hi. I'm Mike from 1AAuto. We've been selling auto parts for over 30 years!
What's up guys, I'm Andy from 1A Auto and today I'm going to be installing some new coil packs in this 2007 Mini Cooper S. If you need these parts or other parts for your vehicle, click the link in the description and head over to 1AAuto.com.
To remove the coil pack connector, you're going to slide this little piece up here. It's a little lock. Slip it up. Sometimes it'll push the connector out. Generally it gets stuck in there, so if you squeeze this tab a little bit, push it up, and you'll slide it out, sometimes, you pull that off. If it doesn't, you can also use a little screwdriver, a little straight screwdriver, and just go back and forth, and eventually pull out the connector.
When the connector's out you can just grab the coil, wiggle it back and forth, pull it out. You're going to do the same for the other three.
Here's our old coil, here's our new coil from 1AAuto.com. As you can see, the shapes are the same, very similar. It’s a similar design, slightly different but still the same. It has the same ratchet lock system for the connector. Get yours at 1AAuto.com and you'll be ready to rock and roll.
To install the coil you just line it up with the hole and slide it down. Make sure this lines up with these two little tabs and push down. Once that's in, you can connect the connector. It's going to line up. It's like a triangle design. Line that up and then you push the ratchet part, lock it in place, and do the same to the other three. You want to make sure they're all the way down. Once you connect them, give it a little push a little further down to make sure it's good. Those are all good.
Thanks for watching. Visit us at 1AAuto.com for quality auto parts, fast and free shipping, and the best customer service in the industry.
GN10571
In Stock
Product Reviews
Loading reviews
5.00/ 5.01
1review
5 Stars
4 Stars
3 Stars
2 Stars
1 Star
1
0
0
0
0
C
September 20, 2019
Great survice! Quick shipment!
Customer Q&A
No questions have been asked about this item.
Customer service
877-844-3393
Monday - Friday 8:00am - 9:30pm ET Saturday - Sunday 8:00am - 4:30pm ET
BMW is a registered trademark of Bayerische Motoren Werke AG. 1A Auto is not affiliated with or sponsored by BMW or Bayerische Motoren Werke AG.See all trademarks.
Enter Vehicle Year Make Model
Specify your vehicle's year, make and model to guarantee fit.
Year
Make
Model
Options
Drivetrain
This part doesn’t fit a . Select from parts that fit.