Brought to you by 1AAuto.com, your source for quality replacement parts and the best service on the Internet.
Hi, I'm Mike from 1A Auto. I hope this how-to video helps you out, and next time you need parts for your vehicle, think of 1AAuto.com. Thanks.
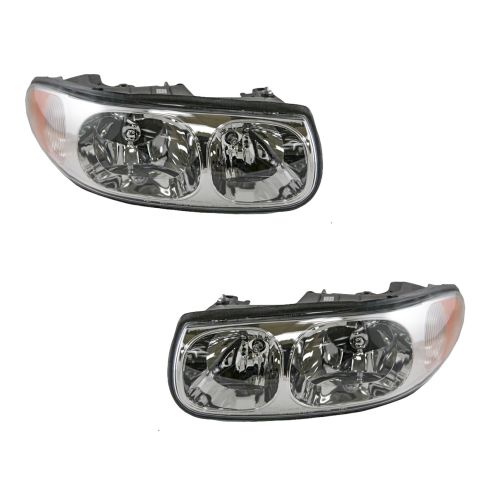
In this video, we're going to show you how to service the headlight on this 2000 Buick LeSabre, same as most of the LeSabres of this era, where I'll show you both replacing the entire assembly if your headlight has been clouded, faded, or broken. We'll also show you how to replace the bulbs if that's all you need to do. Tools you'll need are a 10-mm socket and ratchet with an extension or a wrench, and if you're looking to change the whole headlight assembly, you'll also need a pair of needle-nose pliers.
Okay, to replace a bulb in one of these, if it's the high beam, it's actually pretty easy. It's right here. You just turn counterclockwise, pull the bulb out. You then disconnect the bulb. Okay, to disconnect, just kind of pull back on these tabs. Disconnect and put your reconnecting bulb and put it back in.
The low beam is not as easy and neither is the signal and marker bulb. For those, we'll need to pull the headlight assembly out, which is not that difficult. You'll need a 10-mm wrench or socket ratchet and remove this 10-mm bolt as well as this 10-mm bolt. I'll fast forward here as I just remove those two bolts. The inner one is a long bolt that goes down through the headlight, and the outer one is just a kind of 1-inch shorter bolt.
Now, pull firmly out on the light, and it pops out of a clip in the back. Then, there is a connector. There's a blue safety clip. Pull that out and then, once that's out, then you kind of pull back on the tab and disconnect the headlight and pull it out. Okay, and once you have the headlight out, then it's easy enough to reach the low beam headlight. Twist it counterclockwise, comes out, and disconnect and reconnect. Also, the marker and cornering lights, you press a tab and twist counterclockwise on the larger bulb. Then, the bulb pulls straight out and then put it back in, and then the little side marker light, just twist counterclockwise and it comes out. That bulb pulls straight out again. Put it back in. Twist clockwise to lock it.
Okay, if you're replacing your headlight because it's clouded or faded or broken, you'll want to remove both the side corner and the marker light. Kind of pull the harness away and disconnect both headlights. Then, there are three little pins, and I'm using a pair of needle-nose pliers. You squeeze underneath. You squeeze the bottom of the pin and then push it up and pull it out. Once you remove those pins, I'm just twisting one to make it so I can get it, get a good grip on it, pull the pins out. Pull the last one out here, and then, the harness comes out. Disconnect both bulbs, and the harness pulls out of the light, and you want to use your old harness on the new light.
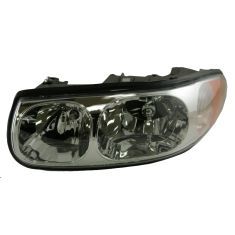
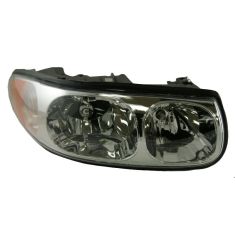
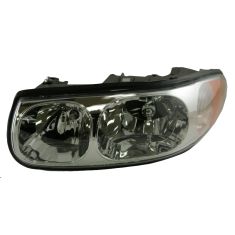
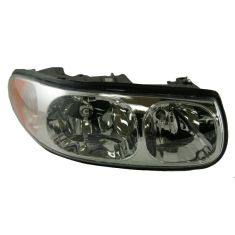
Then, here's the new light from 1A Auto. You can see nice bright and clear. Okay, take the harness and the side with the two connections, reconnect your headlight first. Okay, and then route that wire up into the groove at the top of the headlight. Pull that connector down. Connect your low beam. Okay and then put the side marker light and then the corner light back in place. Make sure that the harness is in that groove well, and now, reinstall the three pins to hold that harness in place. Now, take your light. I'm going to pan back the camera here. Take the light. There is a slot down at the bottom, so you want to make sure you first connect the electrical connection and put the blue safety tab in to make sure it stays connected.
Now, have the light down low and slide it right into place. There's a tab in the back that goes in the fender. Make sure that goes in correctly. You may have to use a little light amount of force just to push it back and get it into place. Now, here I'll fast forward. I take the long screw first, put that down in. Just make sure it goes down all the way through the light. You may want to push on the light a little bit just to get it started. Then start the other screw and then tighten them up. When you tighten them, you want to tighten them nice and firm but don't over tighten them.
We hope this helps you out. Brought to you by www.1AAuto.com, your source for quality replacement parts and the best service on the Internet. Please feel free to call us toll free 888-844-3393. We're the company that's here for you on the Internet and in person.
