Brought to you by 1AAuto.com your source for quality replacement parts and the best service on the internet. Hi, I'm Mike Green. I'm one of the owners of 1A Auto. I want to help you save time and money repairing or maintaining your vehicle. I'm going to use my 20-plus years experience restoring and repairing cars and trucks like this to show you the correct way to install parts from 1AAuto.com. The right parts, installed correctly, that's going to save you time and money. Thank you and enjoy the video.
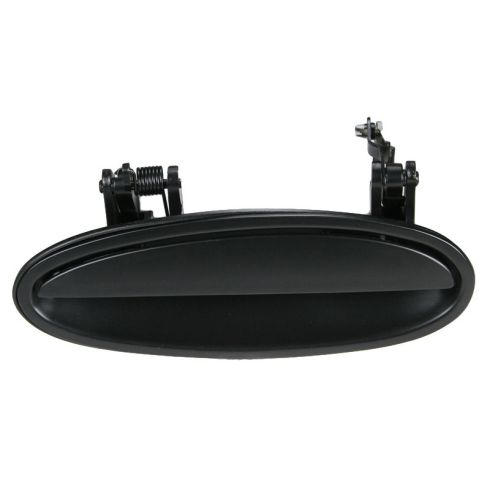
In this video, we're installing an exterior door handle on a 2000 to 2005 Chevy Impala. Tools needed for this job are a Philips screwdriver, Torx screwdriver number 27 size, door panel clip tool or putty knife and regular screwdriver, a rag to protect your paint, 10 millimeter socket and ratchet or wrench, and a small regular screwdriver. Okay, due to the 10 minute time limit on YouTube, we do fast forward here through the door panel removal. If you want to see this in regular speed, just search our videos for Impala door panel. It's actually fairly straightforward. It's removing four screws, pulling up the electric plate, unplugging the switches, removing two more Torx screws, and then carefully releasing the pins from the door. Then after that you can lift your panel up and off and go from there. I'll let the video finish out and take it. This video is, it's a very good, you'll definitely learn what you need to know to do your door handle. The editing might be a little choppy because it was a very difficult procedure to film due to the darkness of the location of the door handle. Now we need to remove this water shield, and then carefully pull this. You don't want to just rip it.
Okay, we're starting inside the door, opening the door handle. There's a little white clip. You want to reach up there with your index finger and knock that clip off the rod. At the bottom of that same rod is this orange clip. You want to open up this clip and release the rod from it. This is that lever that you just unclipped at the top and the bottom. You rotate it forward at the bottom and then out. I'll show you a little better what happens. That's the top that goes into the lever at the door handle. I'll use the door as kind of an example. It would go into the lever like that and lock into place. Then to pull it out, you kind of rotate it out and then pull out. To detach the rod that links the door lock down, to detach that reach inside the door with one hand and then with the other hand you rotate the lock down, and then you can pull that rod out. We're going to remove this little plug, here. What I'm going to do now is loosen up the bolts, unbolt the bolts for the door handle itself. I've got a 10 millimeter with a rather long extension to finish it. See the bolt well enough. There it goes. There it is. Push the door handle on each end.
There are a couple little tabs. We've got both rods detached. To get this handle out, you spin that, take that and there it goes. How you get this back together is take it apart. You got to take off this clip here. I'm using a little tiny screwdriver. Get underneath that locking tab and then I pull that clip off. Then this whole thing comes off. What you want to do is now put this on your rod in here. Here you can see that the lever I just removed from the door handle I've installed back onto the lock rod. I'm putting the door handle back in. It has little teeth on the bottom that lock into place. Now I've got my little clip and I'm going to reach up in here, get the lever to go on. This clip goes right on from this way, it goes on and then it slides that way. It shouldn't be too difficult. There, I got it on. Now it's clipped. My lock rod is together. Now, here's the latch rod. We'll put it up in. Then put it down in place. You can see sorry about the focus. See if it's focusing now. Here's my latch rod. It goes right in place there.
Then actually we'll do that, we'll clip that in place right after we tighten up the handle. That way we make sure it adjusts into the right spot. Put them on here. They go right in pretty much. You notice I put it on here and then I hold it upright like that. I always try and keep it as upright as I can until I get in it in the hole, then I try to work it straight and put it in. Tighten those up a little bit. Tighten that up. You're going to reach in here. Make sure you want to kind of I'm just lifting up on the rod a little bit, not hard, just enough to make sure the whole system's tight and I'm locking into place. What I'm going to do is we'll shut it here for you. Oop, now it's locked. Make sure everything works right. It looks good. You got your handle back on. Put your plug back in. Then do the door panel, and you're set. Put your harnesses back through the plastic, pull through, and then use these two screw holes as a reference point. I'm just pulling those right on where they were, and then working my way around.
Brought to you by www.1AAuto.com, your source for quality replacement parts and the best service on the internet. Feel free to call us toll-free, 888-844-3393. The company that's here for you on the internet and in person. Thank you.