Brought to you by 1AAuto.com, your source for quality replacement parts and the best service on the Internet.
Hi, I'm Don from 1A Auto. I hope this how-to video helps you out, and the next time you need a part for your vehicle, think of 1AAuto.com. Thanks.
In this video, we're going to show you how to service the headlight bulbs as well as replace the entire headlight assembly on this 1996 Chevy Tahoe. We show you on the passenger side, but the driver side is the same procedure. The items you'll need for this include new headlights from 1AAuto.com, Phillips screwdriver, and a 7mm and 10mm socket and ratchet with an extension.
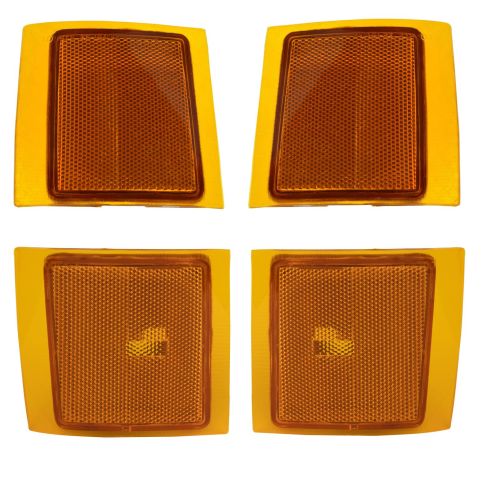
You want to first remove these four Phillips screws, and we'll just fast-forward as Don does this. Pull the light out, twist the sockets counterclockwise, and pull them out. Then, you want to twist this socket out of your side marker light, and then repeat the process on the other side.
Next, you want to remove this series of 7mm bolts, and we'll just fast-forward as Don does this. There's one more 7mm bolt right here. Once those are removed, you want to just lift up this tab, pull the grille forward, and there's another one on the other side. There's another clip right in the center. Using a stick or a long screwdriver, you just want to push that tab and then pull out on that center tab. Just to give you a better look at it, it's this tab right here.
Next, you want to remove these four 10mm bolts that secure your headlight, and we'll just fast-forward as Don removes those. Now, to service your bulbs, both of them are the same. You just pull back this tab and pull the harness free, then twist the bulb out. Push the new one in, twist it clockwise to lock it, and then just reconnect your harness. If you're looking to replace the whole assembly, you just want to disconnect both of these harnesses by pulling up that tab.
Then take your new headlight and push the harnesses into place. Then push your headlight back into place and replace those four 10mm bolts. Once those are in place, take your grille and pull your parking light sockets through, and then you want to line up the tabs on the grille.
The first one you want to do is the center one, and just push down that tab and push the tab on the grilled into place until it locks. Now, line up those side ones and push those into place and we'll just fast-forward here as Don replaces those five 7mm bolts. There's four along the top of the grille, and then that one in the center just above the badge.
Now, twist your side marker light back into place. Then twist your two parking light sockets back into place, just turning them clockwise to lock them. Then push the assembly into place and replace those four Philip screws. Repeat the process on the other side.
We hope this video helps you out. Brought to you by www.1AAuto.com, your source for quality replacement parts and the best service on the Internet. Please feel free to call us toll-free, 888-844-3393. We're the company that's here for you on the Internet and in person.