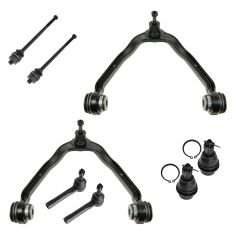
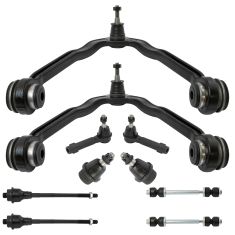
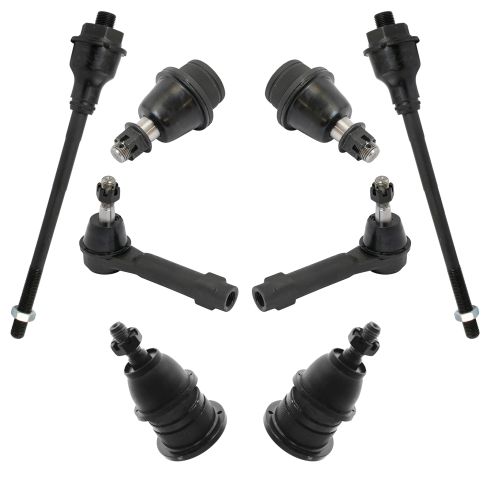
One of the first things you want to do is safely raise and support your vehicle by the frame so your suspension can hang. Once you've done that, take a small pry bar and we're going to take off this center cap. If you were to spin it, you're going to see a little notch in the cap. Just carefully slide this off of here. That exposes our 22-millimeter lug nuts. Remove all six. Remove your wheel. Now let's remove our 21-millimeter nut. Let's just put that nut on, just a couple threads. Now we're going to take a hammer and we're going to hit right here on the knuckle. You want to be very careful for your brake rotor.
Now that the wheel is off, we have a clear view of where we're going to start working. We're going to disconnect the electrical, this is the ABS right here, and it's very delicate. I'm just gonna come right up along here, and you're gonna see where it's supposed to be mounted to the frame. Should be pretty secure. This is missing about half of its clip, so I'll make sure I secure it in afterward. This purple right here is a little lock, it's holding it from coming separated. I like to just come right in between here, pop that up. Now we'll separate this, just take a peek, make sure you don't see any funny colors. If you were to come right down along here, we're gonna get this clip off of here as well. Just give it a little twist, lift it up, grab that ABS wire, carefully set it aside. The next thing we're going to do is remove this 10-millimeter headed bolt. The next thing we're gonna do is remove the nut that holds the upper ball joint to the knuckle. Okay. That comes right off. I'm just gonna go ahead and put it on there just a couple threads for now. Now let's use a 36-millimeter socket to remove our axle nut. Behind there, there's a washer. Go ahead and remove that as well. Let's go ahead and blast this with some penetrant.
The next thing we need to do is separate the axle from the bearing. I'm going to use this punch right here and go right in the center. You definitely don't wanna use a hammer and potentially damage the threads. The next thing we need to do is remove our mounting bolts that hold the caliper to the knuckle, use an 18-millimeter. Carefully hang your caliper, so it's putting no pressure on your flex hoses. So, now let's just double-check to make sure this upper ball joint nut is still on there a few good threads, it hasn't loosened upon us. And then we'll move down here to the lower ball joint nut. Remove that as well. Take that, and just put it on a couple threads.
Okay, so now it's gonna be time to separate the upper ball joint from the knuckle right here. Pay special attention to anything that's delicate that you don't want ruined, such as an ABS wire. Make sure that that's secure and safely out of the way. Go ahead and take your nice little hammer. And we're going to bonk right here on the knuckle itself. As you can tell it's separated, we can move along. So, now let's push down on this. Remove that nut. And carefully draw this down. Now if you're worried the knuckle with a rotor is going to be too heavy, you can go ahead and use a Torx bit right here, remove that bolt, and take the rotor right off. The problem with removing it like that is you're gonna have to clean up the mating surface between the wheel bearing and the rotor itself. So, now I'm going to take my hammer again and I'm going to come right down here and we're going to hit right on the knuckle itself until this comes down. There we are. Carefully lift up, remove the ball joint nut. Carefully lower this down, remove your knuckle.
The next thing you're going to want to do is support your lower control arm so that you're not putting maximum pressure on your front shock/strut. If you are, you can potentially damage it, because we're going to be using a hammer and we're going to hit right here on the lower ball joint to break it free.
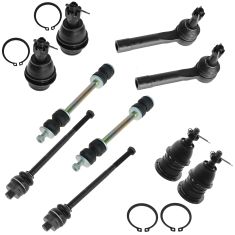
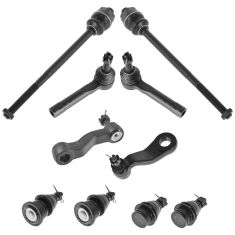
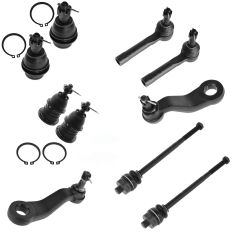
Now to install the lower ball joint, we're gonna want to take the boot off of it first. So, I'm just going to use a nice small screwdriver, pry bar, weasel it in between. Then just kind of separate the two. Be careful not to damage the boot, of course, because we're going to be using it. The next thing we need is a ball joint kit with a cup that's going to fit right up against this lip. We're going to come right underneath, and then we're going to press this right up and in. Right along the bottom. I'm going to use a cup that looks like this, with a hole in the bottom, that's for the stud to go through. It's going to press right up against this ridge right here. Take this cup, something that's hollow enough to make sure that the top part of the ball joint can fit inside. Put it right over the top. Now we're going to take our ball joint C-clamp, put it right over the top, bottom it out. Just check to make sure that the cup is centered to approximately where the ball joints going to be.
Now we're going to tighten this up. As we do that, we want to check this ridge and make sure it matches up directly along this control arm. As you can tell, the ball joint ridge is directly against the control arm right here. Before I release any pressure, I'm just going to give the control arm a couple light bonks with my hammer, just for a little bit of vibration to help make sure this is seated securely. That should be pretty great. Carefully remove your tool. Make sure you install your clamp. To do that, just use these little pliers right here. They fit inside the holes, and then you can spread it. Slide it right over. Make sure it's sitting inside the roof all the way around. If it isn't, just work at it until it is. Now we're going to install our boot. Just carefully bring it up here. I like to try to start it on one side, so I'll go on the side farthest away from me. Then I'll use some pliers and just kind of roll the lip right on. Obviously, be careful not to poke any holes in the boot. Inspect it for any damage. Make sure that it's completely secured. This looks perfect.
Go ahead and take your knuckle. I'm going to start it on the axle a little bit, then slide it over the lower ball joint stud. Lift it up. Kink it to the side and start on that lower ball joint nut. Wiggle the axle around. Should slide right in. Now we're going to use a bar, we're going to pull this upper ball joint down into here. Get the nut, go ahead and start it on there. Just going to take my bar, and try to hold pressure on the lower ball joint to the knuckle. And then we're going to go ahead and try to tighten it up. So, now you'd want to torque this to 37-foot-pounds. If for some reason you can't get your torque wrench in there, like I can't, I would just continue with my wrench and make sure it's nice and tight. [vocalization]. Perfect.
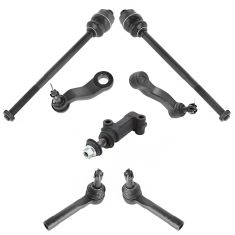
Now it's time to torque up that lower ball joint nut as well. Torque it to 37-foot-pounds. Now what we want to do is make sure that our slot is lined up with the hole that goes through the ball joint stud, so we can make sure we install our cotter pin. Go ahead and slide that through. If for some reason yours is not lined up when you torqued it, you need to continue tightening, not loosening, until it's lined up with the next available slot. Go ahead and peen that over and lock it in. All right. So, now it's gonna be time to get the caliper on here. Just go ahead and slide it right over the rotor. Now we're gonna line up those bolt holes. I like to use some red threadlocker on these bolts. And start them in there. Okay. Let's bottom them out. Now let's go ahead and torque these 248-foot-pounds. Now we'll just go ahead and take that tie rod end, put right through the knuckle. Take your nut, start it on there. We're gonna bottom it out. Now you're gonna torque this to 44-foot-pounds. That's torqued.
The next thing we're gonna do is look to see if we can find the hole in the stud of the tie rod and match it with the next corresponding slot on the tie rod stud nut. This doesn't line up, so what I need to do now is I need to continue tightening until it does. I can see right through. I'm going to grab that locking cotter pin and install it. Slide that right on through and just peen it over. There's no way that this nut can come loose. Now it's going to be time to get the washer with the axle nut on there. Go ahead and slide the pair on. Go ahead and use your 36-millimeter socket, bottom it out, and then we'll torque it. Just gonna put a little splash of never-seize in here, I've got my mounting bolt. Let's use our 10-millimeter and snug it up. Make sure it's fully secured, make sure there's nothing binding your flex hose for your brakes are not twisted in any way.
Now it's time to get our ABS wire re-secured. Let's go ahead and put it in right here. Make sure it cannot come loose. If this can hang around and move around, it could potentially get damaged. Go ahead and connect this in now. Listen for a click, give it a tug. Go ahead and slide in your lock. Now we're going to take our mounting hardware here and just slide it right down in there. It's just a little push clip. Give it a nice tug, make sure it's definitely secured.
So, of course, next, you'd want to go ahead and torque down this nut right here. And that's going to be torqued to 177-foot-pounds. You can do that several ways. If you were to just do it like this, what you're going to notice is it just keeps spinning. If that was the case, what you would do is you can use a pry bar coming straight through these lug studs like this down to the ground. And so it holds it from spinning on you and then you would torque it. If you didn't want to go through the process doing that you can go ahead and throw the wheel up on there and then go through the center hole, which is the way that I'm going to do it.
We'll grab those lug nuts, start them all on there. Let's bottom these out. Now we'll bring it down to the ground and we'll make it so the wheel is just barely touching enough so the wheel can't spin. It's time to torque down this axle nut, 177-foot pounds like I said. Torqued. Now let's do the lug nuts,140-foot-pounds. Go crisscross. Torqued. Now it's gonna be time to get the center cover on. Before you go ahead and pound it on there, just take a look at the back, you're going to see something that looks a lot like a valve stem. Line it up. It's gonna go pretty much just like this. Light bonk, and then, of course, clean up your wheel, make it look nice and pretty and take it for a road test.
