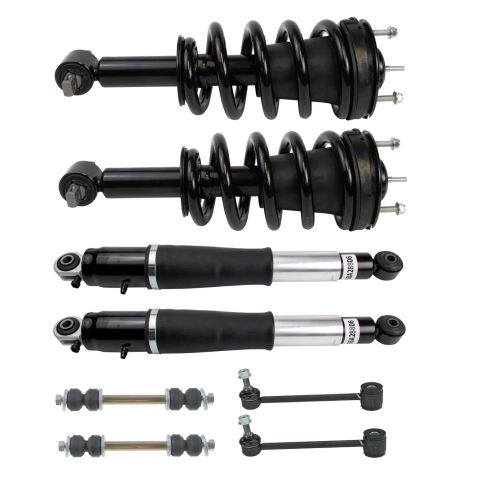
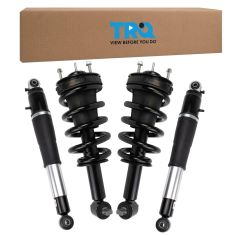
One of the first things you want to do is safely raise and support your vehicle by the frame, so your suspension can hang. Once you've done that, take a small pry bar, and we're going to take off this center cap. If you were to spin it, you're going to see a little notch in the cap. Just carefully slide this off of here. That exposes our 22-millimeter lug nuts. Remove all six. Remove your wheel.
All right. So, before we get too much further, I just want to make sure that you understand that it's always a great idea to do your sway bar links as a pair. We're going to use a 15-millimeter wrench up on top on this nut right here, and another 15-millimeter down here. We'll remove the whole shaft, and pull this right out. You can see it's starting to come unthreaded. Little rubber bushing, you want to pop that off of there.
Now, this shaft right here is going to be stuck inside the plastic unit there. I'm going to spray a little bit of penetrant, and then I'm going to see if I can drive this down. All right. As you can see, it was very rusted. I'll grab that with some pliers and continue. So, now I'm just going to take my pry bar. I want to come right in between here, and I can lift up and remove this centerpiece.
The next thing we want to do is unscrew our sway bar link, so it all comes apart like this. We're going to make sure we have our bolt. We have one of our washers and one of our bushings with a little piton facing up. Now, I'm going to come down through this lower control arm. Start it in like this. I'm going to take another one of these rubber bushings, and now I'm going to put that little piton area facing down towards the control arm. That's going to make it so it fits right in. That's great. Now, you need another one of those washers. Put that facing down. Put in your spacer. Another metal washer facing up. We're going to take our rubber bushing with the piton facing up, and that's going to face right up against towards this sway bar right here. Now, just bring this down just a teeny bit. I'm going to grab that pry bar, lift this up, and I'm going to slide this into where our sway bar hole is. Line that up. Set it down. Drive my bolt up through. We've got our rubber bushing with the piton facing down towards the sway bar metal. And then, of course, our nut. There we are.
Now, it's going to be time to tighten this up. It's important to remember, as you're tightening up the nut with the bolt, that as these come squishing down, you don't want them to flatten out like a pancake. You just want it so that the bushings are touching up against the metal areas of the control arm and the sway bar itself. So, I can see that they're touching all the way around. I'm just going to go a teeny bit more here. I'm going to put my pinky right up against it. And as you can tell, the amount of the shaft that's sticking up is approximately the width of my pinky. That should be pretty good right there. I can tell that there's no movement that's going to happen between the bushings and the bar, or the bushings in the lower control arm, and they're definitely not pancaked down.
We'll grab those lug nuts. Start them all on there. Let's bottom these out. Now, we'll bring it down to the ground, and we'll make it so the wheel is just barely touching enough, so the wheel can't spin. Now, let's do the lug nuts, 140 foot-pounds. Go crisscross. Torqued.
Now, it's going to be time to get the center cover on. Before you go ahead and pound it on there, just take a look at the back, you're going to see something that looks a lot like a valve stem. Line it up. It's going to go pretty much just like this. Light bonk and then, of course, clean up your wheel, make it look nice and pretty, and take it for a road test.