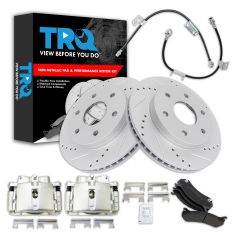
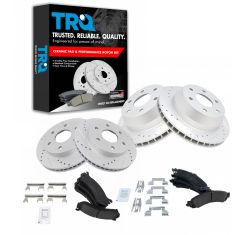
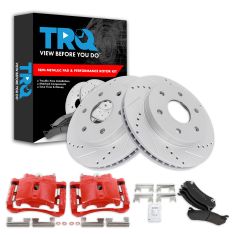
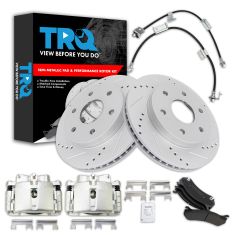
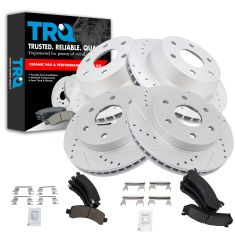
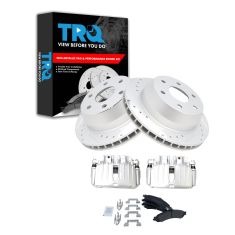
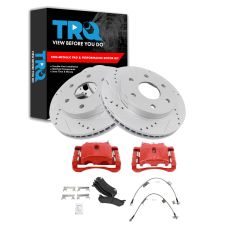
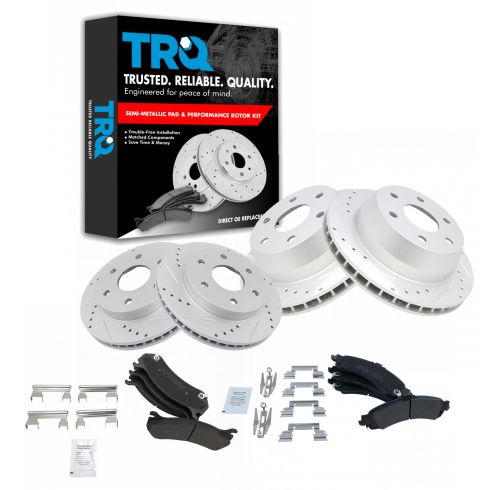
Okay, friends, one of the first things we have to do is safely raise and support the vehicle. Once you have your wheels off the ground in the rear, we're gonna go ahead and remove all six of these lug nuts. Remove your wheel. Now, that the wheel is off, we have a clear view of our caliper. If you were to be able to see behind this tin, you're gonna be able to see where the caliper piston is. We need to be able to push that piston back.
To do that, if this shield wasn't here, you can come in between and just slowly pry, or if you do have that shield where you can come is right up along here, just get in between the pad and the caliper, and then slowly pry as well, and just keep working your way back and forth until the piston is all the way in.
The next thing that we need to do is remove our caliper bolts. These are the bolts that are gonna hold the caliper to the bracket. I like to hold onto my slider, so it can't spin. I'll leave that bolt loose, but leave it in for now. Do the same to the other one. I can get both these bolts outta here. Hold onto that caliper so it can't fall. Slide it off. I always like to take a peak at my caliper to make sure that it's not leaking any fluid along where the boot should be. Set this aside. Now, let's remove those brake pads. Set those aside.
Now, we have a clear view of our brake caliper mounting bolts. Remove them both. And then put in a couple threads. Remove the bracket. At this point, you wanna give your rotor a little wiggle. If it doesn't seem like it wants to break free, grab a lug nut, start it on there a few threads. Now, with your hand protection and eye protection, of course, we're gonna go ahead and give it a bonk with a hammer to break it free. You can come right up along the top here.
If that doesn't work and you're not reusing your rotor, of course, you could, of course, bonk on the braking surface, or even better than that, from the backside. Remove your rotor. Now, it's gonna be time to prep the brand new rotor. To do that, you wanna make sure you clean the braking surface. A little bit of parts cleaner, a nice rag. Get off any of the coding that might be on there. It should come with a little coding on there to prevent against rust. Go ahead and flip that over.
Now, you can see the other braking surface. We'll clean that. And now, we also wanna make sure we clean this area right along here, because this is where the emergency brake shoe is gonna ride. Now, at this point, you have a clear view of your e-brake shoe and of course of the axle mating surface where it's gonna connect onto the rotor. If you're axle looks as though it's in poor condition, maybe it's got a lot of rust, or rot, or debris, or anything like that all over it, you'd, of course, wanna sand it down, make it look nice and smooth, and then code it just like this with some copper Never-seez.
Before we go ahead and put the rotor on there, we also wanna take a look at this right here. This is your emergency brake shoe. If you happen to notice that your emergency brake shoe doesn't have any meat on it, maybe it looks a little bit more like this one where it's literally just a solid shoe of metal and it has no more breaking material, you need to go ahead and replace that. And if you need instructional video on how to do that, we have it. We get a nice new coding of Never-seez on there after we cleaned it down. We've got our rotor. Carefully, slide it up on here. We get the rotor on there.
Now, what we need to do is head up our vehicle in neutral, so that we can spin our rear wheels. And we just kinda wanna push in and give this a little spin, and listen for a scraping noise. I can hear a very minor scraping noise there. So that tells me that I don't have very much drag from my e-brake shoes to the inner portion of my rotor. If you put your rotor on, maybe it was a difficult time pushing on, and you went to turn it, and it just didn't want to turn at all, your e-brake shoes are probably over adjusted and you're gonna have an issue.
If that was the case, you would just pull this off and then you can look down here at your adjuster. With the caliper bracket over on the bench, I just wanna show you areas that you're gonna wanna clean up. You wanna clean up this area right along here, and right there, the same right here. If you were to take your tin and you were to put it over it, any area that touches that... If you were to take your tin and put it right over the bracket, you'll be able to see exactly where you need to clean up. Any areas that the bracket is gonna touch up against this tin need to be nice and smooth, and they also need to be lubricated. Just take your little brush, clean up in between there, clean up all this right here.
If there's any really tough areas that don't seem like they wanna break free but they're raised up, use a nice screwdriver or whatever you might have, and just kinda clean up any of that crud or anything like that that might be on there. Now, once you've cleaned all the mounting areas for where your tins are gonna go for your brake pads, you're gonna come right here to the sliders. Grab that, pull it right out. Take your rag, clean it up. Inspect the slider, make sure it's in good condition. If it looks like it's pitted or it's gonna cause restriction going in and out, you either need to clean it up better with a wire wheel or replace it.
If you were to look inside here, you're gonna need that to be nice and clean as well. You can do something as simple as maybe using a bore brush, something like that inside there. Of course, you don't wanna damage the boot, though, so you'd wanna be very careful. Get out as much of the crud as you can inside there, make it as clean as possible.
Maybe even take a nice rag, twist it, put it right inside there, and get out as much as possible. I'm gonna use some nice silicone here. This is Moly grease, it's great for calipers. You wanna make sure you get right up along this area right there. If you can see where that lip is, where my finger is, get some grease all up on there. It's gonna be super important because that's gonna help keep moisture out right along this seal.
Slide that in there. Give it a nice twist. Move along. Those sliders are in there. Let's go ahead and go right along the bracket. Just go right in this area. As you can see, I have it along all ridges going along. Now, I would put my tin on here. See if I can get this lined up. Slide it down. Do the same to the other side. Let's grab our caliper bracket and our caliper bracket bolts. If you have any leftover threadlocker on them, make sure you clean it off. And if you wanna put on some new, it's probably a great idea.
Put this right over. Start in both of your bolts before you tighten either of them down. Now, let's bottom them out and then we'll torque them to manufacturer specification. Let's go ahead and torque these to 148 foot-pounds. Now, it's time to install our brake pads. When you go to install it, you wanna make sure that you have your squealer or the wear indicator facing down. And so I got that one right here. Slide that in. And then my outer pad, I'm gonna do the same thing. My wear indicator facing down.
What I'm doing now is I'm lubricating the mating points where the pads gonna touch up against the caliper. So right along that piston, and then of course, both of these ears. Awesome. See if we can slide this over. Grab your bolts. If you want to use some threadlocker, once again, you're prerogative. Now, let's torque these to 31 foot-pounds. Hold that. There we are. So now, let's just go pump up the brakes.
Now, it's gonna be time to get the wheel up on here. Let's start on those lug nuts. And then we'll bottom them out. And we'll torque them to 140 foot-pounds. Let's torque them. Double-check them if you want. And if you have a center cover, put that on as well. Let's make sure we double check that brake fluid. Give it a wiggle. It looks as though this is low. There's the maximum line. Open this up. We're gonna add some DOT 3 brake fluid. Bring it right up to that maximum line. Make sure you close it back up, down the road, you go.
