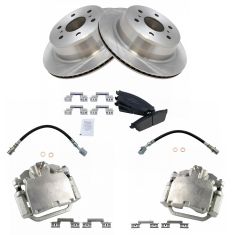
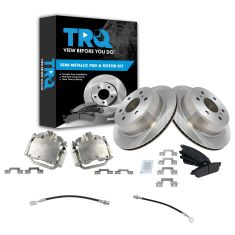
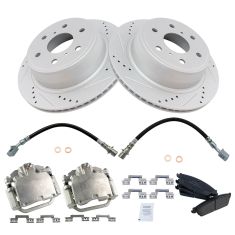
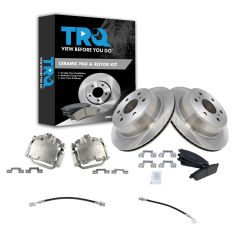
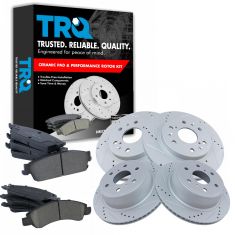
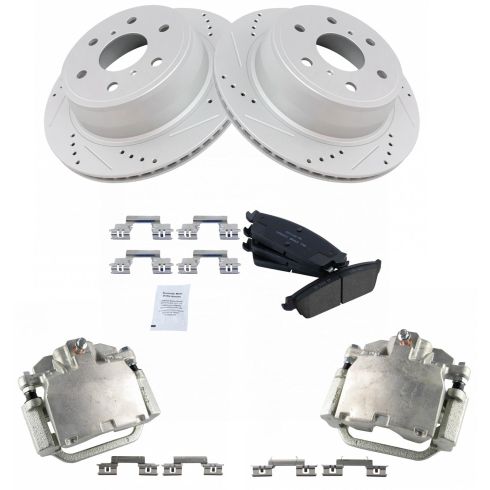
Okay, friends, before we get started, let's talk safety, hands and eyes. With that said, go ahead and raise and support the vehicle and remove your lug nuts and then remove the wheel. So, now that the wheel is off, we have a nice clear view of our brakes. This is your caliper slider bolt here and one up there, remove the pair. As you can see, the slider itself is turning. You're probably gonna need to hold that with something such as pliers. There's one. Do the same to the other. There we are. Let's go and remove that caliper. It's a good idea to inspect it. Make sure you don't see any fluid. This looks good. Let's set it aside. Let's go ahead and remove the pads. Looking at the caliper bracket, you're gonna be able to see the two mounting bolts. Use your 18-millimeter, remove the pair. There's one bolt, let's go ahead and start it in just a couple of threads and remove the other. Remove your bracket and set it aside.
Next, we're gonna use some cutters and we're gonna take off these two little tabs right there. They basically just hold the rotor from falling off. Let's remove the rotor. For our next step, we're gonna need a nice collection bucket. We're gonna put it down underneath here and we're gonna clean down the emergency brake apparatus. Come down along here. Right down there is where your adjustment is. We're gonna need to work with that, so we wanna make sure it's nice and clean. The next thing I like to do is take a nice pry bar on the backside, and I'm gonna press up against this. As you press, you wanna look at the forward side and make sure that this can pivot freely. If it seems like it's seizing up or it doesn't wanna move at all, you need to take it apart and free that up. Right down here is your adjuster, you wanna make sure that that can move. I like to spray them down with some penetrant right along here, that's the adjustment area. Then right here is another area that it pivots. Let's go ahead and spray down this area with a little bit of penetrant. Clean down this area where the rotor is gonna ride.
So, I got in between all the studs and the hub area there. Now, we're just gonna put on a little bit of copper never-seize to help make sure that the rotor comes off fairly easily down the line. Perfect. Let's take a look at our brand new rotor. We're gonna, of course, clean it down before we go ahead and install it. A little bit of parts cleaner, nice clean rag. Get your braking surfaces, and right down along in here. That's where your emergency brake shoes are gonna ride. I like to clean that down as well. Now, this part we're gonna have to talk about for a second. When we put the rotor on, what we wanna try to do is activate the emergency brake, which you can do with the pry bar from the backside. And you wanna try to make sure that the emergency brake is gonna be able to hold the rotor from being able to spin. If it doesn't, you need to go ahead and pull off the rotor, come under here to where your adjuster is, and turn this so it expands the shoes out just a tiny bit, and retry. You wanna continue doing that back and forth until you find the perfect amount of pressure for your emergency brake shoes. Okay. So, pretty much right where it was at for me. Worked perfectly. Because I can put just a teeny bit of pressure and then that kind of keeps it. And if I put a little bit more, then it really holds it. So, that tells me that I don't need to remove this and readjust that. But if you do, it's very easy. Like I said, just pull it back off, adjust it a tiny bit, and then go ahead and put it back on and try again.
Something that I like to mention is once you have it so it's adjusted, you wanna make sure that you can turn it and you hear a tiny bit of drag and that's it. You definitely don't want anything that makes it feel like you have to put any force without having the emergency brake on. All right. So, we made our way over to the bench because I wanted to talk about cleaning up this caliper bracket here. We're gonna take it apart first. What I mean by that is to come in between here and remove the tins. We're gonna set those aside for recycling so we've got some nice new ones. After that, if you grab onto this area right here, this is considered your slider. Go ahead and pull that out. Same thing with the other one. Perfect. I'm gonna go ahead and wipe these down. Just like that. And we're gonna inspect them. You wanna make sure that you don't see any rust pits, large rust flakes, and you definitely don't wanna see anything up inside the groove, up along right here because that's where the boot is gonna ride. So, you wanna make sure it's as clean as possible.
Okay. Now, over a nice collection bucket, let's put a little bit of parts cleaner inside here and let it sit for a second. If you happen to have a bore brush, go ahead and give it a little whirl inside there. Let's empty this out. Oh, yeah. So, that's gonna get out all the debris or even leftover grease that might be left inside there. We'll let that to continue drying. Set this aside. Now, we need to clean up this area right here, which is the area tins are gonna ride. If you don't clean this up, there's a possibility the pads could be stuck inside the brackets and that's, of course, gonna cause an issue. All right. So, I've got all four corners here nice and cleaned up. As you can tell, those look great. Let's use a little bit of caliper grease along those areas. Now, it's gonna be time to install our tins. This is the backside. You can see it's got two little ears that face towards the center. And then the other side has the two ears that are gonna spread those pads apart. Go ahead and put the ears so they're inside the center of the bracket there. Lock it in. Same thing on the other one. Perfect. That looks good. They're definitely not falling off. I'm just gonna put a little bit of grease along the boot right there.
Now that we have that done, let's go ahead and grease these slider pins here. Crawl up and down the entire shaft there, make sure you put on plenty of grease. It doesn't cost you anything, so why not? There we are. Make sure you get up along the lip right there where the boot is gonna ride. It's gonna help keep moisture out of there. Keep this functioning good for a long time. Go ahead and start it into the hole. As you press in, you're gonna hear air come out. And give it a nice twist. That's good. That settles in the grease. Do the same to the other side. Okay. At this point, we have our caliper bracket cleaned and prepped. This looks amazing. Let's get back over the vehicle. Before we can go any further, let's go ahead and clean down the threads on our bolts. We wanna make sure there isn't any more thread locker on there, and then we're gonna replace it with some of our own. So, we cleaned up our bolts. I put on a little bit of red thread locker because that's how I roll. We're gonna go ahead and take the bracket here, start in both the bolts, and then we'll snug them up and torque them to manufacturer specifications.
All right. Let's torque these to 148 foot-pounds. Now, it's gonna be time to put our pads on. Something that I want you to pay attention to is this right here. This is called a wear indicator. You want that on the inner pad and you want it facing up. There we are. The outer pad should not have a wear indicator on it. Perfect. The pads move around inside the brackets. That tells me that I cleaned up the brackets well. Now, it's gonna be time to push in the caliper piston. A lot of times people like to open up the bleeder screw, you just wanna be careful not to break it and you also wanna be careful not to get any air in there. With that said, for the purpose of this video, I'm just gonna go ahead and push it back slowly without opening it. There we are. Now that we have the piston pushed in, let's go ahead and apply a little bit of caliper grease right along the piston right there. And then, of course, up on these ears right there. Basically, the contact point is where it connects with the pad. Let's go ahead and put on our caliper over those pads. Squeeze them in if you have to. There we are. Slide the bolts. Tiny bit of thread locker is a good idea.
All right. Snug them up. Torque them to manufacturer specifications. Here we go, 38 foot-pounds. Let's get the wheel up on here. Start all your lug nuts, snug them up, and torque them to 140 foot-pounds. Here we go. Torque them to 140. Torqued. And now, of course, the process would be the same for the other side of the vehicle. Okay. So, the next thing that you need to do is go ahead and pump up your brake pedal so it's nice and firm. Aside from that, check your brake fluid right over here and take it for a road test. Of course, it's a great idea to make sure you check your parking brake as well. Make sure that that holds the vehicle while it's idling and drive and maybe even a little bit of foot pressure on that gas pedal.
