Brought to you by 1AAuto.com, your source for quality replacement parts, and the best service on the Internet.
This is part two of doing the Pitman Arm on this '96 Tahoe, which is the same as any '88 -'98 GM truck, or '92 - '99 SUV with four-wheel drive. Again, a little refresher on the tools that you'll need.
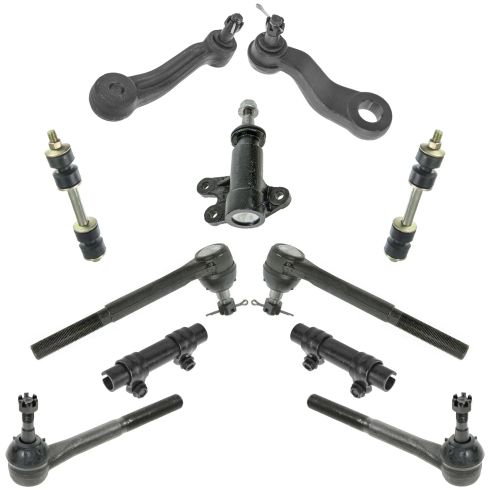
Believe it or not, I actually forgot to film... or, I actually messed up and I didn't film pulling the Pitman Arm off, so I'm just going to show you how to use the Pitman Arm puller and the tool on - this is actually the idler arm. This is the same idea, you would just be doing it on the steering box. You put the tool on like that, and then put your wrench on there and pull it, and that breaks it right free. Once we've used the puller, we can take the old arm off and put the new one on. There are four marks, or four larger teeth that make sure that you put the arm on in the right position. The best thing is just take the old one right off and then put the new one right back on in the same position. That way, you know that you have it centered correctly.
We'll put the big lock washer back on... actually, what we might want to do is put the nut on first, tighten it a little bit, which presses the arm on, and then take it off of the lock washer. Then, right up in here you can see, here's our steering coupler. The bolt is to the frame side, and it's basically straight up and down, so you want to have your steering box ready to go the same way. So, it's ready to go up in there. This flat spot here is what aligns with that bolt, so then, basically, take your box and put it in there. Now we've got our steering box up in there. Now take a bolt, feed it through, and you can see it come out on this side. Try and position the steering box so the bolt will go in, and then once you've got the bolt started, just reach up on top of the steering box, make sure your hoses are free - they're not pinched in between the frame and the box. Wrap the third one here.
Here's that Pitman Arm, and here's where it hooks into our steering, and while we still have the box loose a little bit, just move that all into place, and then just start this nut on there for right now. Before you actually tighten up the steering box to the frame, you'll want to connect your linkage here. You can see right down there is the end of the steering box, and this, I have this rubber boot pulled back. This telescopes back and forth, and what you want to do is, you can see there's a flat spot here on the gear, and then there's also a flat spot in your coupler, which I have right at the top now, so you basically want to push your shaft down on there and lid on. Then, put the bolt in, and you want to tighten this bolt up to about 35- 40 foot-pounds. Okay, we've reconnected and tightened both the power steering hoses, and they are different-sized fittings, so you shouldn't have any problem.
I'm going to torque these bolts to 120 foot-pounds. I'm going to torque this nut to 80 foot-pounds. I'm going to put in our new Pitman Arm came with a cotter pin and lock it, and it looks like I need to tighten it another quarter turn. I push the cotter pin through and pull it down around to lock it. Obviously, you're going to want to put your wheel back on, and when it's down on the ground, you're going to want to torque those lug nuts to 120 - 140 foot-pounds. Now, here I am adding some power steering fluid and, basically, you want to fill it to the level it's supposed to be, turn the car on, turn the steering wheel back and forth a few times, and then refill it until it's at the right levels. Then the last step is some grease on this fitting, and it should be all set.
We hope this helps you out. Brought to you by www.1AAuto.com, your source for quality replacement parts, and the best service on the Internet. Please feel free to call us toll free: 888-844-3393. We're the company that's here for you on the Internet, and in person.