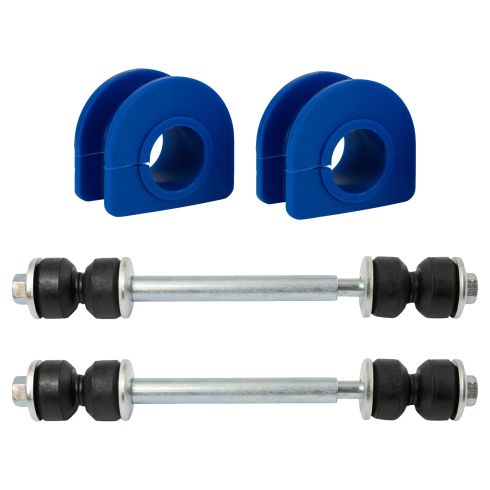
One of the first things we need to do is safely raise and support the vehicle, so the wheel is off the ground. Let's remove our 22-millimeter lug nuts. Remove your wheel.
Now that the wheel's off of here, we have a clear view of the sway bar link. What you're going to notice is, up along the top, it has a strange-looking nut. It's very thin. It's going to be hard to grab onto. I'm going to use a pair of locking pliers to try to grab onto it. Using my 15-millimeter socket, I'm going to come down from the bottom here. Now I'm going to use my 14-millimeter socket down along the bottom here, see if we can get this to come apart. Looks like it's starting to turn.
Okay. So, for us, the outer sheath on this broke free from the bolt itself that's supposed to be running through the center, so I'm just going to go ahead and spray this down with some penetrant, let that soak down and through there. Sometimes, what happens is, is this outer portion will actually freeze or get stuck onto the bolt. If that's the case, what you would either want to do is grab onto the outer portion with some locking pliers, and then try to spin out that bolt. If that doesn't work, you might have to just cut the bolt itself. There's the bolt. Let's get all this out of here. Awesome.
So, now, assuming you're doing the sway bar links as a pair, now is the best time to go ahead and start doing the other side as well. Okay. Once you have both sides out, you should be able to move the bar around a little bit at this point. We're going to grab our new sway bar links. We take off the nut, take off the washer and the bushing, the washer and the bushing, and then, of course, the sheath, washer and bushing again, and we're going to leave it just like this.
Now, as we come up, okay, coming up from under the control arm, we still have the bolt with the washer and the bushing. Now we're going to take our bushing with our washer, put that facing down and towards the control arm. Grab your spacer, put that on there. We're going to push this up a little bit further. Now you're going to go washer, facing up, bushing. Get it underneath that sway bar. Bring it up. Bushing again.
If you were to look at these bushings, you can tell that they have like a rounded area, and then they have this area right here with a little like a piton. The piton is going to be going either towards the control arm or towards the sway bar. Set that on there, this one right here, and then, of course, our locking nut. I like to use a little thread locker on these.
I'm just going to use my 14-millimeter wrench, and of course, my ratchet underneath, and I'm going to start snugging it up. As I snug it, I want to be watching these bushings. What I want to see is the bushing touching up against the bar, on both sides of course. And, of course, down by the control arm there, we want those bushings to be touching up against it as well. We don't necessarily want to continue tightening, though, until the point where they seem like they're getting squished down and even pancaking out. So, let's just snug them up so they're all touching at least, and then we'll continue on.
Okay. So, this looks great. As you can tell, all of my bushings are touching exactly where they need to be touching. And you're also going to notice that I didn't continue tightening until they flattened out, like I had said before. This looks pretty great, so I'm just going to take a quick measurement of it. It looks like it's approximately the width of my thumb, personally, so I'm going to make sure that I go approximately the same on the other side of the vehicle.
Okay. Now it's going to be time to get the wheel up on here. Slide it on. Now we'll get the lug nuts on here, we'll bottom them out, and then we'll torque them to manufacturer specifications. Let's torque these lug nuts to 140 foot-pounds. Torqued.