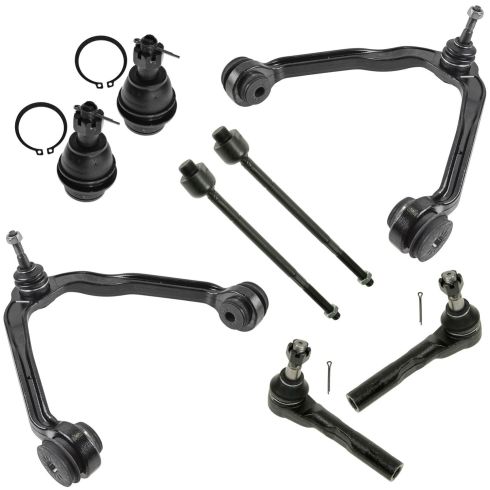
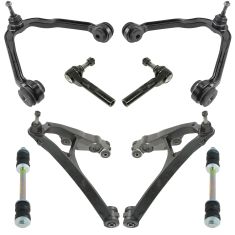
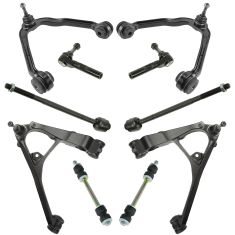
So before you do this job, you wanna keep in mind that after you're done, you're gonna have to go to an alignment shop and have the vehicle aligned so you don't burn out your tires and have premature tire wear. Now, I'm gonna remove the wheel. Use a 22-millimeter socket. Take off the lug nuts. Take the wheel off.
Now, I wanna get this wheel speed sensor wire out of the way. I'm gonna use a trim tool to remove the hold downs, this one right there and right here. And then disconnect the connector up top. I just wanna move it out of the way. Now, I'm gonna remove this bracket for the brake hose. I'm gonna use a 10-millimeter socket to take this bolt out. Oh. And sometimes they'll break. That's okay. Just set it aside.
Now, I'm gonna loosen up this nut. I'm not gonna completely take it off. I just wanna loosen it using an 18-millimeter wrench. All right. So I'll leave a couple of threads on there. That's good. Now, I'm gonna break the ball joint free from the knuckle. I'm gonna use a pickle fork. You could try tapping the knuckle, but you wanna be careful. You don't wanna break it. Just watch out for the brake hose. Make sure you're not hitting the brake hose on the other side. There we go.
Now, I'm gonna support the lower control arm with a jack stand. I wanna take the load off the upper control arm. Just lower it onto that. You could always use a floor jack. All right. Now, I'm gonna take a pry bar and just pry down on the control arm and then I can take the nut off of the ball joint. And if the stud starts spinning, just pry down on the pry bar a little bit more and then take that nut off.
You can slide the knuckle out. I could leave it right there for now. I'm gonna take these bolts out next. So that you don't break the axle, you wanna make sure that you keep the knuckle pulled in towards the vehicle so it doesn't pull out too far. So you can always use a strap like this and just tie this down so it doesn't fall out. Right now, I'm gonna use a 21-millimeter wrench on the bolt here and either a 13/16 or a 20-millimeter wrench on this side. Loosen the nut up. I might need a breaker bar. Yep.
Or you can use a 21-millimeter socket as well. Break it free. Loosen up the nut. And then take that nut off. You can take this cam off. This is like a washer that's adjustable. You can use some type of pry tool. And just slide that out. I'm gonna use an air hammer with a hammerhead and just push this bolt out. To get this bolt out, if this bracket is in your way, you can just tip up the control arm. Use a 13-millimeter socket to take this bolt out. Just slide the bracket out of your way. Just be careful not to bend the brake line. Now, just take a punch and a hammer and just tap it out the rest of the way. And you can do the same on the other side. And when you're taking that other side out, you don't have to take the shock out. You just have to rotate the cam so that it goes behind the shock.
Now, I'll just grab the upper control arm, and work it back and forth, then you can slide it up. And take the new arm. Just slide it in position and then take the bolts with the inside cam. There we go. All right. So on the outside of these cams, these have these little nylon or plastic spacers right here. That's going to make it so the alignment's close to where it should be. It's not gonna be exact. You still need to get an alignment done after you're done. So when you put these on and you put that tab through that hole, if you still have these on the vehicle, then it's gonna be close. That'll get you somewhat close to where it should be. Install the nuts. There we go.
All right. So when I go to torque these 2 bolts down, what I wanna use is my 13-millimeter, 13/16 wrench. And I want this upper control arm to be as close to ride height as possible. Ideally, you put this all back together and put the weight of the vehicle on it, and then retorque that. But that's not that easy to get to. So try to get the upper control arm as close to ride height as possible. Sometimes you take a 12-millimeter socket, just stick it under here, and that's pretty close.
And then you wanna torque this to 140 foot pounds, both this one and the other one. And once those are all torqued, you can take the socket out. Now, I can take this strap out of the way, and take the brake hose, line this back up. Put the bolt in and snug it up. Now, I'll get the ball joint lined up. You might have to use a pry bar. Get the nut started. Now, I'm gonna pry down on the control arm and then tighten that nut. Use a 19-millimeter ratchet wrench. Then if you have the ability to torque this nut, you're gonna wanna torque that to 37 foot pounds or do the best you can.
That's good. Now, I'll take this bracket for the brake hose and take a bolt. Put the bolt back in and snug it up. Take the ABS wire or the wheel speed sensor harness, and reposition this. And plug the connector back in. That's good. All right. Now you can take the grease fitting and put that in the ball joint. Get that started. And use a 7-millimeter wrench and just snug it up and give it a couple pumps. You can watch the boot of the ball joint, and then once you see it move, then it should be good enough. That's good. Now, I'm gonna raise the vehicle and reinstall the wheel. And put the lug nuts on. Now, I'm gonna torque these lug nuts to 140 foot pounds in a cross pattern to tighten the wheel down evenly. I'll just go around again and double-check.