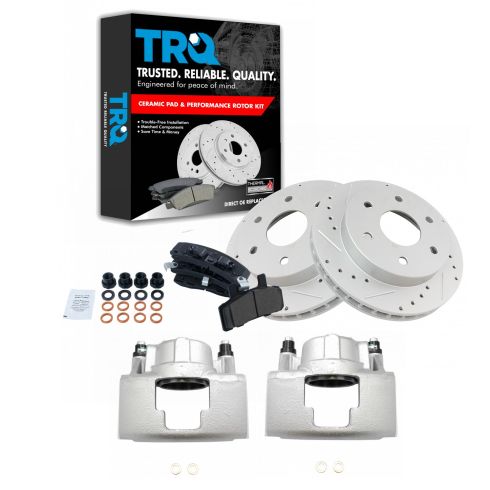
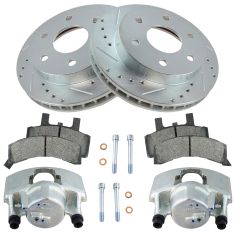
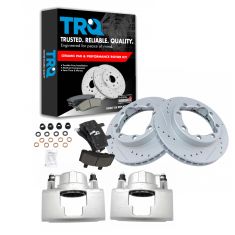
Safely raise and support your vehicle on a frame so your suspension can hang. Now that we've safely raised the vehicle, let's remove this by using a small pry bar right in this little slot. Now, you can see your 22-millimeter lug nuts, remove those. Now, we're going to carefully push back the caliper piston. If you look right here, that's the piston. We want that to go all the way back as far as it can go. Some people would choose to open up their bleeder screw. If yours is in poor condition like ours is, it's probably going to break off. In which case, just push it back nice and slow.
Now, we have a steel piston here. It's not ceramic, so it's okay to go ahead and try to pry up against it. You can test it with a magnet. If the magnet holds, you know it's steel. Let's use a three-eights Allen socket and remove these slider pins. Let's grab the caliper off of here and set that aside. Let's go ahead and get this rotor off of here.
Now that's all out of the way, let's continue on by cleaning up this area right here, this area right there, and then, of course, this whole hub area. Those are all the mating surfaces. Of course, you have your rotor, and then this is where your caliper is going to be. That one looks great. If you happen to see a lot of large rust flakes like this anywhere along the knuckle, make sure you chip them off. You don't want any of that falling in between the rotor in here, or even the rotor in the brake pads. That looks pretty decent. Let's hit it with some copper Never-Seez. Now, let's go ahead and put our rotor on.
Let's get that new rotor on there. Make sure you take one of your lug nuts and tighten this down, that way there the rotor can't move around. Get the pads out of here. Check your caliper boot. Make sure that looks good. Once you're sure it looks good, we're going to go back here and take a look inside there. If you needed to replace these, your kit is going to come with a new one. So, that's always great. Now, we're just going to take a little pry bar with our hammer, get right under here, and get this off of there.
Now you can see the slider right there. We're going to get that in one second. We'll do the same to this one real quick. There's one slider. Obviously, you need to clean up that rusted area. That one is pretty frozen but not too bad. Let's clean up the rusted area on the wire wheel. Now that we have our sliders nice and cleaned up, we're going to move along to taking out this backside of the boot here. Pops right out. Easy-peasy. Take a look in there. If you need to sand it out because it's extra rusted, make sure you do that now.
Now I'm going to use a peak that looks like this. I'm going to go right inside, and I can feel right where the rubber grommet is. That's another seal right there. I'm just going to carefully pull it out, match it up to the new one, and then install the new one in there. There's also going to be another one of these located towards the other side. We'll get that out as well. All right, so it's time to get our new ones in here. Just going to try to line it up with the hole, help it through one piece at a time here.
You want to make sure it's not twisted around in a circle. That looks really good. Stick my finger in there, make sure it's seated all the way around. And it is. I'm going to do the same to the other one, and then the same for this one up here. Use some of this caliper grease. Go right along in there. And I'm going to come up along this edge right here just like that. That's going to help keep moisture out. I've got this right here. Should be able to just slide it right on. If for some reason you can't, you could find a socket that fits over the top and give it a couple of loving bonks right along this edge. That looks great. Let's do the same to the other one. Use some of our caliper grease on this side now, and get right along the edge of that hole. I've got my little seal here. You want to make it so these little pitons are kind of facing out and away, and the smooth side is facing in.
Make sure it's nice and flush. If you need to use a socket, find one that fits along the edge, and then give it a couple of loving bonks. This one looks great. Let's do the same to this side. And then, of course, we'll do the other calipers as well once it comes along. Let's go ahead and prep this caliper piston. Just get a little bit of grease on there. That's going to help with vibration dampening and noise reduction. We're also going to get both of these ears, the areas where it matches up against the pad. Let's get our pad in here. Push this down. Slide it in.
Let's get the outer pad on. Make sure you match it up with the original one so you have the wear indicator on the same side. Slides right in. Let's take a little bit of that grease. Go right along this edge right here where we sand it down. That's going to help keep moisture from there, and keep it from rusting and rotting like the rest of the truck. Get the caliper on. Perfect. Grab your two sliders that you just cleaned up. Add plenty of lubricant to all sides, and then slide them in. Right in there.
Let's get our sliders in there. We've got our two bolts. If you need to clean up the threads, now is the time to do it. But these look fine. Now that they're both started in, we're going to snug them up, and then we'll torque them to manufacturer's specifications. Torque your slider bolts to 38 foot-pounds. Torqued. Let's get this off of here. We'll get our wheels back on. We're going to put on all the lug nuts. We're going to snug them up in a crisscross manner. Torque these to 120 foot-pounds. It's torqued. We'll get our cover on here. Awesome.


