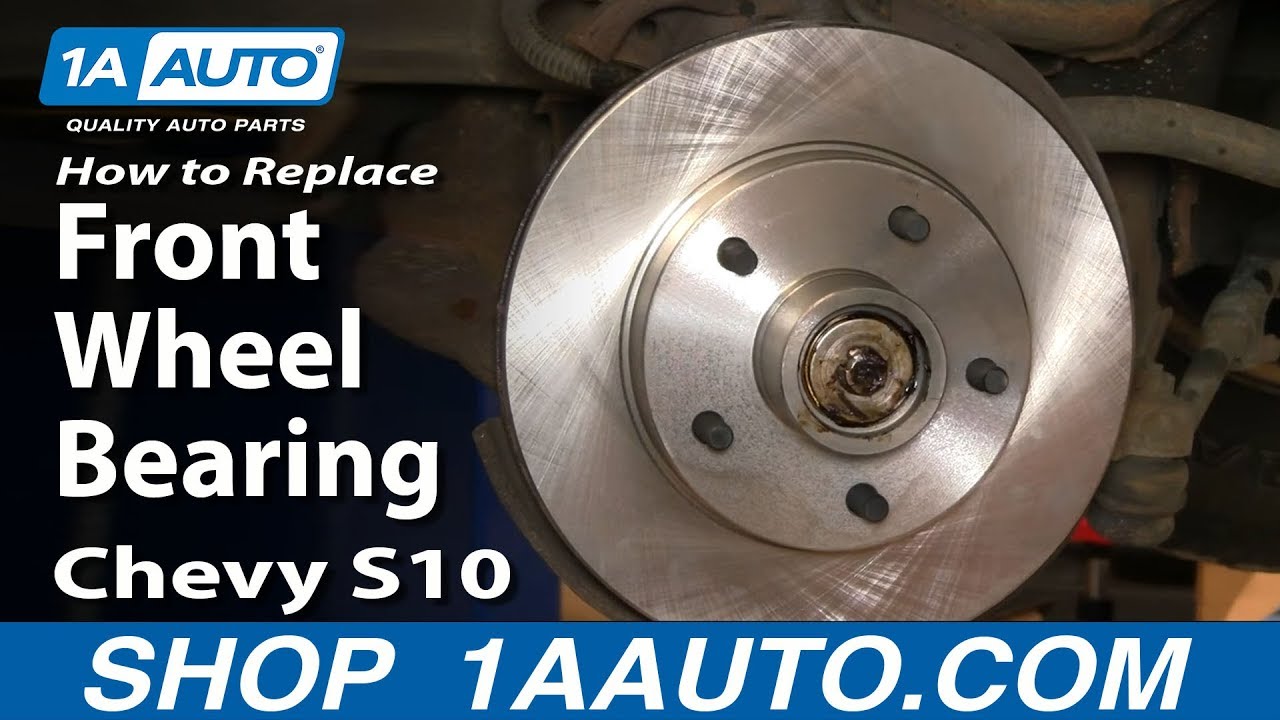
In this video I'm going to show you how to service the front wheel bearings in this 2001 Chevy S-10 pickup. Same as any S-10 pickup, or the Blazer, and this is a two wheel drive vehicle.
Tools you'll need for this job are jack and jack stands, 19mm socket and ratchet or a lug wrench, 3/8 Allen wrench, a combination wrench for some extra leverage on that Allen wrench, a wire brush or medium sandpaper to clean off some bolts, 27mm socket and ratchet, pliers, torque wrench, bearing grease, a hammer or a press, and race installation tools or large sockets.
For the next two minutes or so here, I'm going to show you taking apart the wheel and the breaks to get the rotor off. Here I'm just taking the caps off of the lug nuts, then removing that center cap, then removing the wheel. Here I'm actually removing the dust cap from the hub. Now removing the wheel. Now going through removing the breaks. The brakes are held on by two 3/8 Allen bolts. Use a large screwdriver to pry out and loosen up the caliper, it helps get it off easier. Use a wrench on the Allen wrench, it gives it a little more leverage if you hook that on there like that, and remove those bolts that hold the caliper in place. Now, to remove the rotor take a rag and wipe the grease out of here, and there is a cotter pin right here. Take a good pair of needle nose pliers, if you can bend it up and then pull it out that's a good thing. Sometimes what's easiest to do is just take the ends and bend them and break them off, that makes it easy to pull out. This one's coming out fairly easily. This truck has a 27mm bolt, and it's not uncommon to be able to put this on there and just undo it by hand. You don't tighten this bolt up significantly. Take the bolt off, now the bearing assembly, the washer comes off, along with my rotor. The bearing stays put for now. Take that out so that it doesn't fall out.
I need to clarify for you, you're going to see me working on the old rotor that I tool off the truck, and then you're going to see me working on a new rotor. I want this video to talk to if you have a good rotor, you need to take the bearings out, take the bearing races out, and then reinstall the bearing races and the bearings. I need to put new rotors on this truck because the old ones are worn out, so that's why you see me working on two different rotors. I show you how to remove the rear seal and the races using the old rotor, and then I show you how to reinstall the race in the old rotor using the old rotor and the old race, because my new rotor came with the races installed. Generally, when you replace just bearings, you replace the bearings and races. I show you how to do that with the old rotor.
We've got a seal in here, so what you want to do is take a pair of pliers, lay them across like that, take a screw driver, and carefully pop that seal right up and out. A little freeze frame here. I'll tell you, I admit I was shocked at how easily that came out. You didn't see the look on my face on the camera because my face isn't on the camera. Generally you'll have to work a little harder at pulling the seal out than that. Like I said, for some reason it kind of popped right out, but that's how you do it. You put your pliers or another screw driver across there and use that as a lever, and put your screw driver in underneath, and pry it up and out. Now, inside is your inner bearing. Again, take some paper towel and just try and excavate as much of the grease out as possible.
Next we need to remove the bearing race. The race is this surface here, and it can wear just like the bearing. From the back side you can see that there is a surface, if you put your fingernail in, you can see that there's a surface that you can grab onto. You want to turn your rotor over, and I'm going to use this crew driver to point it out, right down in here there is that back side of that race. What we want to use is an impact tool with a nice flat head, and rounded so it doesn't scratch the rotor. We put that tool right down on the back of that race, and you want to hit it on one side, then hit it on the other side. Hit it back in here. You want to keep hitting it on different sides so that you drive the race out uniformly, you don't want to try and drive one side out all at one time. Keep hitting it in different positions. Here is that race out.
Another freeze frame here. I drove the race out of the back side of the rotor. There's also a race on the front side of the rotor that you want to drive out. Now in this next scene I'm going to reinstall the old race in the old rotor, and I'm only doing this not because I'm reusing it, but I'm doing it to show you how to do it. The reason I'm using the old race on the old rotor is because the new rotors from 1A Auto that I reinstall on this truck come with the race installed already, so I didn't really think it was necessary to drive a new race out of a new rotor just to drive it back in.
To reinstall it I've got a race installation tool, this is the right tool to do it. You just want to drop the race down in there, then this tool should be basically the exact same size as the race, maybe a little smaller. Just make sure that you drive it straight down in. You need to have a metal tool to do this, because you need to make sure that it goes straight, and you need to make sure that you're hitting it nice and firm. Now once I make a nice solid sound with the hammer I know it's all the way seeded.
One last freeze frame here. Obviously you would also repeat that step for the front or the outer nearing race, and now you're going to see me working on a brand new rotor with hub. It's just picking up where this one left off with the rotor that I'm actually going to install on the truck.
Here's my new rotor and hub from 1A Auto, with the race installed. I'm going to take a good amount of wheel bearing grease and coat the inside of the hub. I'm going to put a light coat on the race itself. You don't want to have globs on the race; you just want to have a nice light coat on there. Now I'm going to take my bearing and I'm going to work grease right into the cracks where I can see the ends of the roller. On the front side I'm going to work it right into this crack here, then I'm going to coat the rollers outside, not quite so much, just a good coating. I'm going to take my finger and wipe out the inside here, I don't want any big globs of grease in there. Now drop the bearing right in. I'm going to take my seal and drop it on like that. You can use a piece of wood or something like that; I'm just using a larger block of metal, a larger bearing installer. Just make sure that that's nice and evenly installed. I'm going to take the rotor, keep it on the plastic, flip it over, and I'm going to take some grease and just like on the back side, just pack it in there a little bit. Let a light coating stay on the race itself, but not a lot.
Take some paper towels; wipe off your spindle here. You want to check for any ... run your finger on here with a little grease on it. I can see some markings here, but there's no real wear on the spindle. The two surfaces, one here where the inner bearing is, and here where the outer bearing is, there's no real wear on the spindle, so the bearings weren't spinning, which is good. Put the grease on the outer bearing; pack it into that crevice on the back. Put out rotor in place, notice I'm trying not to touch the rotor a lot with my greasy fingers. We've got our bearing in place. Clean the grease off out washer, put the washer on, put our bolt on. We're going to take our ratchet and we're going to pull it a little bit tight, and we're going to spin the rotor around a little bit. We're going to loosen this up, and then we're going to pull it tight again just barely, probably two or three foot pounds, not a lot. We're going to put out nut back on. We're going to pull it kind of tight, we're going to rotate the rotor a little bit, that seats the bearings. We're going to loosen this, then we're going to bring it so it's just starting to seat, then you pull it just a little bit, probably two or three foot pounds. This comes through, grab the end, bend it over, and then that's not going to come out.
We're going to put our dust cap back on and make sure that there's no harmful dust in it. From here on out I'm going to speed through putting the brakes back together. If you want to see this in regular speed, just check out our other videos, we have it in more detail there. There are two important last steps: torque the lug nuts, obviously, to a hundred foot pounds each, and then make sure whenever you take your brakes apart, make sure you pump your brakes before hand, and also do a test stop from five or ten miles an hour before you take your car out on the road.
