Hi, I'm Mike from 1AAuto. We've been selling auto parts for over 30 years! We're dedicated to delivering quality auto parts, expert customer service, and fast and free shipping, all backed by our 100% satisfaction guarantee. We've created thousands of videos to help you install our parts with confidence. That saves you time and money, so visit us at 1AAuto.com, your trusted source for quality auto parts.
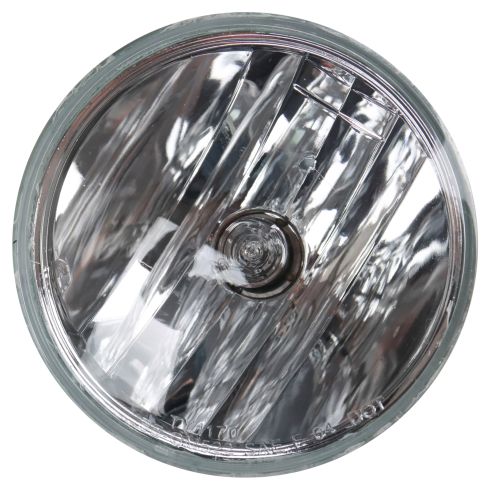
In this video we're going to be working with out 2012 GMC Acadia. We're going to show you how to remove and replace your fog light assembly in the bumper.
If you like this video, please click "subscribe." We have a ton more information on this vehicle as well as many other makes and models. If you want this part for your car, you can follow the link down in the description over to 1AAuto.com.
Here are the items you'll need for this repair: T20 Torx Driver, flat blade screwdriver, and side cutters.
This job can easily be done on the ground, but we're going to raise and support our vehicle to make it easier to film and show you what's going on. Turn your wheel in to whatever side you're working on. We're going to be working on the passenger side, so we'll cut our wheel all the way to the left.
If you're working on the driver side, you'll want to cut the wheel all the way to the right. Remove the seven T20 Torx screws. We have two on the bottom here and five running up along the backside of the bumper and the fender. Remove the eight plastic clips securing the inner fender well in. We have three in the top area here, one over at the front (in the middle), two down at the bottom, and these two at the back of the front portion of the liner at the bottom in the middle here.
There's a few different ways to remove these style clips. I like to try to take a small flat blade screwdriver and work up the center part of the clip just a little. Once you get it up some, if you have the room to get in there with a pair of side cutters, you can sneak them underneath and then pry up evenly from both sides. Once the center's out, you can pop the lower portion out the same way.
To remove the wheel liner, pull out on the bottom portion here and pull down and forward to release the front half of the wheel well from the rear and sneak it out of the bottom.
The six tabs that secure the fog light bezel are located around the edges here, with one larger alignment tab at the 9 o'clock position looking at it from the rear on the passenger's side. Remove the trim ring for the bezel for the fog light by pushing down on the plastic tabs on the outer ring here and pushing out. Have your hand ready on the other side in case it pops loose to make sure you don't drop it and cause it to get scratched or damaged.
Once the tabs are released, you can remove the chrome bezel from the bumper. Disconnect the electrical connector on the fog light, and then push down and release the three anchors here. You'll have to squeeze the tabs together and push them through to the front of the bumper. You may have to go around a few times to get them all to push out evenly. Once the tabs are released, you can remove the fog light from the bumper.
Line up your tabs and push the fog light assembly back into the bumper until it clicks. Reconnect the electrical connector to the back of the bulb. We have six evenly spaced tabs here and one alignment tab that sticks out farther in the center of the two here. You can see the corresponding hole in the bumper for that alignment tab, so we'll line that up and push the bezel back in until all the tabs snap back into place.
Reinstall your inner wheel well liner. You do this by pushing it up from the bottom and rotating it in over the tire. Be sure that the top slides into place behind the rear liner, as well as on the sides. Once you have some holes lined up, you can start installing your eight push pins. Set them up like this, install the bottom half, and then pop the tab into place. Reinstall your seven T20 Torx screws. We'll start them a couple of threads by hand before we install them with our socket and ratchet.
Thanks for tuning in. We hope this video helped you out. Next time you need parts for your car, please visit 1AAuto.com. Also check out our other helpful how-to and diagnosis videos.