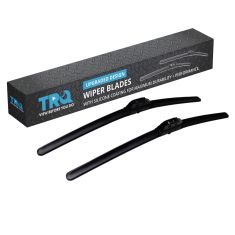
Replaces


Recommended for your 2006 Chevrolet HHR
Frequently bought together
Assemblies may include halogen or incandescent test bulbs that should be replaced before installation.
Attention California Customers:
 WARNING: This product can expose you to chemicals including Chromium (Hexavalent Compounds), which is known to the State of California to cause cancer, and birth defects or other reproductive harm. For more information, go to www.P65Warnings.ca.gov
This item is backed by our limited lifetime warranty. In the event this item should fail due to manufacturing defects during intended use, we will replace the part free of charge. This warranty covers the cost of the part only.
The bulbs are for testing and not covered under our warranty. Our warranty applies to the light assembly only.
FREE Shipping is standard on Orders shipped to the lower 48 States (Contiguous United States). Standard shipping charges apply to Hawaii, Alaska and US Territories. Shipping is not available to Canada.
Expedited is available on checkout to the United States, excluding Alaska, Hawaii and US Territories as well as P.O. Boxes and APO/FPO/DPO addresses. Final shipping costs are available at checkout.
Created on:
Tools used
Brought to you by 1AAuto.com, your source for quality replacement parts and the best service on the Internet.
Hi, I'm Mike Green. I'm one of the owners of 1A Auto. I want to help you save time and money repairing or maintaining your vehicle. I'm going to use my 20-plus years experience restoring and repairing cars and trucks like this to show you the correct way to install parts from 1AAuto.com. The right parts installed correctly: that's going to save you time and money. Thank you and enjoy the video.
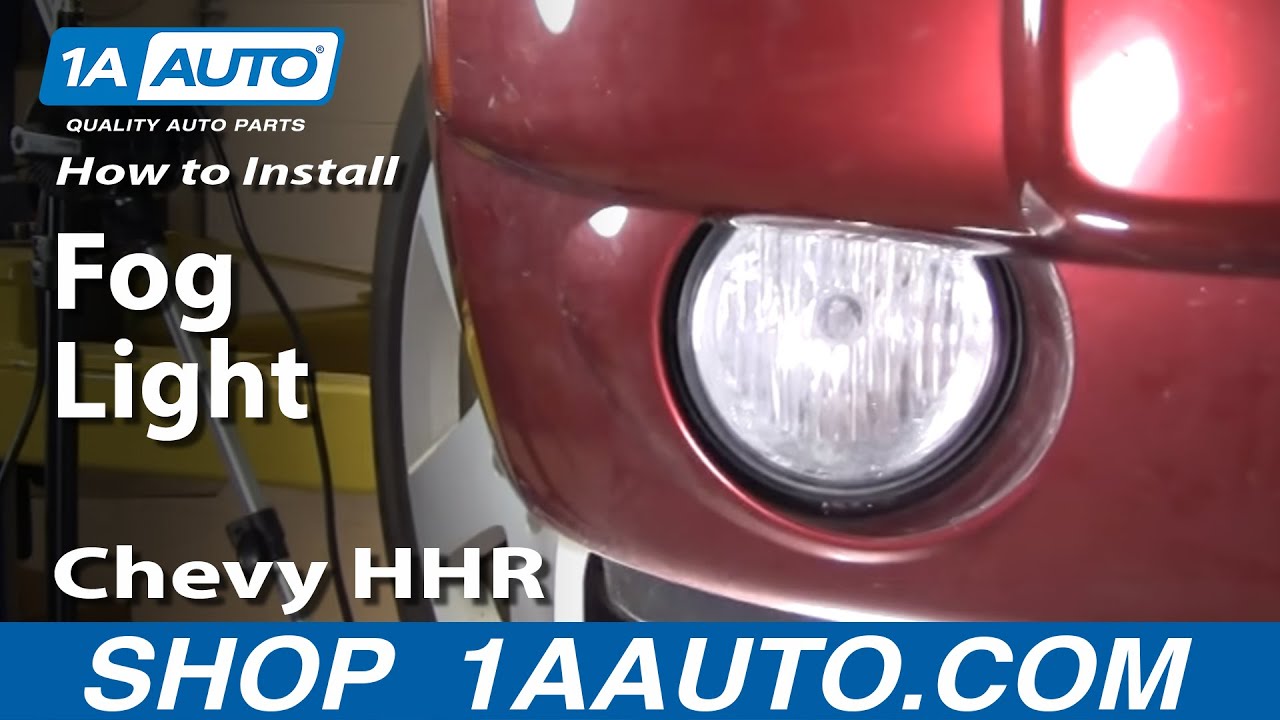
In this video, we'll be replacing a fog light on a 2008 HHR, basically the same as any '06 to 2010 HHR. Tools you need are: needle nose pliers, flat blade screwdriver, 5/32 inch Allen Wrench, and rag or some kind of old piece of clothing just to protect your paint.
Okay, we're going to start by removing these two pins here. Okay, just work here, pliers in. I got an old t-shirt here, just kind of wrap around there, and I'll press with pliers, and then pull up. I'm just using a t-shirt to make sure that I don't scratch the paint, and then I might remove this one as well. We removed both pins. If you're just looking to remove or replace the fog light bulb, just pull this back and you can access the back of the fog light right here, pull out the bulb, and change it. It twists out. It twists counterclockwise, and to go in, it twists clockwise. It's not really good light in there, but the connector points at the bottom of the car, so it basically points at 6 o'clock, you turn it to about probably between 4 and 5 o'clock, pull it out, and then pull it in 4 or 5 o'clock, and twist it down to 6 o'clock.
The first note if you're removing your fog light, I'm just going to show you this. Up, under here actually, you can see that hole. Let me see if I can . there is your adjusting screw. That's an Allen adjusting screw. I'm not going to do anything to that yet, just going to show that to you. What you're going to do .. Put you back on the tripod. You're going take really any size screwdriver, medium screwdriver probably. Just put it in here on the side, and it doesn't take much, just kind of push your light sideways and push it back at the same time, and it just pops out. Now in here, you probably can see, there's the adjusting screw.
What I'm going to do here is I'm going to tighten up. You can see there's where the adjusting stud goes in, and all I'm going to do just as a little reference, is reach in here with the marker, and I'm going to mark that stud, so now I know when I put that into the new light, here, I'm just a few studs away from there and that should be a pretty good starting point to aim it. Now, back away.
Now, what we're going to do is we're going to reach up with our Allen wrench, and we're going to remove the stud. Actually you can kind of look up in there. Hold on to the light a little bit, and just back to stud all the way up. Then after that, your light obviously you would unhook the plug here, and pull the old light out, then to put the new light in, obviously reverse the procedure, put it in, get the stud up in there. Use your mark to get a good aim, plug it back in.
To reinstall the light .. Let me get my mark back to where it was, here. One more turn here. Now, to reinstall the light, this is where taking the pegs out of the inner fender comes in to play. You reach in here with this hand, and you get one side in, and then with your hand back here, you push it back in to place. At this point, you would push the pins back into the inner fender, and you're pretty much done. If you use the old trick with putting a mark on your aiming stud or screw, your fog light should be pretty well aimed at that point too.
We hope this helps you out. Brought to you by www.1AAuto.com, your source for quality replacement parts and the best service on the Internet. Please feel free to call us toll-free, 888-844-3393. We're the company that's here for you on the Internet and in person.

GM520-B000L