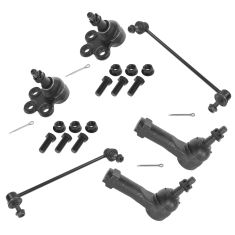
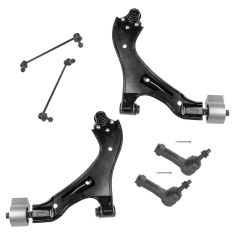
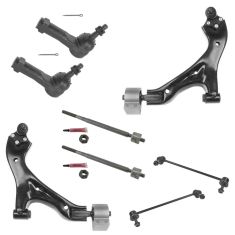
Kit Includes: (1) Front Passenger Side Sway Bar Link (1) Front Driver Side Sway Bar Link
Quantity: 2 Piece
Specification
Side Location
Driver & Passenger Side
Location
Front
Our steering and suspension components are pre-greased and sealed for long life and do not require the extra maintenance typically required by greaseable versions.
Item Condition:New
Attention California Customers:
WARNING: This product can expose you to chemicals including Lead and Lead Compounds, which are known to the State of California to cause cancer, and birth defects or other reproductive harm. For more information, go to www.P65Warnings.ca.gov.
Lifetime Warranty
This item is backed by our limited lifetime warranty. In the event that this item should fail due to manufacturing defects during intended use, we will replace the part free of charge. This warranty covers the cost of the part only.
FREE Shipping is standard on Orders shipped to the lower 48 States (Contiguous United States). Standard shipping charges apply to Hawaii, Alaska and US Territories. Shipping is not available to Canada.
Expedited is available on checkout to the United States, excluding Alaska, Hawaii and US Territories as well as P.O. Boxes and APO/FPO/DPO addresses. Final shipping costs are available at checkout.
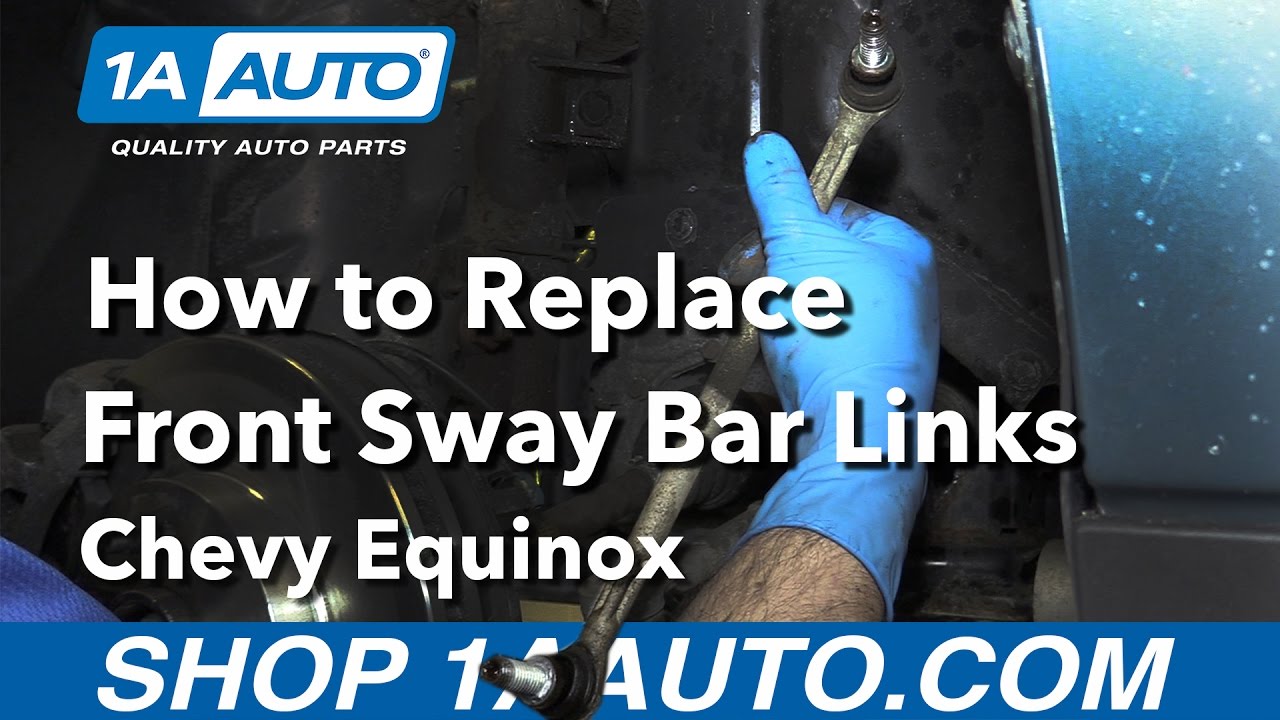
How to Replace Install Front Sway Bar Links 2005-09 Chevy Equinox
How to Replace Sway Bar Link 2010-17 Chevrolet Equinox
How to Replace Front Sway Bar Links 2005-09 Chevy Equinox
Created on:
Tools used
Socket Extensions
Torque Wrench
17mm Wrench
Rust Penetrant
17mm Socket
Jack Stands
Ratchet
Floor Jack
1. Removing the Wheel
Loosen the 19mm lug nuts with the vehicle on the ground
Raise the vehicle with a floor jack
Secure the vehicle on jack stands
Remove the lug nuts
Pull off the wheel
2. Removing the Sway Bar Links
Grab the back side of the sway bar with locking pliers
Remove the 17mm nut from the sway bar links
Remove the sway bar link from the strut
Repeat the process for the lower half
3. Installing the Sway Bar Links
Insert the sway bar link into place
Clamp the backside of the lower half with locking pliers
Tighten the 17mm nut
Tighten the nut to 55 foot-pounds
Repeat the process for the upper half
Torque the top nut to 63 foot-pounds
4. Reattaching the Wheel
Slide the wheel into place
Start the lug nuts by hand
Tighten the lug nuts preliminarily
Lower the vehicle to the ground
Tighten the lug nuts to 100 foot-pounds in a crossing or star pattern
Hi, I'm Mike from 1AAuto. We've been selling auto parts for over 30 years! We're dedicated to delivering quality auto parts, expert customer service, and fast and free shipping, all backed by our 100% satisfaction guarantee. So visit us at 1AAuto.com, your trusted source for quality auto parts.
In this video, we're gonna be working with our 2008 Chevy Equinox. We're gonna show you how to remove and replace a front sway bar link.
If you like this video, please click subscribe. We have a ton more information on this and other vehicles, and if you need this part for your car, you can follow the link down in the description over to 1AAuto.com.
Here are the items you'll need for this repair: 17mm socket, ratchet, socket extensions, wrench metric set, torque wrench, locking pliers, rust penetrant, jack and jack stands
Using a 19mm socket and a breaker bar, break all of your lug nuts loose about one turn to make it easy to get them off once our vehicle is in the air. Raise and support your vehicle. We're using a lift to make it easier to show you what's going on, but this job can easily be done in your driveway or garage at home on a jack and jack stands. Finish removing your lug nuts and remove the wheel and tire from the vehicle.
After removing your wheel and tire, grab on to the steel on the back side of your sway bar with a pair of locking pliers, and remove the 17mm nut with a socket and ratchet. Remove the nut to remove the sway bar link from the strut. You can see where I've grabbed onto it with the locking pliers now. Now we'll repeat this process on the lower half of the link. Remove the sway bar link from the vehicle.
There's nothing wrong with our sway bar link, so we'll just be reinstalling it, but it'll be the exact same steps for installing a new one. Once you have the nut started, clamp onto the back side with a pair of locking pliers. Tighten the front up with your 18mm socket and ratchet. Tighten the lower nut 55 foot-pounds and remove your pliers.
Reinstall the sway bar link into the strut. Start the 18mm nut on by hand. Clamp the back with a pair of locking jaw pliers like you did to remove it. Make sure you bite as far back as you can to make sure that you don't prevent it from tightening down fully. We'll snug it up with an 18mm socket and ratchet. Torque the top nut on the sway bar link to 63 foot-pounds.
Remove your locking jaw pliers, and reinstall your wheel and tire. Get all of your lug nuts on as tight as you can by hand. Lower the weight of your vehicle back onto the tires. With the partial weight of your vehicle back on the tires, then tighten up your lug nuts to 100 foot pounds in a cross pattern.
Thanks for watching. Visit us at 1AAuto.com for quality auto parts, fast and free shipping, and the best customer service in the industry.
Tools used
21mm Socket
Impact Screwdriver
13mm Socket
Locking Pliers
6mm Hex Socket
18mm Socket
Lug Wrench
3/8 Inch Drive Ratchet
Safety Glasses
22mm Socket
Tools used
Torque Wrench
18mm Wrench
6mm Hex Socket
19mm Socket
3/8 Inch Impact Gun
1/2 Inch Impact Gun
PSA55752
In Stock
Product Reviews
Loading reviews
3.40/ 5.05
5 reviews
5 Stars
4 Stars
3 Stars
2 Stars
1 Star
3
0
0
0
2
great value and perfect fit
M
August 19, 2017
This part came in correct and at a good price. The quality compared to the one the vehicle had is comparable.
Perfect fit
Keith
April 15, 2018
The sway bar links were the final part of rehabbing my Equinox after new shocks struts and brakes.The first links I got were the wrong ones and my purchase was quickly refunded so I reordered the proper ones and with aid of your video put them right on the car.I figure between your prices on all the parts and the ability to do it myself with your videos which are the same year and make as my car I probably saved about a thousand dollars.
Sway bar link
Shaun
March 2, 2019
Order some sway bar links for my wifes van. Once again was at a great price and easy Installation. Had no problems getting the on.
[{"url": "https://wac.edgecastcdn.net/001A39/prod/media/pNISJll75W64CYGsite/fb6d757dcbb0f374026b2fb15af45844_1719799826293_0.jpeg", "caption": "passenger side sway bar"}]
Rose
June 30, 2024
I just put those in and one side is already broken on the top where nut and bolt attaches Instructions were followed and tightened to torque specifications now I have to replace it
Customer Q&A
Which is the right and which is the left?August 27, 2017
Clare R
10
They are not interchangeable. 1ASSL00251 is for the driver side, and 1ASSL00252 is for the passenger side.
September 3, 2017
Tim K
HOW do you grease these after install?September 19, 2017
Benjamin T
10
You don't have too there sealed
September 19, 2017
B E
10
These are sealed units, and do not require grease application after installation.
September 19, 2017
Alex P
10
These sway bar links don't really get greased.
September 21, 2017
Gregory V
Customer service
877-844-3393
Monday - Friday 8:00am - 9:30pm ET Saturday - Sunday 8:00am - 4:30pm ET
Chevrolet is a registered trademark of General Motors Company. 1A Auto is not affiliated with or sponsored by Chevrolet or General Motors Company.See all trademarks.
Enter Vehicle Year Make Model
Specify your vehicle's year, make and model to guarantee fit.
Year
Make
Model
Options
Drivetrain
This part doesn’t fit a . Select from parts that fit.