Hi, I'm Mike from 1AAuto. We've been selling auto parts for over 30 years! We're dedicated to delivering quality auto parts, expert customer service, and fast and free shipping, all backed by our 100% satisfaction guarantee. So visit us at 1AAuto.com, your trusted source for quality auto parts.
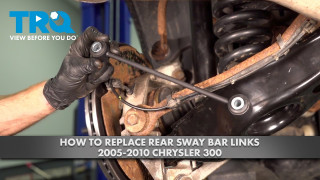
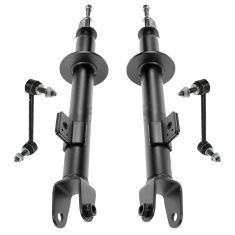
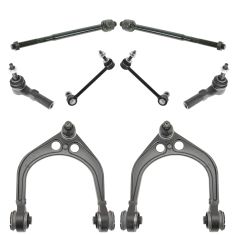
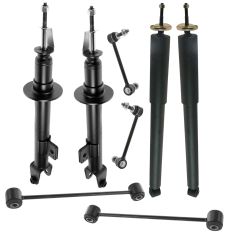
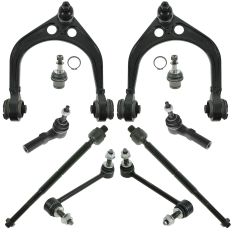
In this video, we're going to be working with our 2006 Chrysler 300. We're going to show you how to remove and replace your vehicle's front sway bar end links. Now, we're going to be doing this on the passenger side, but the procedure is exactly the same on the driver side, and we do recommend you replace this item as a pair.
If you like this video, please click subscribe. We have a ton more information on this and many other vehicles.
If you need this part for our car, you can follow the link down in the description over to 1AAuto.com.
Here are the items you'll need for this repair: full metric socket set, socket extensions, breaker bar, torque wrench, locking pliers, gloves, rust penetrant, jack, jack stands
Using a 21mm socket and a breaker bar, loosen all of your lug nuts about one turn. Raise and support your vehicle. We're using a lift to make it easier to show you what's going on, but this job can easily be done at home with a jack and jack stands. Remove your lug nuts the rest of the way by hand. Remove your wheel and tire.
Remove the 19mm nuts securing the sway bar link onto the strut and sway bar. Now, we're going to try this with the 19mm socket and ratchet; however, we may need a breaker bar and a pair of vice grips. We couldn't quite get it loose with the socket and ratchet, so we're going for a 19mm socket and a breaker bar. Seems to have done the trick.
Now that it's loose, we'll go back to our ratchet. Now, fortunately, ours isn't very rusty, so I'm just holding the backside of the sway bar link by hand to remove the nut. You may have to clamp it down with a pair of vice grips in order to get it to stay still while you remove the nut. We'll remove the top of the sway bar from the strut.
Now, we'll repeat this process on the end that goes into the sway bar. Now, this one's really stuck, so I've grabbed on to the backside of the sway bar with a pair of locking jaw pliers. We're using our breaker bar, our 19 mm socket, and our cheater pipe, to break it loose. Once it's loose, we'll switch back over to our socket and ratchet. Remove the sway bar from the vehicle.
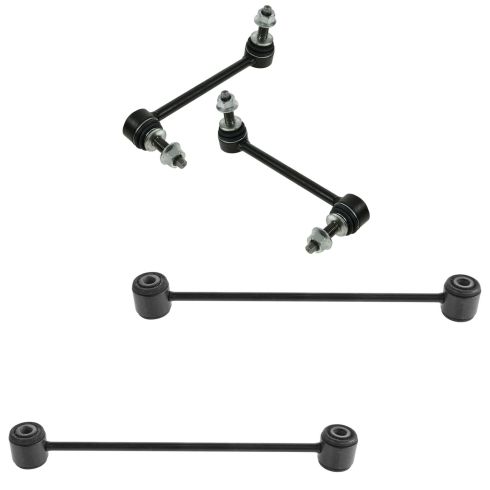
Here, we have our old sway bar link that we removed from our vehicle and our new part from 1AAuto.com. As you can see, there are some minor aesthetic differences, but the basis of the part is exactly the same. We have the same length link. We have the joint on both ends. Clocked the same way. These are specific left and right. This is the passenger side, here. We have the same stud with the same backing. Our new one actually comes with these nice nylon locking bolts. Our new ones come with these nice nylon locking nuts, and the same hex on the end to help you if they get stuck or to make installation easier.
A bad sway bar link can cause a popping or clunking sound, depending on how bad it is, when going over bumps, because with these sockets are meant to travel smoothly in a radius. Slop in that joint can cause it to click up and down as it travels over bumps. If your vehicle has a bad set of sway bar links, then we do recommend you replace these in pairs. This new part from 1A Auto is going to go in direct fit, just like your original equipment, and fix you up right.
Install the bottom of the sway bar link back into the sway bar and start the new nut. Now, the new nut has a nylon lock on the end of it, so it's pretty difficult to spin on by hand, which means we'll go ahead and use our locking jaw pliers to secure it. The new hardware is 22 mm, so we'll use a 22 mm socket and ratchet to tighten that up. Torque the lower sway bar link nut to 95 foot-pounds. Install the upper portion of the sway bar link through the strut, so we'll grab the backside with a pair of locking jaw pliers, just like we did on the bottom. Use a 22mm socket and ratchet to snug it up before torqueing it to 95 foot-pounds.
Reinstall your wheel and tire, and get your 21mm lug nuts as tight as you can by hand. Lower the partial weight of your vehicle back onto the tire. Torque your lug nuts to 110 foot-pounds in a cross pattern.
Thanks for watching. Visit us at 1AAuto.com for quality auto parts, fast and free shipping, and the best customer service in the industry.